
XJ-6 L6-4.2L (1983)
Expansion Valve: Technical Service Bulletins
A/C - Flushing Procedure Due to System Contamination
DATE . . . . . . . . . . AUGUST, 1986
NUMBER . . . . . . . . . . J86/38
MODEL XJ6
SUBJECT CONTAMINATION OF AIR CONDITIONER SYSTEM AND EXPANSION VALVE:
FLUSHING PROCEDURE
KEY POINTS
PROCEDURE FOR FLUSHING
SYSTEM
Experience has indicated that it is of the utmost importance to thoroughly flush the air conditioning system with Freon 11 flushing agent or normal Freon
12, where contamination is suspected.
The following procedure must be followed:
CAUTION: USE PROTECTIVE GLOVES AND EYE PROTECTION EXTINGUISH NAKED FLAMES
Engine should be idled A/C on for at least 5 minutes to ensure maximum amount of oil is returned to the compressor.
1.
Discharge the system.
2.
Disconnect the inlet (low pressure) and outlet (high pressure) pipes from the compressor.
3.
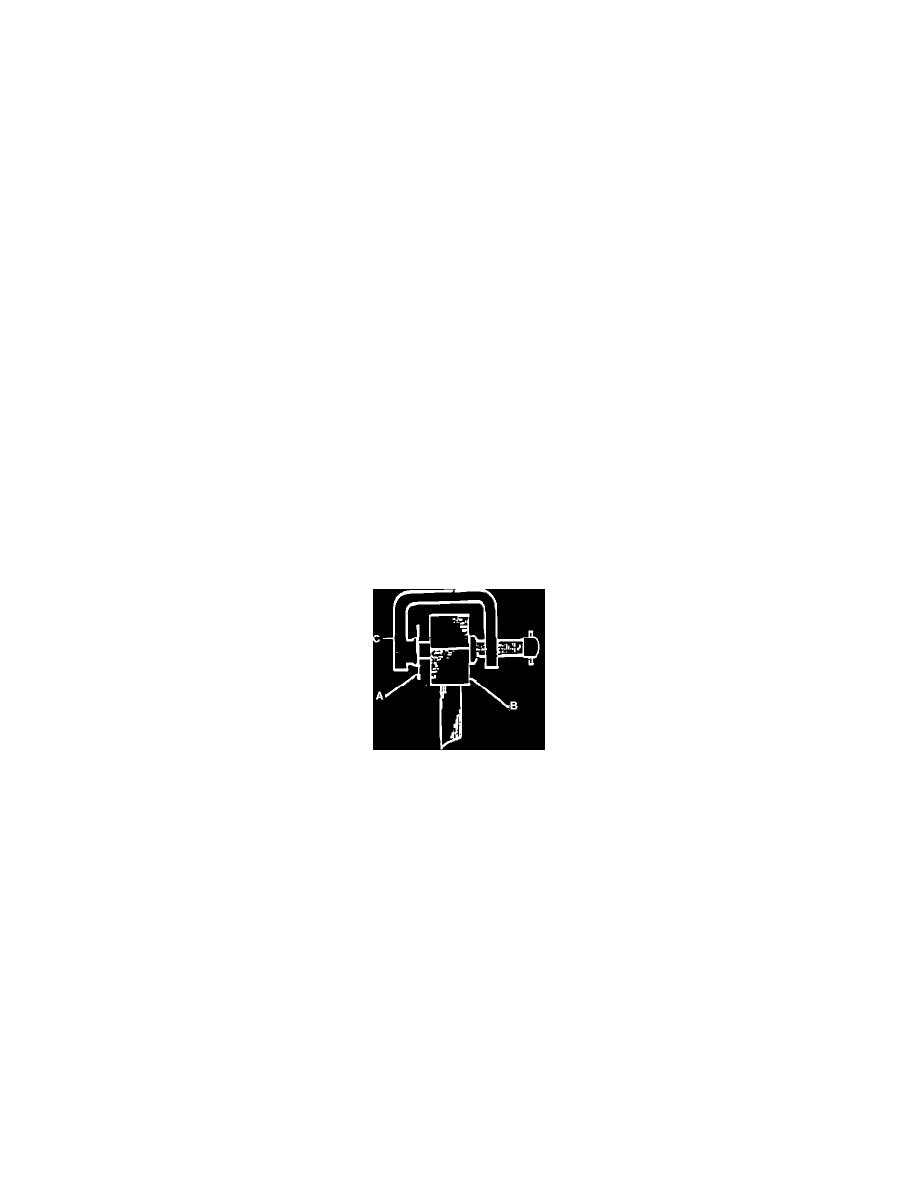
As indicated, fit a suitable blanking plate (A) over the end of the high pressure pipe (B) and retain with suitable (C) clamp. Also remove the
schraeder valve from the charging connection on this pipe.
4.
Place the open end of the low pressure pipe into a suitable metal container and cover.
5.
Disconnect the high pressure pipe from the expansion valve and carefully remove the small conical filter and remake the pipe connection. In the
event of the filter being contaminated, it must be thoroughly cleaned and refitted after the flushing procedure has been completed.
6.
Carefully remove the thermal bulb coil attached to the evaporator outlet pipe (low pressure) and allow it to remain in ambient air. This will prevent
the expansion valve from closing when the freon is passed through it.
7.
Connect a suitable hose directly from the liquid connection on the Freon 11 bottle, to the charging connection on the high pressure pipe removed
from the compressor.
8.
Hold the Freon 11 container above the engine level and open the bottle. Allow the freon to flush through the system for approximately 30 seconds,
or until a steady liquid flow is observed from the low pressure pipe, placed in the metal container.
9.
Close the Freon 11 bottle off and remove.
10.
Connect a Freon 12 container to the high pressure charging connection and purge all traces of Freon 11 from the system.
11.
IMPORTANT: Ensure the following action is completed on reassembly: -