
XJ-6 L6-4.2L (1983)
118. Inspect the piston check valve for free operation.
119. Check the clutch release spring for distortion, renew if distorted.
120. Check the inner clutch plates for flatness and that facings are undamaged.
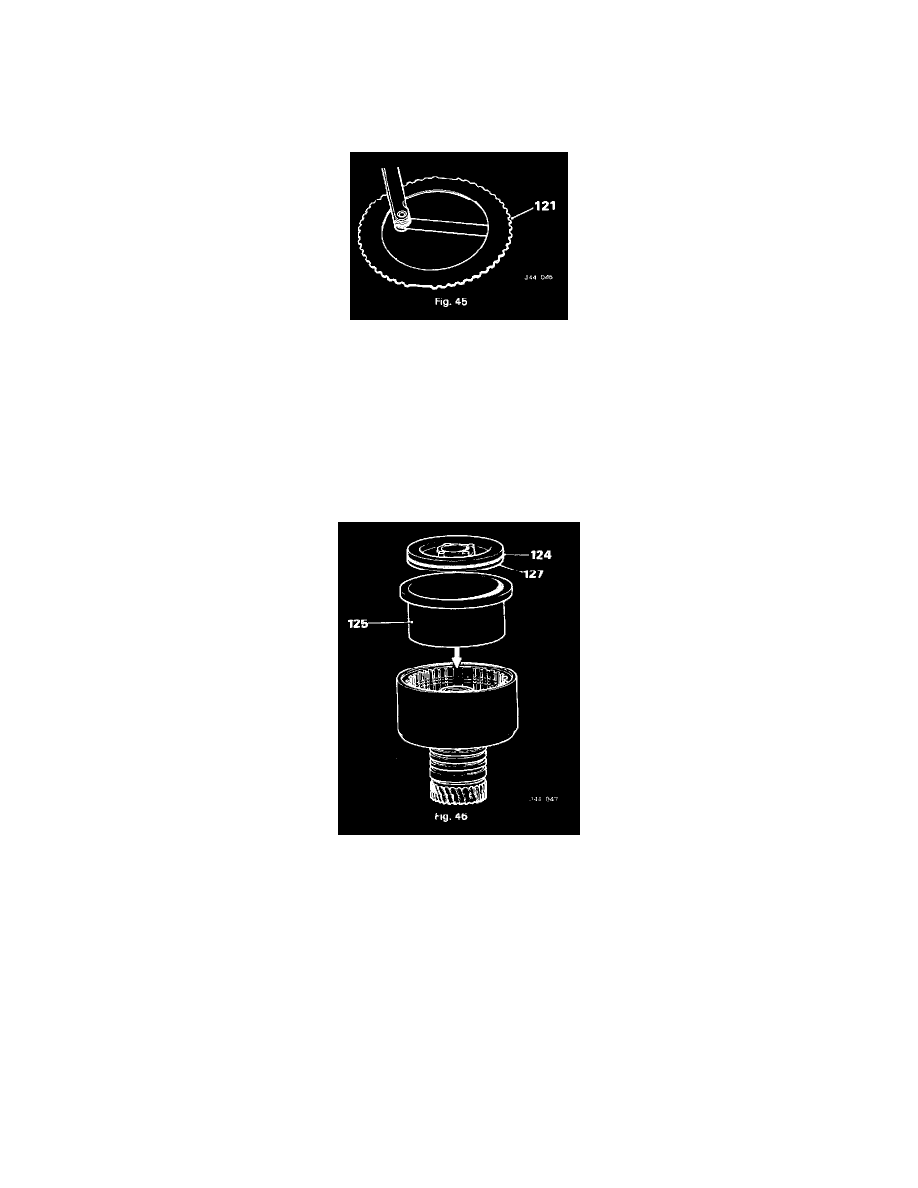
Fig. 45
121. Check that coning on outer clutch plates is not less than 0.25 mm (0.010 in) (Fig. 45).
122. Check the outer clutch plates for scores or burrs, renew if damaged Minor scores or burrs may, however. be removed with a very fine abrasive
123. Check needle bearings and bush in clutch housing for signs of wear, scores or evidence of metal transfer. If damaged the clutch hub must be
renewed
Reassembling
Fig. 46
124. Smear the new piston seal with petroleum jelly and fit to the piston (Fig. 46).
125. Position the rear clutch piston replacer tool 18G 702 in the clutch drum (Fig. 46).
126. Lubricate the piston and replacer tool with clean transmission fluid.
127. Install the piston; remove the tool.
128. Reverse operations 106 to 113.
CAUTION: Outer clutch plates must be assembled with cones facing in same direction.