XJ-6 L6-4.2L (1983)

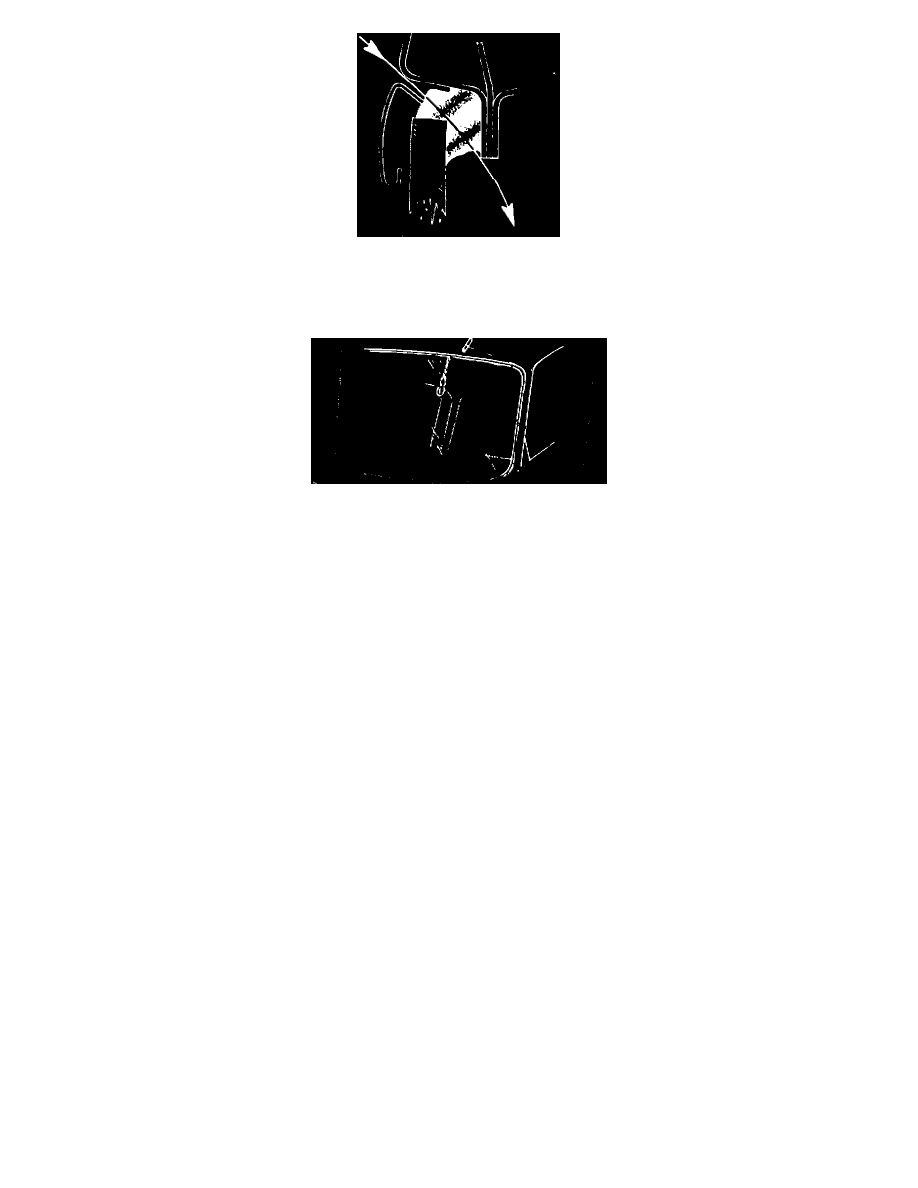
FIGURE 2
6.
Pierce a hole through the existing sealer at the top lefthand corner of the windshield and thread the wire through to an assistant inside the
vehicle. Roll the excess wire around the wooden dowel handles. (Fig. 2)
FIGURE 3
7.
Hold the outside handle about 6" from the point where the wire is threaded through the windshield (Fig. 3) . Hold the inside handle as close to
the windshield as possible (pushing on the wire with the end of a hammer handle is helpful.
8.
Holding the wire taut, pull the outer handle toward the inner handle.
DO NOT USE A SAWING ACTION AS THE WIRE WILL OVERHEAT.
NOTE:
It will be necessary to lift the ends of the stainless steel trim with a screwdriver to prevent trapping the wire when starting the cut.
9.
Cut the sealer around the entire windshield.
NOTE:
Difficulty may be experienced on the bottom edge as the wire may come in contact with the support blocks located approximately 8"
from each lower corner.
10.
Remove windshield and carefully cut the sealer to remove the stainless steel trim for reuse.
FITTING NEW WINDSHIELD
If the windshield has been removed cleanly, it will not be necessary to remove the existing sealer from the windshield aperture. If body damage has
occurred, it will be necessary to remove existing sealer to a point where a satisfactory surface for the new windshield is obtained.
1.
With the new windshield on a cloth covered table, coat the inner edge to a a depth of about 1/4" with Glass Prep No. 1, wiping applied.
2.
After Glass Prep No. 1 has dried, coat the inner edge with Glass Primer No. 2.
NOTE:
Glass Primer 2 is an ultraviolet resistant primer and its application is essential for resistance to sun and weather conditions.
3.
Refit the inner rubber flange finisher.
4.
Apply a continuous bead of Urethane E around the inside perimeter of the windshield.
5.
Position the support blocks (BAC 3213) about 8" from each lower corner and fit the windshield in the aperture. Press gently around the edge
of the windshield to ensure good adhesion of the Urethane E to the body aperture.
6.
Fill the remaining gap with Urethane E material and allow to set lightly.
