
XJ-S V12-5.3L (1982)
- Remove the oil pan securing bolts and remove the oil pan.
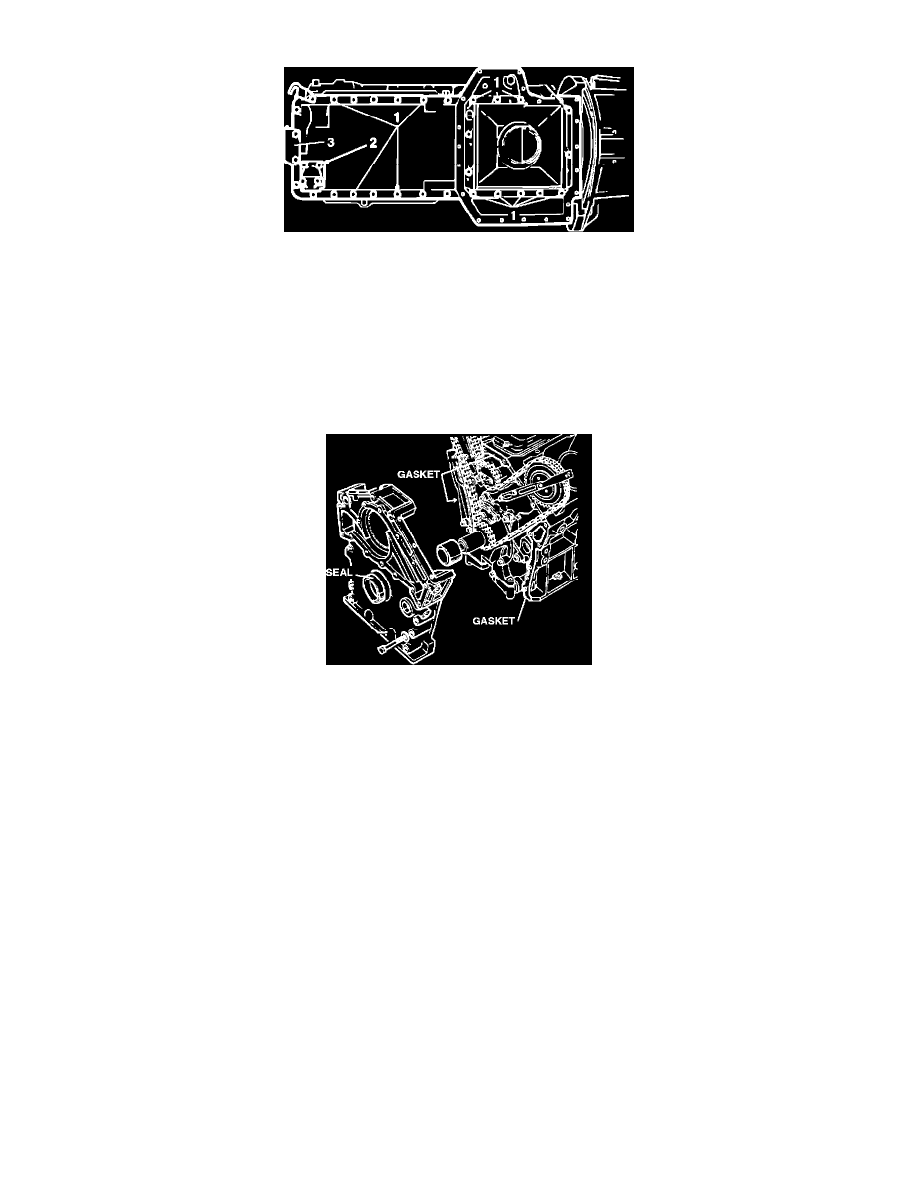
Fig. 10 Suction Elbow And Sandwich Plate Removal
- Remove the suction elbow, remove the sandwich plate securing bolts and remove the plate, noting the different stud lengths.
- Remove the alternator.
- Remove the P/S pump.
- Remove the emission control air pump pulley and remove the air pump.
- Remove the air conditioning compressor and bracket.
- Remove the water pump.
- Remove the crankshaft cone and Woodruff key.
- Remove the alternator and air pump mounting bracket.
Timing Cover
- Remove the timing cover securing bolts and serrated washers, noting the different bolt lengths and dowel locations.
- Remove the timing cover. Discard the gasket and oil seal.
REFIT
- Clean all components thoroughly and examine all component parts for wear and damage.
- Replace worn or damaged components as necessary.
- Be sure mating faces are clean and grease-free.
- Immerse the new oil seal in clean engine oil. Press the oil seal into the timing cover.
- Refit the timing cover to the engine, using a new gasket. Be sure the oil seal is not damaged or distorted.
- Fit and tighten the securing bolts, Refit the air pump and alternator mounting bracket.
- Refit the crankshaft cone.
- Refit the water pump.
- Refit the air conditioning compressor and bracket.
- Refit the emission control air pump pulley and remove the air pump.
- Refit the P/S pump.
- Refit the alternator.
- Refit the sandwich plate assembly.
- Refit the oil pan.
- Be sure that the cylinder heads and block mating faces are clean and all oil and water galleries are not obstructed.
- Fit a new gasket to the LH cylinder block, ensuring that the side marked 'TOP' is uppermost.
- Fit the LH cylinder head.
- Fit the cylinder head securing nuts and washers.