
XJ-S V12-5.3L (1982)
Drive the car on to a ramp. Open the bonnet. Disconnect the air temperature sensor feed wires (Fig 1).
Release the LH air cleaner toggle clips (1 Fig 2), remove the cover and element (2 Fig 2).
Raise the ramp.
Remove the LH intermediate pipe/front pipe clamp securing nuts/bolts. Displace the intermediate pipe from the front pipe (1 Fig 3).
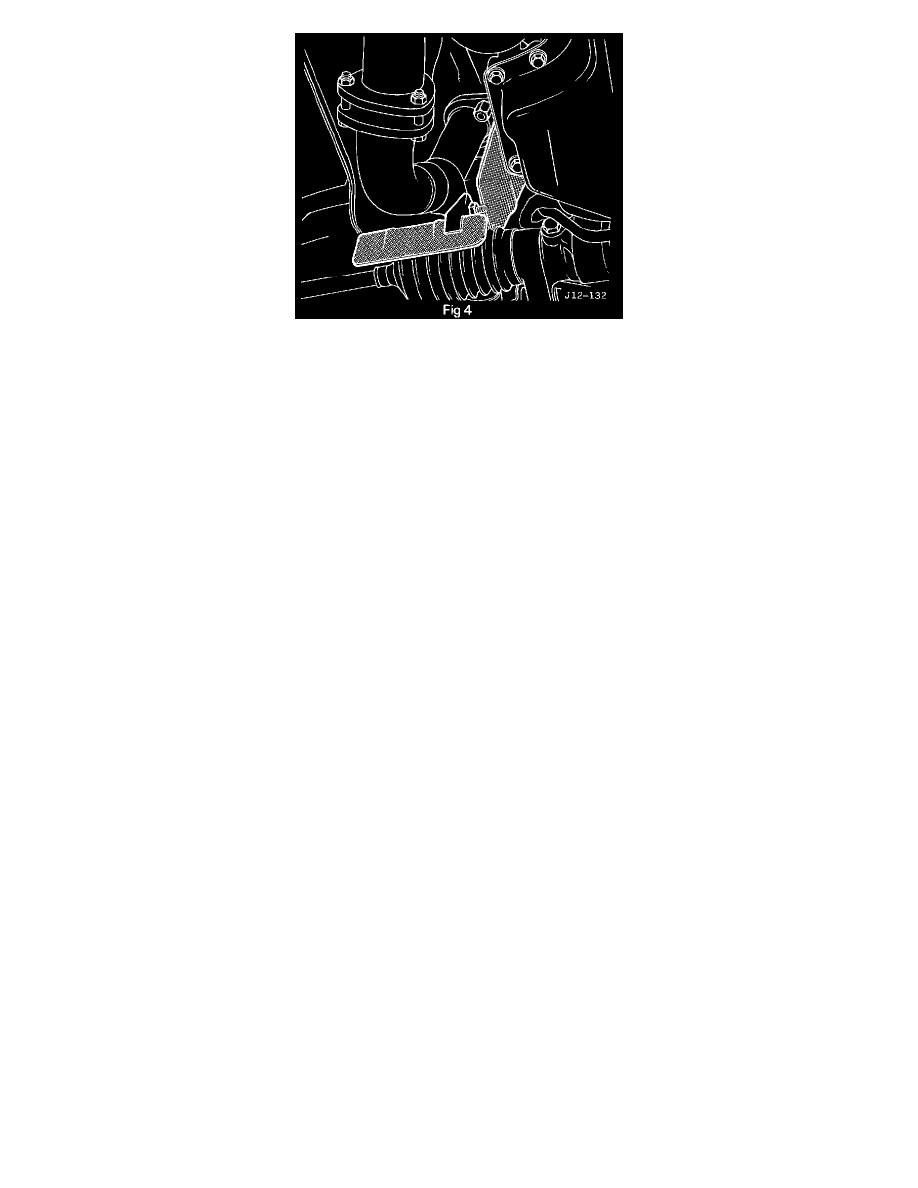
Remove the LH steering rack gaiter heat shield (Fig 4). Remove the LH front pipe heat shield securing nuts, displace the heat shield for access.
Remove the lambda sensor (CATALYST CARS ONLY).
Remove the front pipe to manifold securing nuts (1 Fig 3).
Carefully disconnect the front pipe from the manifold. Remove and discard the front pipe sealing rings. Clean the sealing ring faces, clamps and
olives. Fit new sealing rings to the new LH front pipe. Locate the front pipe assembly into position. Fit the front pipe to the manifold. Fit but do
not fully tighten the securing nuts.
Refit the heat shield. Fit but do not fully tighten the heat shield securing nuts.
Final tighten the front pipe securing nuts. Final tighten the heat shield securing nuts. Refit the lambda sensor (CATALYST CARS ONLY). Refit
the LH rack gaiter heat shield.
Smear the front pipe olive with sealant.
Fit the olive to the intermediate pipe. Fit and align the intermediate pipe to the front pipe.
Position the clamp over the joints, fit and tighten the clamp nut/bolt.
Lower the ramp. Refit the air cleaner.
Reconnect the air temperature sensor feed wires. Run the engine and check for leaks. Road test the vehicle and check that the exhaust does not foul
the underbody, chassis, etc. Re-align as necessary.
DATA
TORQUE FIGURES
Exhaust clamp nuts/bolts 15-18Nm
Front pipe to manifold 30-35Nm
SPANNER SIZES
7/2AF
9/16"AF
OILS/LUBRICANTS/SEALANTS