
XJ-S V12-5.3L (1982)
Evaporator Core: Service and Repair
Early Type
Removal and Installation - Early Type
-
Disconnect the battery earth lead.
-
Remove the console assembly.
-
Remove the fascia board.
-
Drain the engine coolant into a suitable container.
-
Depressurise the air conditioning system.
-
Remove the expansion valve.
-
Remove the air conditioning unit assembly.
-
Remove the heater pipe guide plate securing screws and remove the guide plate.
-
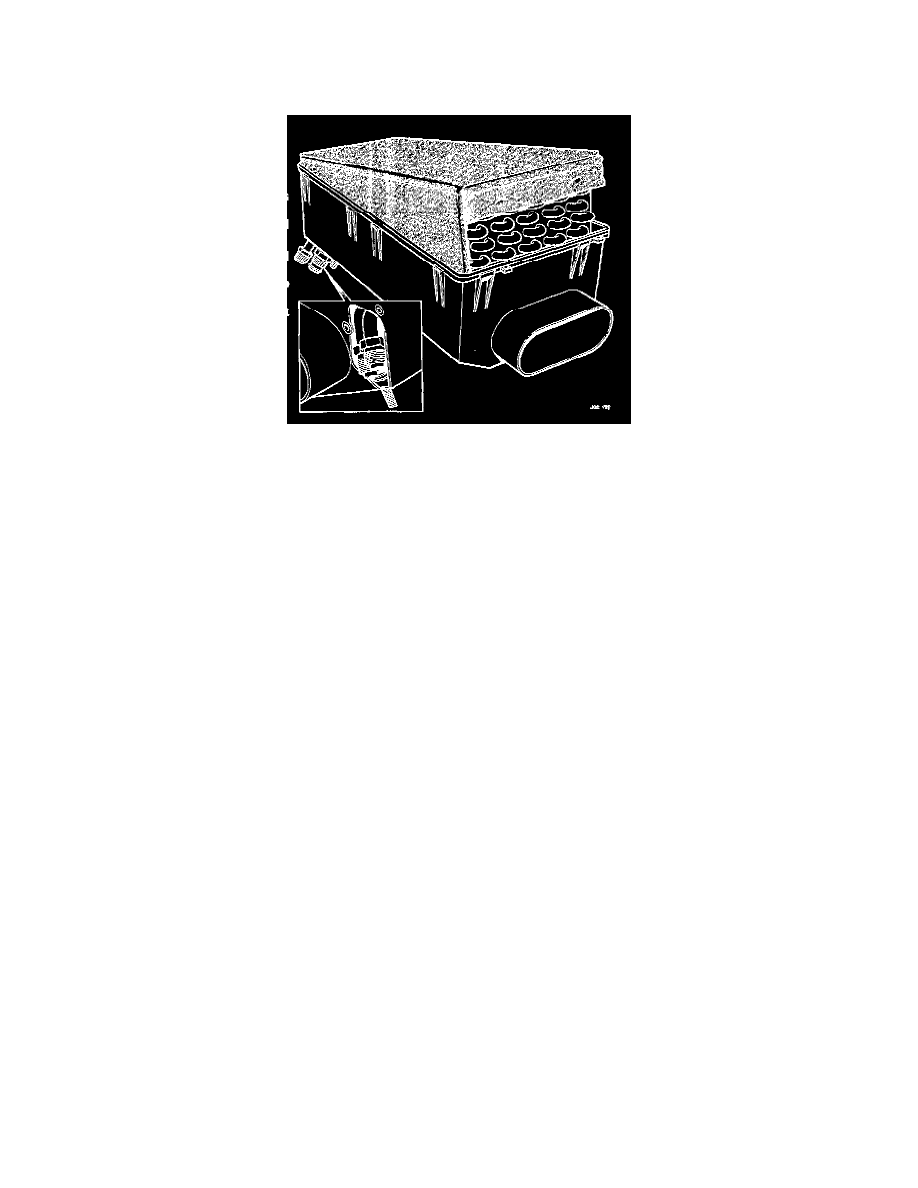
Remove the screws securing evaporator sensor and withdraw the sensor from evaporator.
-
Remove the screws securing the solenoid mounting plate and displace mounting plates from unit.
-
Remove harness to casing earth bolt and displace the harness.
-
Cut and remove harness to casing securing ratchet straps and displace the harness from casing.
-
Displace vacuum hose from casing.
-
Displace heat cladding from capilliary tube.
-
Undo expansion valve to unit union nut.
-
Undo capilliary tube union nut.
-
Remove the capilliary clamp screws.
-
Displace and remove the expansion valve assembly.
-
Remove and discard '0' rings.
-
Fit plugs to expansion valve.
-
Displace and remove casing securing clips.
-
Split casing and remove evaporator from unit.
-
Remove expansion valve guide plate securing screws and remove plate.
-
Displace and remove plate from evaporator.
-
Fitting the new evaporator is the reversal of the removal procedure.
-
Refill the engine cooling system with coolant.
-
Recharge the air conditioning system.