
Cherokee 2WD L6-242 4.0L VIN M FI (1987)
NOTE:
Do not remove the viscous drive unit from the fan.
5.
Position the fan inside the replacement shroud and install the shroud and fan as an assembly.
6.
Align and install the fan hub on the pulley studs. Install and tighten the fan attaching nuts to 24 N-m (18 ft-lbs) torque.
7.
Position the shroud on the radiator crossmember and loosely install the shroud attaching screws. Then push the shroud toward the passenger
side of the vehicle and tighten the screws.
8.
Secure the hood support rod in the bracket and close the hood.
SHROUD-FAN-RADIATOR CROSSMEMBER REPLACEMENT
Removal
1.
Raise and support the hood with a suitable length of wood.
NOTE:
Do not use the vehicle hood support rod and do not position the wood support on the radiator crossmember. The crossmember and support rod
and bracket will both be removed during replacement.
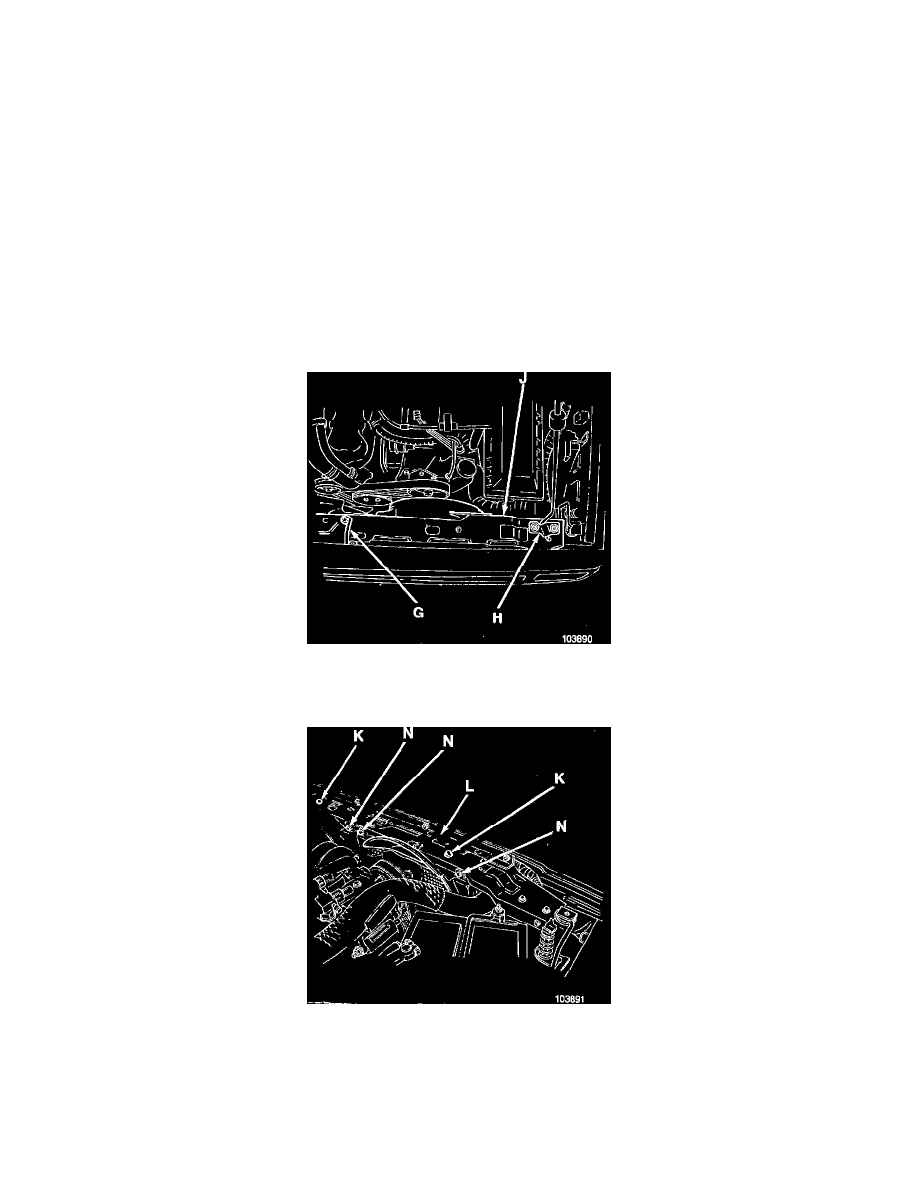
FIGURE 5
2.
Remove the hood latch striker (G) and the hood support rod bracket (H) from the radiator crossmember (J) (Fig. 5).
FIGURE 6
3.
Remove radiator attaching nuts (K) (Fig. 6).
4.
Remove the screws (N) (Fig. 6) attaching both fan shrouds (mechanical and electrical) to the radiator crossmember
5.
Remove the support bracket (L) (Fig. 6).