
Cherokee 4WD L6-242 4.0L VIN M FI (1988)
Steering Column: Service and Repair
Without Tilt
Removal/Installation
REMOVAL
1.
Disconnect battery ground cable.
2.
Paint alignment marks on steering shaft and intermediate shaft.
3.
Remove bolts, then disconnect steering shaft from intermediate shaft.
4.
Remove lower portion of instrument panel.
5.
Remove steering column from instrument panel bracket and lower column.
6.
On vehicles equipped with automatic transmission, disconnect park lock control cable.
7.
Disconnect ignition switch, dimmer switch, windshield wiper switch, turn signal switch and cruise control electrical connectors from steering
column.
8.
Remove toe plate bolts, then the steering column from vehicle.
INSTALLATION
1.
Position steering column into vehicle.
2.
Install steering shaft onto intermediate shaft. Torque bolts to 33 ft. lbs.
3.
Install all switches onto steering column and connect all electrical connectors onto switches.
4.
Raise column and support column using instrument panel bracket. Torque steering column mounting bracket-to-instrument panel bolts to 22 ft.
lbs.
5.
Install steering column toe plate. Torque toe plate to instrument panel bolts to 6 ft. lbs.
6.
Install lower portion of instrument panel and connect battery ground cable.
Disassembly
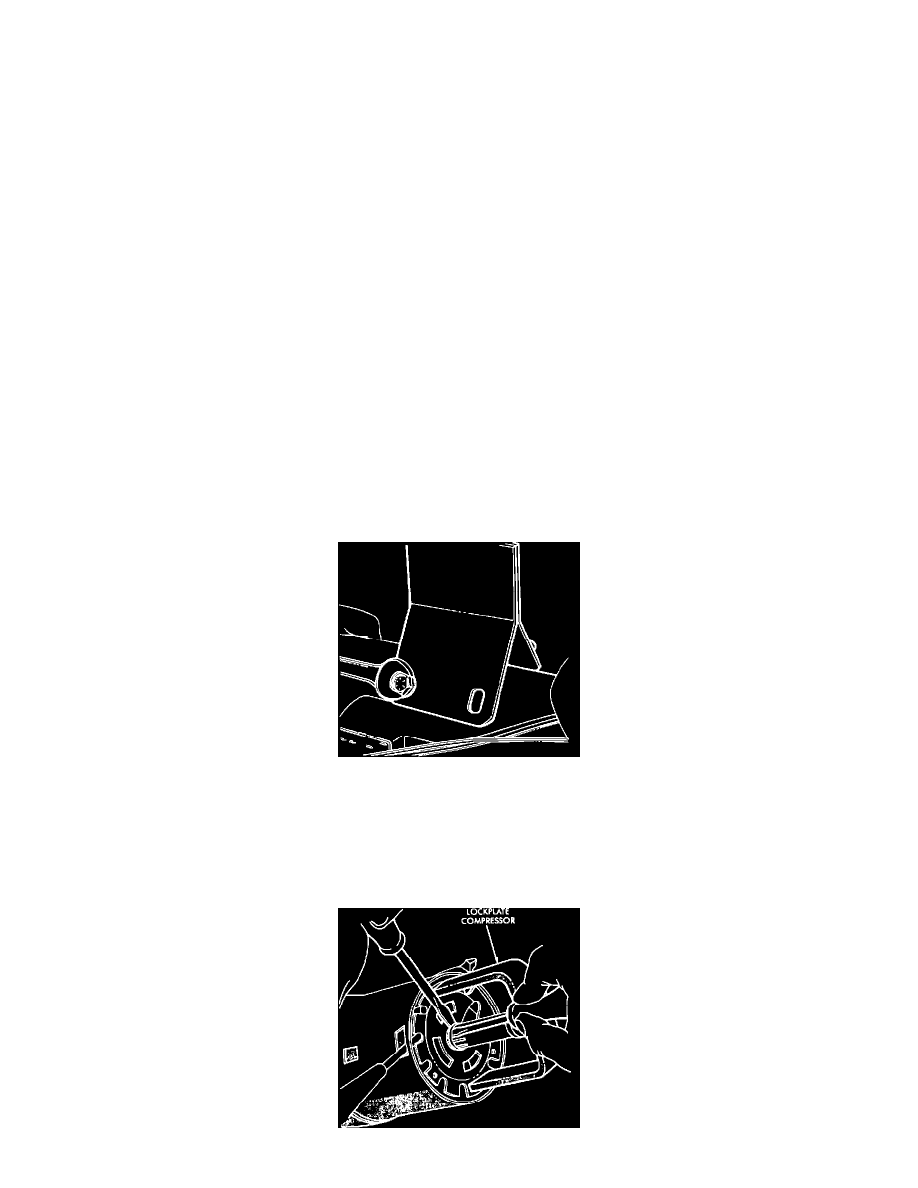
Fig. 31 Steering column support fixture
Steering column removal is not necessary if only the lock plate cover, lock plate, steering shaft snap ring, canceling cam, turn signal switch,
upper bearing preload spring or lock cylinder are to be serviced. If steering column necessitates removal, remove steering column to instrument
panel mounting bracket from column and install support fixture tool No. J-23074 onto steering column.
1.
Disconnect battery ground cable, then remove steering wheel.
2.
Remove lockplate cover.