
Cherokee 4WD L6-4.0L VIN S (1998)
Headlamp Switch: Service and Repair
REMOVAL
WARNING:
1. ON VEHICLES EQUIPPED WITH AIRBAGS, REFER TO AIR BAGS AND SEAT BELTS/AIR BAGS BEFORE ATTEMPTING ANY
STEERING WHEEL, STEERING COLUMN, OR INSTRUMENT PANEL COMPONENT DIAGNOSIS OR SERVICE. FAILURE TO
TAKE THE PROPER PRECAUTIONS COULD RESULT IN ACCIDENTAL AIRBAG DEPLOYMENT AND POSSIBLE PERSONAL
INJURY.
2. IF THE HEADLAMP SWITCH WAS ON, WAIT FIVE MINUTES TO ALLOW THE CERAMIC DIMMER RESISTOR TO COOL. IF
THE CERAMIC DIMMER RESISTOR IS NOT ALLOWED TO COOL, IT CAN BURN YOUR FINGERS.
1. Disconnect and isolate the battery negative cable.
2. Remove the knee blocker as described.
3. Pull the headlamp switch control knob out to the On position stop.
4. Reach up through the outboard side of the steering column opening and depress the headlamp switch knob and shaft release button on the inboard
side of the switch.
5. Pull the switch knob and shaft out of the headlamp switch.
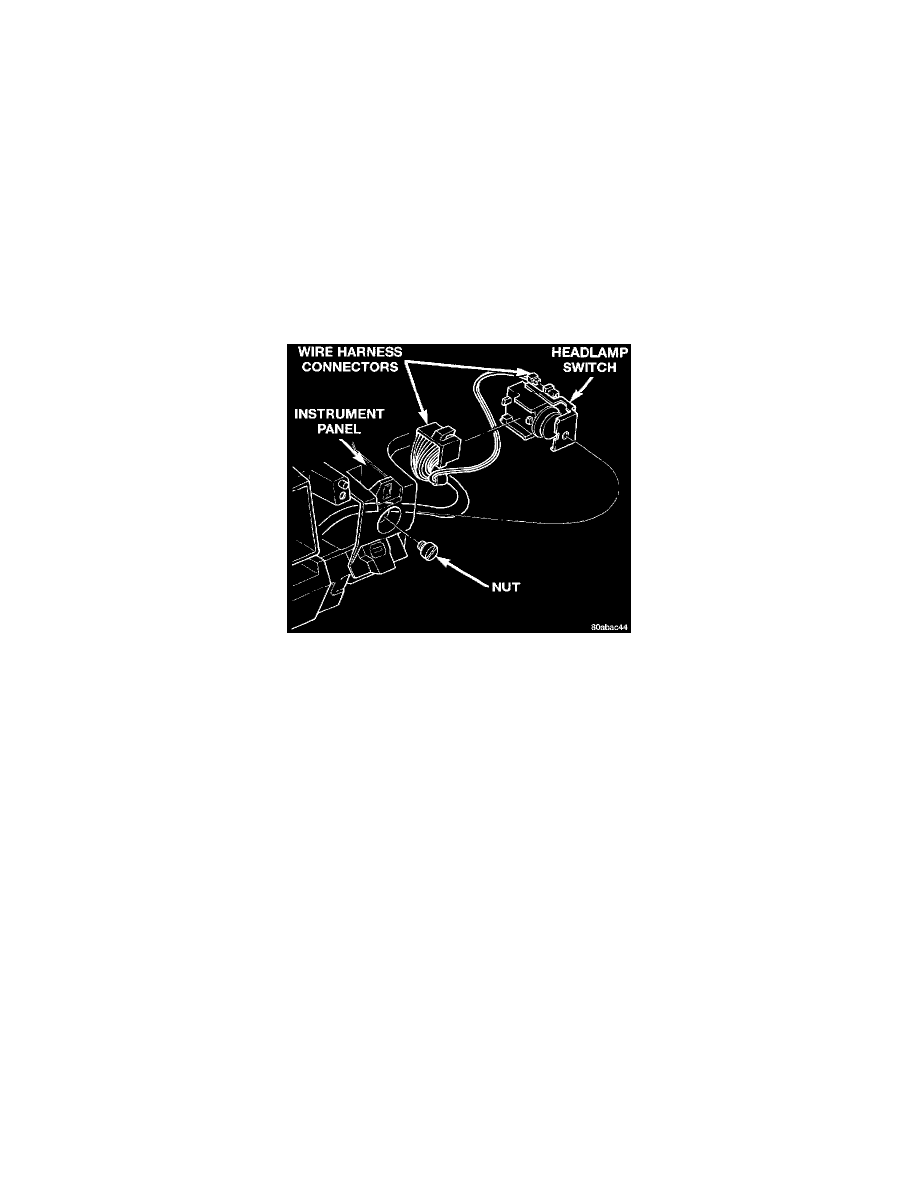
Headlamp Switch Remove/Install
6. Remove the spanner nut that secures the head-lamp switch to the instrument panel.
7. Move the headlamp switch into the steering column opening far enough to access the wire harness connectors.
8. Unplug the two wire harness connectors from the headlamp switch.
9. Remove the headlamp switch from the instrument panel.
10. Reverse the removal procedure to install. Tighten the spanner nut to 2.7 N.m (24 in. lbs.).