
Cherokee 4WD V6-173 2.8L VIN W 2-bbl (1985)
Crankshaft Main Bearing Seal: Service and Repair
V6-173
Three different type rear main seals are used to replace the original rope-type seal. A two-piece seal is used on engines equipped with a knurled
crankshaft built prior to May 17, 1984. A narrow one-piece seal is used on engines without a knurled crankshaft built after May 17, 1984, and a wide
one-piece seal is used on all 1985-86 vehicles. The original rope-type seal can be repaired by following the procedure outlined below. Also found
below will be the replacement procedures for the two-piece seal, and both narrow and wide one-piece seals.
Fig. 30 Rear main oil seal repair. V6-173
Rope-Type Seal Repair
1. Remove oil pan and oil pump as previously described.
2. Remove rear main bearing cap.
3. Using tool No. J-29114-2, gently drive upper seal into groove approximately 1/4 in.
4. Repeat step 3 for other end of seal.
5. Measure the amount that was driven in on one side and add 1/16 in. Using a suitable cutting tool, cut this length from the oil rear main bearing cap
lower seal using the main bearing cap as a guide. Repeat this step for the other end of seal.
6. Place piece of cut seal into groove of seal installer tool guide No. J-29114-1 and install tool guide onto engine block.
7. Using seal packing tool No. J-29114-2, drive piece of seal into block. Drive seal in until packing tool contacts machined stop.
8. Remove tool guide and repeat steps 6 and 7 for other end of seal.
9. Install new seal in bearing cap.
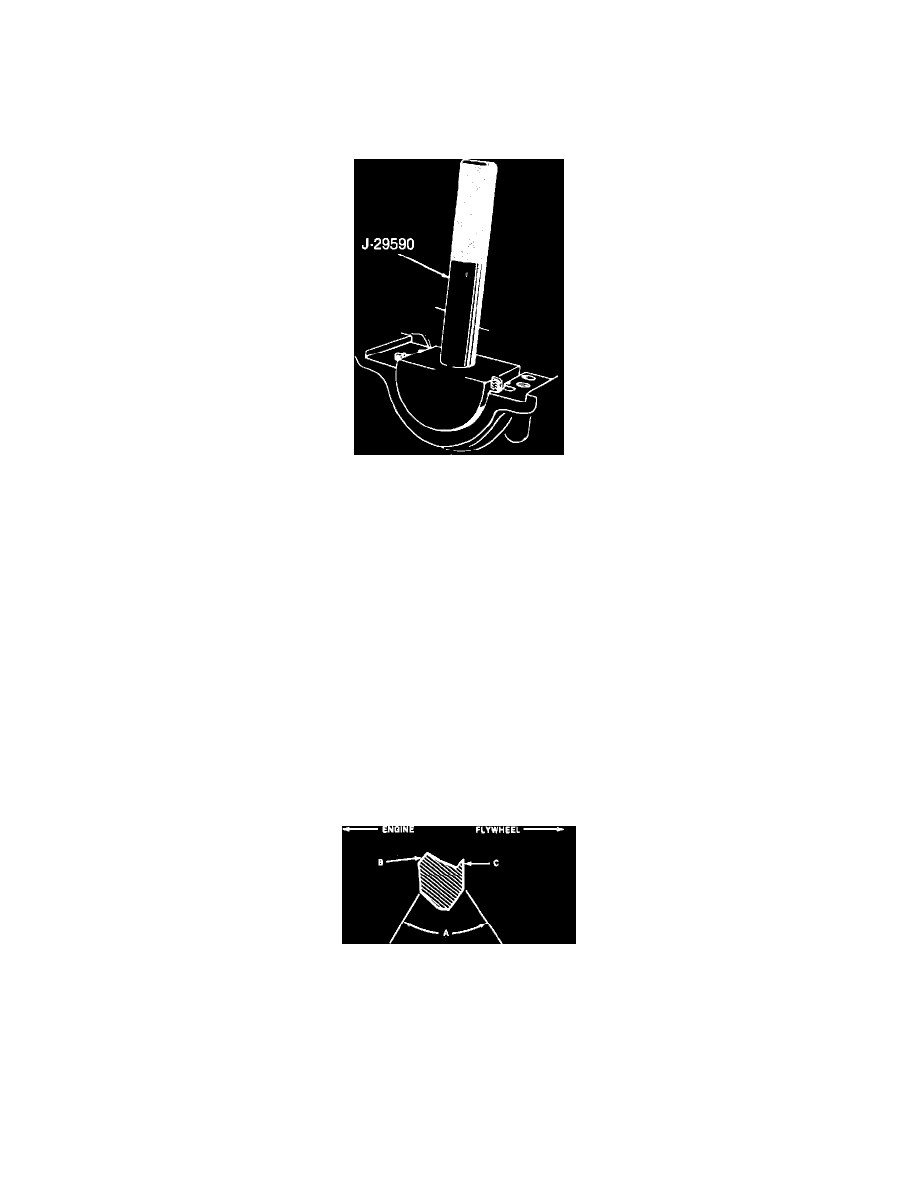
10. Cut ends of seal flush with cap using tool J-29590, Fig. 30.
11. Place a piece of plastic gauging material on rear main journal, then install rear main bearing cap and torque to 70 ft. lbs.
12. Remove rear cap and check plastic gauge for bearing clearance. If clearance is not within specifications, recheck seal ends for fraying which may
prevent cap from fully seating, and repair as necessary.
13. Clean plastic gauge from journal and bearing.
14. Apply a thin film of sealant No. 1052357 or equivalent to rear cap, then install cap. Use care not to allow sealant to contact the seal and bearing.
Fig. 31 Cross sectional view of two-piece type rear seal