
Comanche 4WD L4-150 2.5L VIN E TBI (1989)
Removing/Installing Cab Side Panel
7. Remove the lower panel bolts and remove the panel.
8. Position and install the lower panel first. Then install the upper panel. Be sure the upper panel push screws are all seated.
9. Install the jack, fold over the carpet flaps and reposition the seat.
CAB SIDE TRIM PANELS
1. Remove the cab rear upper and lower trim panels.
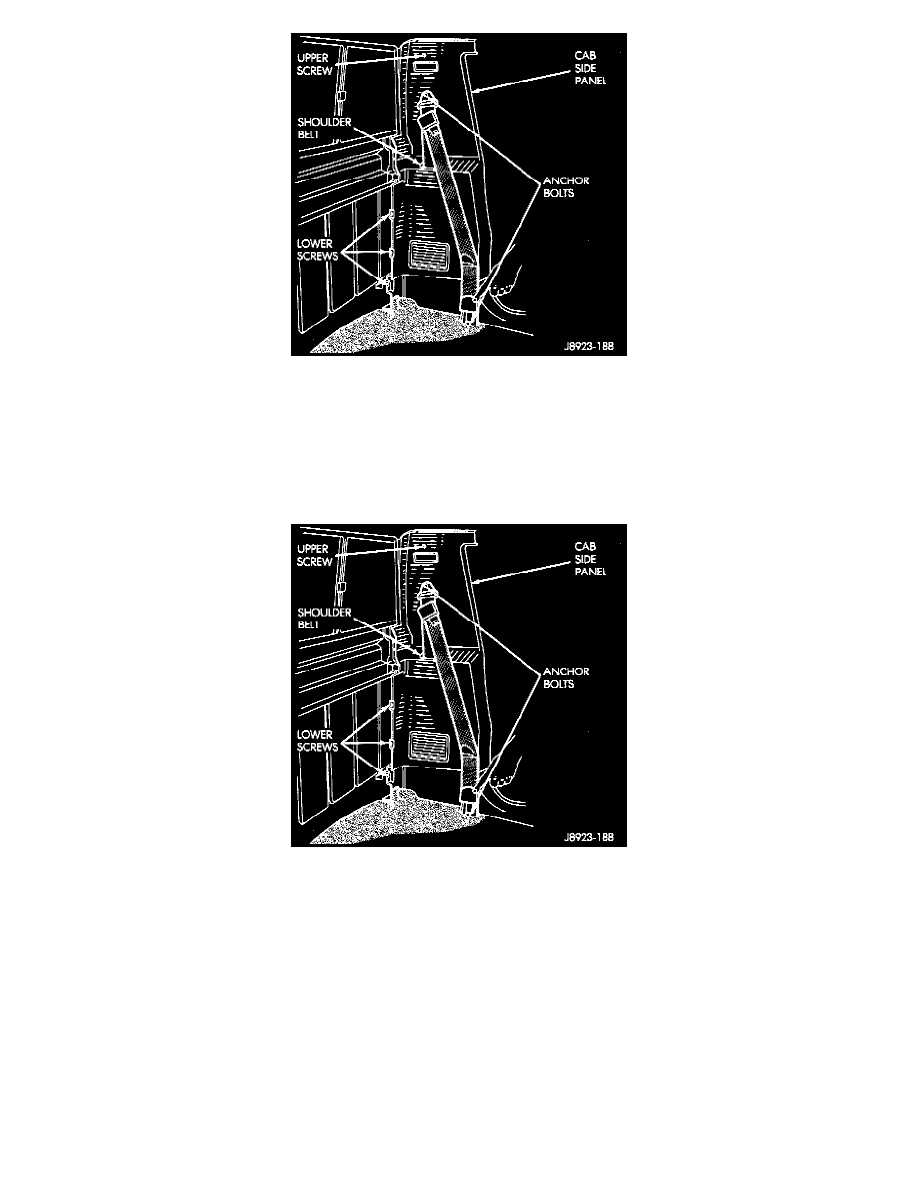
Removing/Installing Cab Side Panel
2. Remove the trim cover concealing the shoulder belt anchor bolt.
3. Remove the upper and lower shoulder belt anchor bolts.
4. Remove the trim cover that conceals the upper most trim panel retaining screw and remove the screw.
5. Disconnect the interior lamp wire connectors.
6. Slide the belt out of the panel and remove the trim panel.
7. Insert the belt in the panel.
8. Position the panel on the body and install the panel screws.
9. Connect the interior lamp wire connectors.
10. Install the shoulder belt anchor bolts and the bolt trim covers.
Tighten the bolts to 34 - 47 Nm (25 - 35 ft-lbs) torque.
11. Install the rear lower and upper cab trim panels.