
Commander 2WD V8-4.7L (2008)
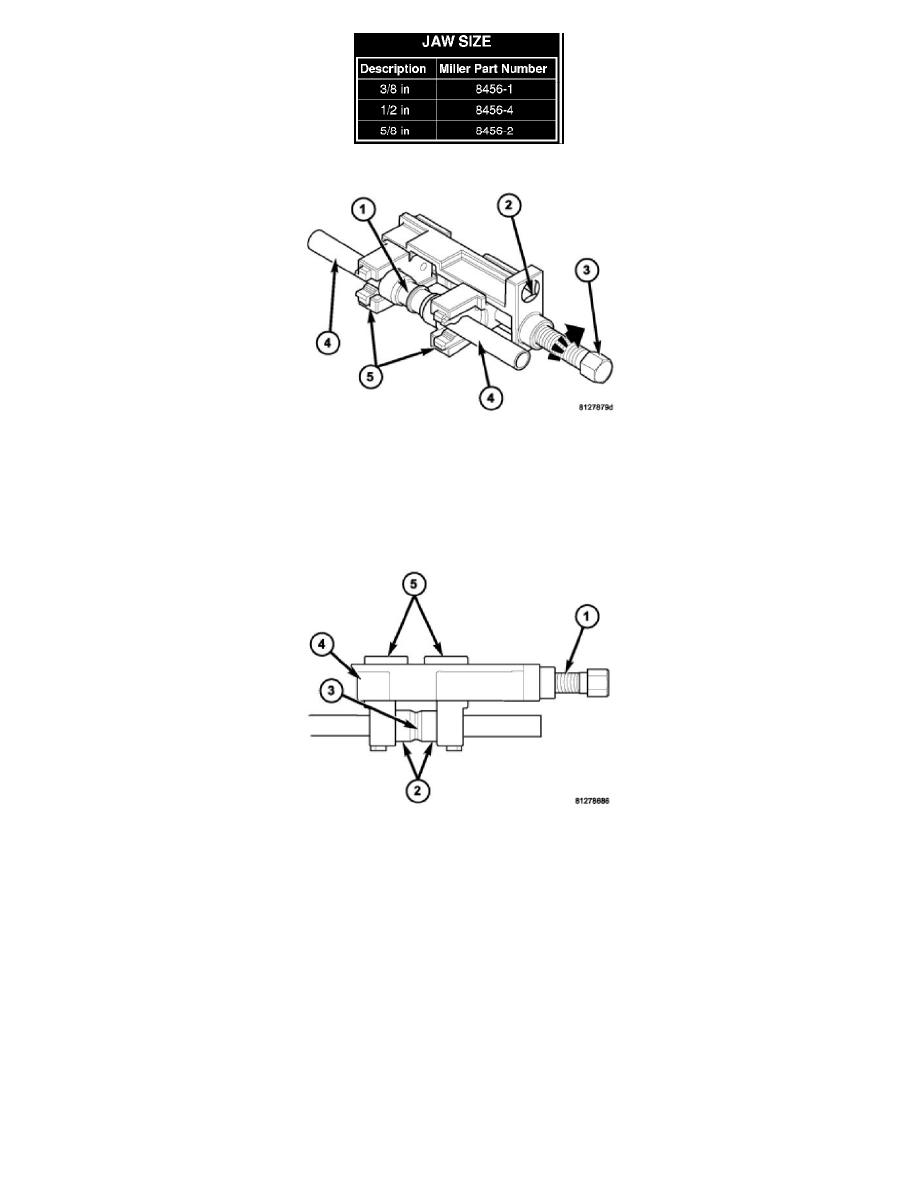
NOTE: The connector fitting ends must be positioned into the counterbore of the jaws in order for the connector fitting to properly seal the
repair area.
15. Install the connector fitting (1) and the line ends (4) into the counterbore of the jaws (5).
16. Hold the tool body (Special Tool 8456-3 in Kit 8456-A) (2) with a 3/8 inch breaker bar and turn the forcing screw (3) clockwise.
NOTE: The lines must be kept fully inserted into the connector fitting to obtain a leak free joint.
17. Turn the forcing screw (1) clockwise until both connector fitting collars (2) have bottomed out on the center shoulder of the connector (3).
18. Loosen the forcing screw and remove the tool body (Special Tool 8456-3 in Kit 8456-A) (4) and the jaws (5) from the repaired line(s).
19. Install the underbody mounting brackets as necessary See: Removal and Replacement/A/C Line - Installation/Underbody Line.
20. Lower the vehicle.
21. Reconnect the negative battery cable.
22. If repairing an underbody coolant line, refill the engine cooling system See: Engine, Cooling and Exhaust/Cooling System/Service and Repair.
23. If repairing an underbody refrigerant line, evacuate and charge the refrigerant systemSee: Heating and Air Conditioning/Service and
Repair/Refrigerant System Evacuate and See: Heating and Air Conditioning/Service and Repair/Refrigerant System Charge.