Commander 2WD V8-4.7L Flex Fuel (2009)

Air Duct: Service and Repair
Floor Distribution Duct - Installation
Front
INSTALLATION
FRONT FLOOR DUCTS
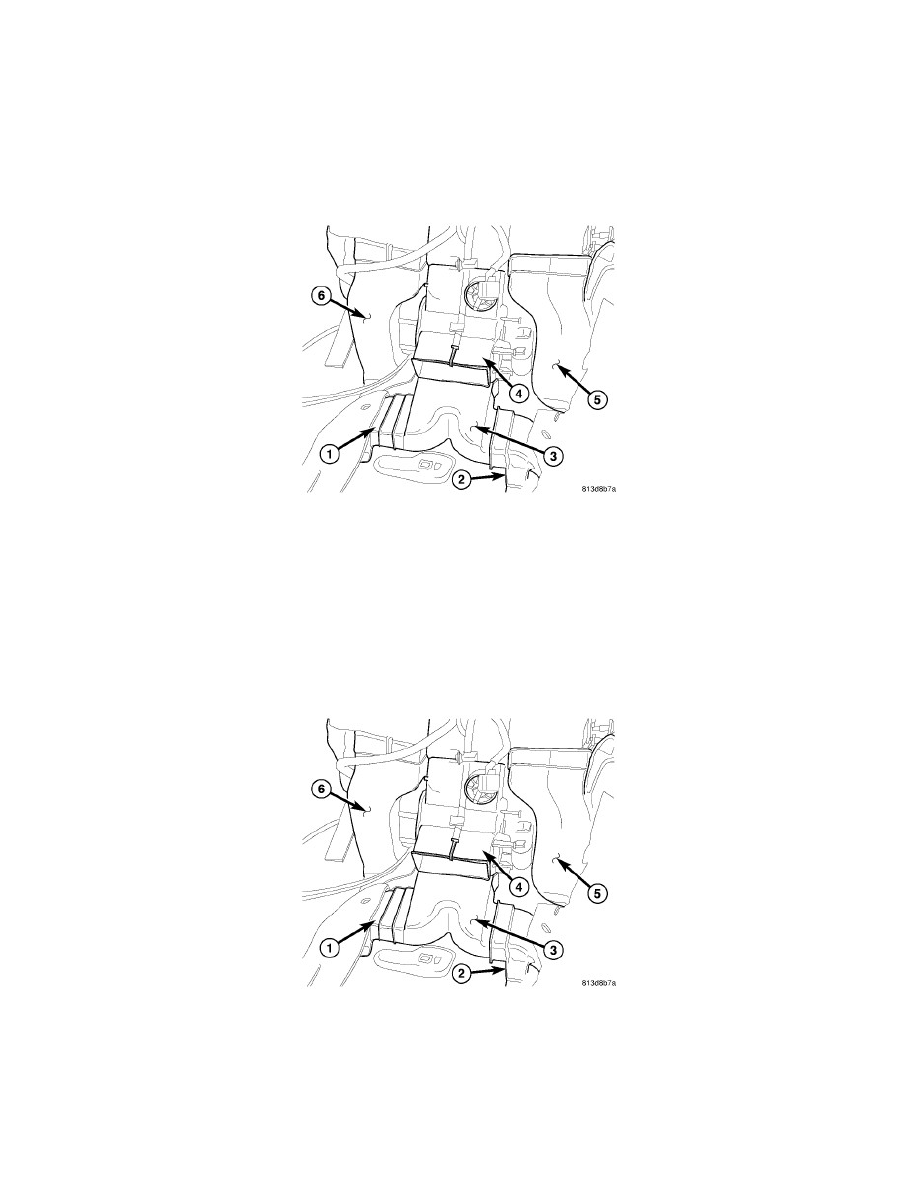
NOTE: Illustration shown with instrument panel, gear selector and console duct removed for clarity.
1. Position the right front floor duct (5) and left front floor duct (6) into the vehicle
2. Connect the front floor ducts to the rear of the air distribution housing (4).
3. Install the instrument panel See: Body and Frame/Interior Moulding / Trim/Dashboard / Instrument Panel/Service and Repair/Instrument Panel -
Installation.
REAR FLOOR DUCTS
NOTE: LHD model shown in illustrations. RHD model similar.
1. Position the rear floor distribution duct (3) into the vehicle and connect it to the rear of the HVAC air distribution housing (4).
2. Position the left rear floor duct (1) and right rear floor duct (2) into the vehicle and engage the retainers that secure the floor ducts to the floor
support.
3. Connect the rear floor ducts to the rear floor distribution duct.
4. Install the carpet onto the front floor panel and under the instrument panel See: Body and Frame/Interior Moulding / Trim/Carpet/Service and
Repair/Carpet - Installation.
