
Commander 2WD V8-5.7L (2008)
4. Install the lower clevis bolt at the lower control arm and tighten to 169 Nm (125 ft lbs).
5. Install the stabilizer link (6) at the lower control arm and tighten to 115 Nm (85 ft lbs).
6. Install the steering knuckle (3) to the upper ball joint (2) and tighten the nut (4) to 95 Nm (70 ft. lbs.)See: Front Steering Knuckle/Service and
Repair/Front Steering Knuckle - Installation.
7. Install the tire and wheel assembly.
8. Lower the vehicle.
9. Perform wheel alignment See: Alignment/Service and Repair.
Left Side
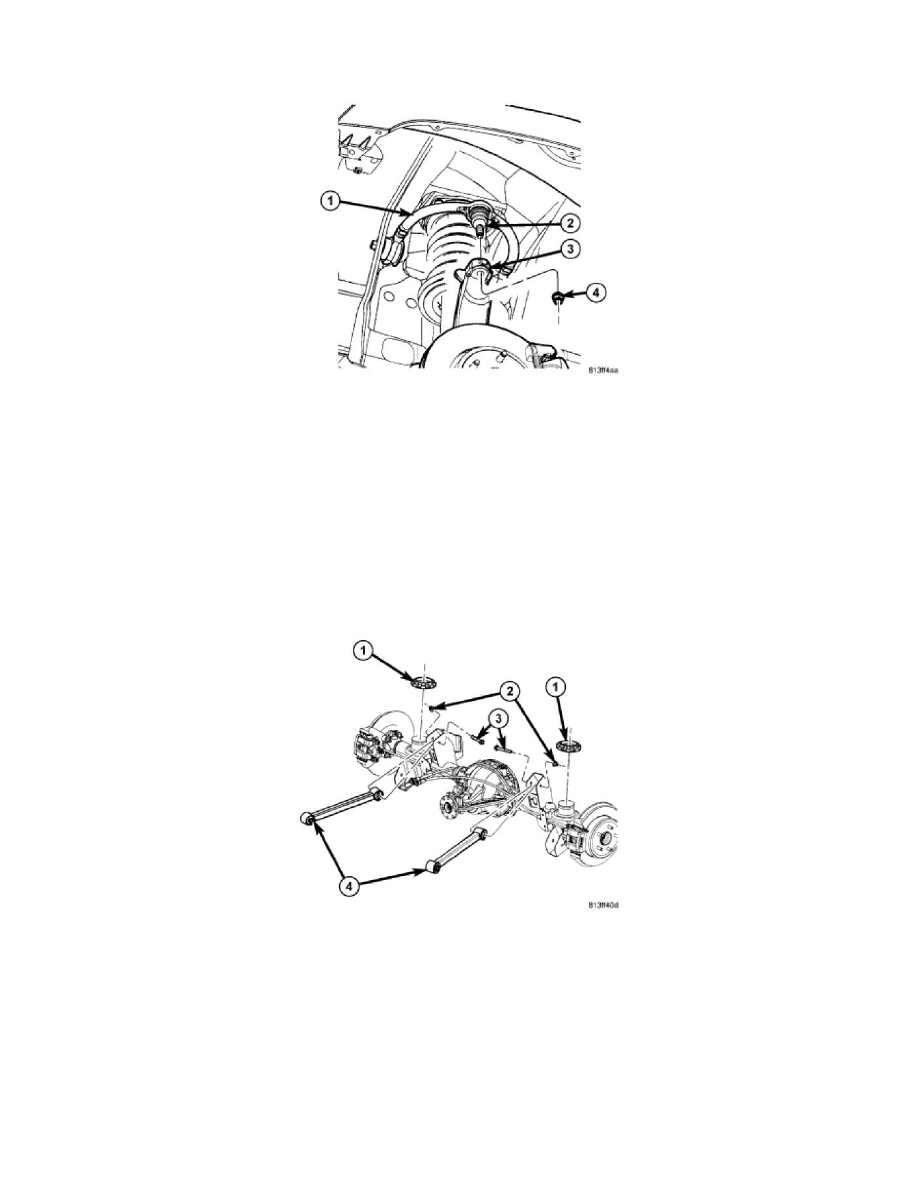
LEFT SIDE
1. Raise and support the vehicle.
2. Support the rear axle.
3. Lower the fuel tank in order to gain access to the bolt See: Powertrain Management/Fuel Delivery and Air Induction/Fuel Tank/Service and
Repair/Fuel Tank - Removal.
4. Remove the upper suspension arm nut (2) and bolt (3) from the axle bracket.