
Commander 4WD V8-4.7L (2008)
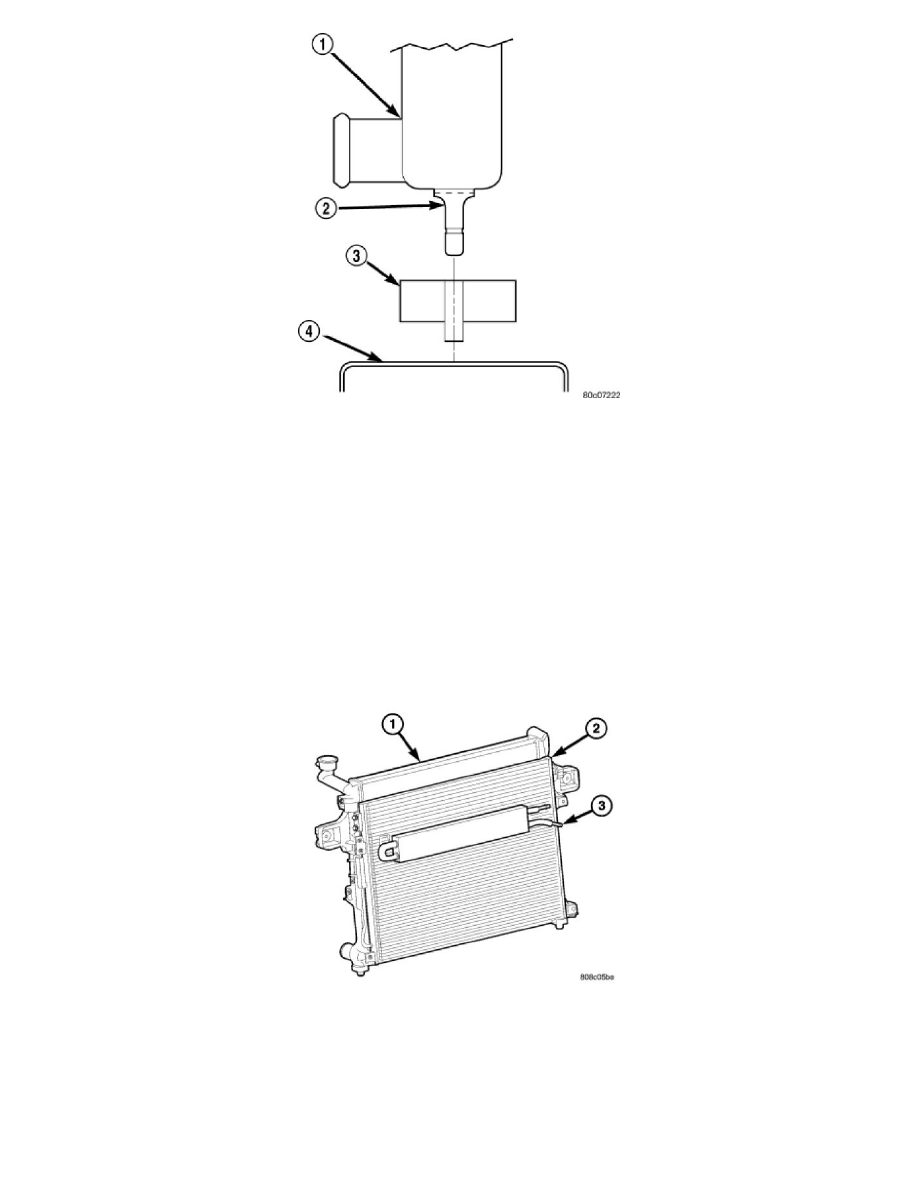
11. The lower part of radiator is equipped with two alignment dowel pins. They are located on the bottom of radiator tank and fit into rubber
grommets. These rubber grommets are pressed into the radiator lower crossmember.
WARNING: The air conditioning system (if equipped) is under a constant pressure even with the engine off. Refer to refrigerant
warnings in, heating and air conditioning before handling any air conditioning component.
NOTE: The radiator and radiator cooling fan can be removed as an assembly. It is not necessary to remove the cooling fan before removing or
installing the radiator.
12. Disconnect the two high pressure fluid lines at the hydraulic fan drive.
13. Disconnect the low pressure return hose at the hydraulic fan drive.
14. Gently lift up and remove radiator from vehicle. Be careful not to scrape the radiator fins against any other component. Also be careful not to
disturb the air conditioning condenser (if equipped).
Radiator - Installation
GAS ENGINES
CAUTION: Before installing the radiator or A/C condenser, be sure the radiator-to-body and radiator-to-A/C condenser rubber air seals are
properly fastened to their original positions. These are used at the top, bottom and sides of the radiator and A/C condenser. To prevent
overheating, these seals must be installed to their original positions.
1. Equipped with air conditioning: Gently lower the radiator and fan shroud into the vehicle. Guide the two radiator alignment dowels through the
holes in the rubber air seals first and then through the A/C support brackets. Continue to guide the alignment dowels into the rubber grommets
located in lower radiator crossmember. The holes in the L-shaped brackets (located on bottom of A/C condenser) must be positioned between
bottom of rubber air seals and top of rubber grommets.