
Commander 4WD V8-4.7L (2008)
11. Remove the A/C expansion valve from the evaporator tube tapping block and remove and discard the O-ring seals.
12. Install plugs in, or tape over the opened evaporator tube fittings and all expansion valve ports.
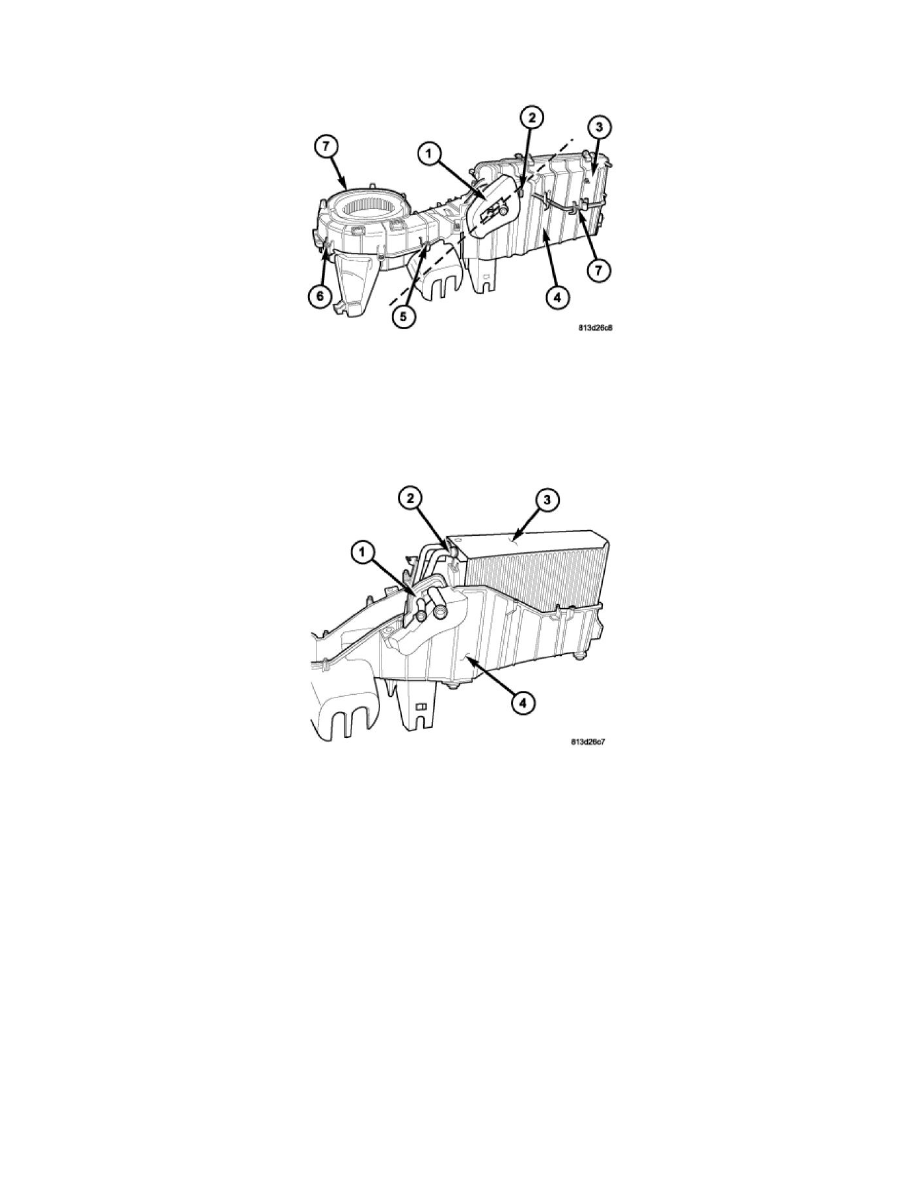
13. Carefully cut the foam seal (1) along the parting line (2) of the upper half of the HVAC housing (3) and the lower half of the HVAC housing (4). If
the seal is deformed or damaged, it must be replaced.
14. Remove the three metal retaining clips (5) that secure the two halves of the HVAC housing together.
15. Remove the ten screws (6) that secure the two halves of the HVAC housing together.
16. Disengage the two plastic retaining clips (7) and separate the two halves of the HVAC housing.
17. Open the rubber seal (1) and carefully lift the A/C evaporator (2) and insulator (3) out of the lower half of the HVAC housing (4).
18. If required, remove the rubber seal from the lower half of the HVAC housing. If the seal is deformed or damaged, it must be replaced.
19. If required, remove the insulator from the A/C evaporator. If the insulator is deformed or damaged, it must be replaced.
Rear HVAC Housing
DISASSEMBLY
NOTE: The rear HVAC housing must be removed from the vehicle for service of the mode door actuator, blend door actuator, blower motor
and blower motor resistor and, it must be disassembled for service of the A/C evaporator, heater core, mode-air door and blend-air door.