
Commander 4WD V8-4.7L (2008)
Control Arm: Service and Repair
Front Lower Control Arm - Installation
INSTALLATION
1. Position the lower suspension arm into the cradle.
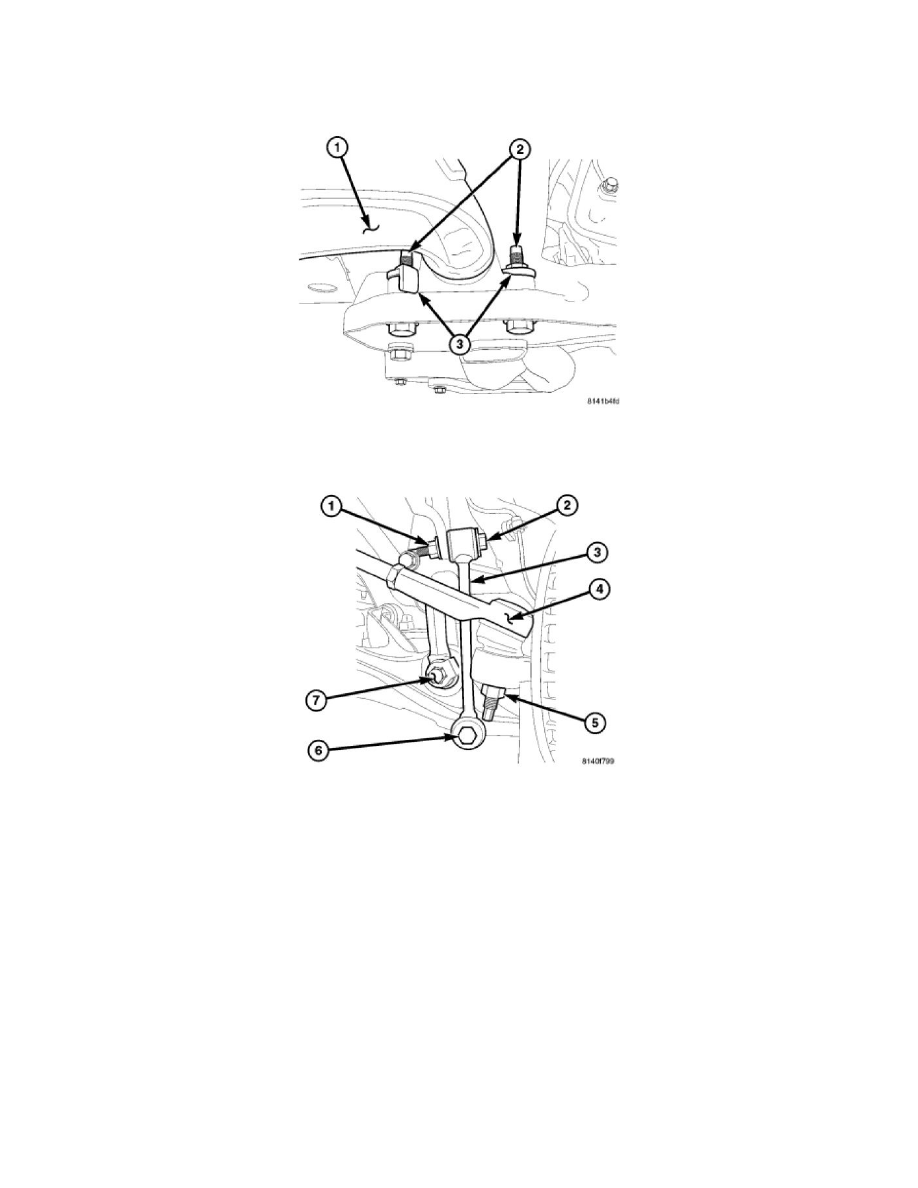
2. Install the rear bolts (2) and flag nuts (3) to secure the lower control arm (1) to the frame, Tighten the bolts (3) to 88 Nm (65 ft lbs).
3. Install the nut and bolt for the front of the lower control arm Tighten to 169 Nm (125 ft lbs).
NOTE: Orientation of the flag bolt is critical Flag and head of the bolt (7) must be installed on the forward side of the lower control arm.
4. Install the lower clevis bolt at the lower control arm and tighten to 169 Nm (125 ft lbs).
5. Install the stabilizer link (6) at the lower control arm and tighten to 115 Nm (85 ft lbs).