Commander 4WD V8-4.7L VIN N (2006)

Engine Control Module: Diagnostic Aids
Electrostatic Discharge (ESD) Sensitive Devices
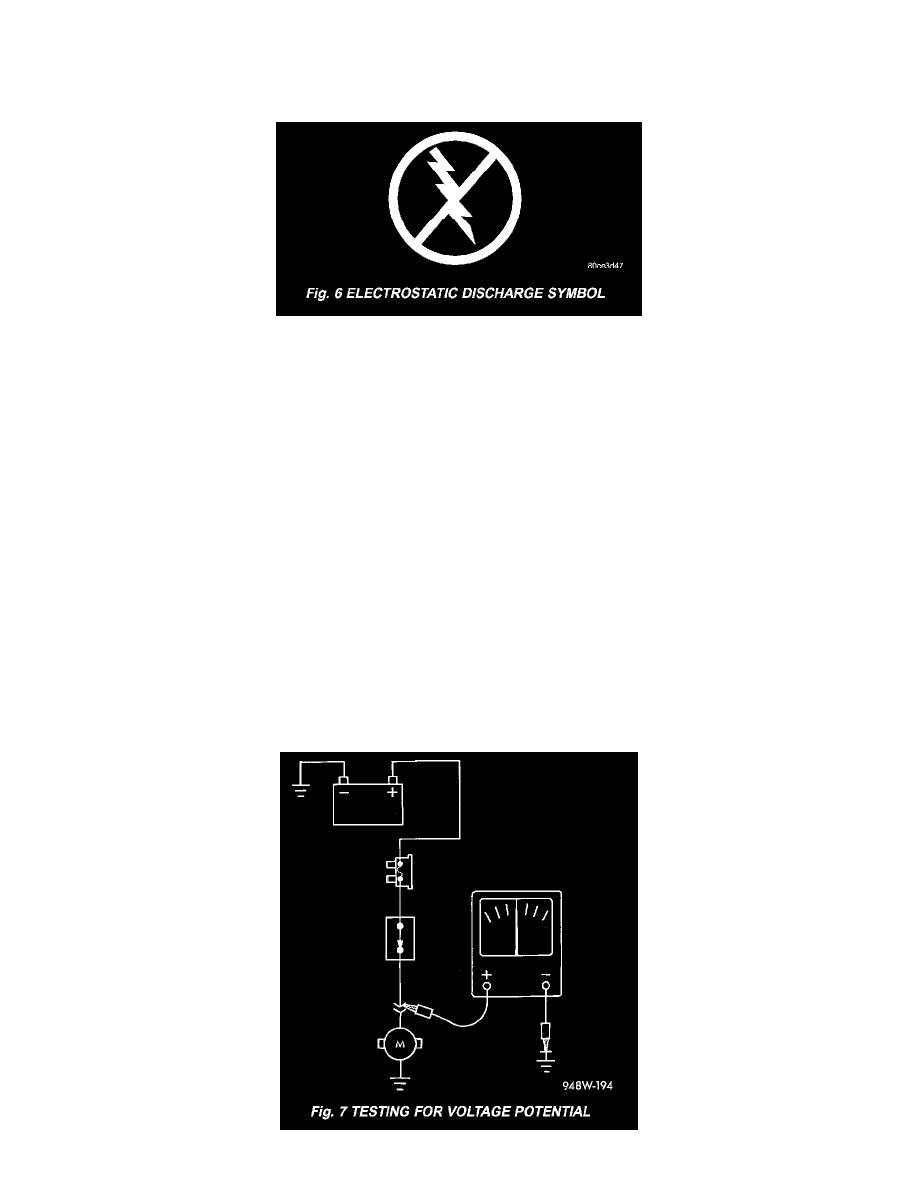
Fig.6 Electrostatic Discharge Symbol
All ESD sensitive components are solid state and a symbol (Fig. 6) is used to indicate this. When handling any component with this symbol, comply with
the following procedures to reduce the possibility of electrostatic charge build up on the body and inadvertent discharge into the component. If it is not
known whether the part is ESD sensitive, assume that it is.
1. Always touch a known good ground before handling the part. This should be repeated while handling the part and more frequently after sliding
across a seat, sitting down from a standing position, or walking a distance.
2. Avoid touching electrical terminals of the part, unless instructed to do so by a written procedure.
3. When using a voltmeter, be sure to connect the ground lead first.
4. Do not remove the part form it's protective packing until it is time to install the part.
5. Before removing the part from it's package, ground the package to a known good ground on the vehicle.
Intermittent and Poor Connections
Most intermittent electrical problems are caused by faulty electrical connections or wiring. It is also possible for a sticking component or relay to cause a
problem. Before condemning a component or wiring assembly, check the following items.
-
Connectors are fully seated
-
Spread terminals, or terminal push out
-
Terminals in the wiring assembly are fully seated into the connector/component and locked into position
-
Dirt or corrosion on the terminals. Any amount of corrosion or dirt could cause an intermittent problem
-
Damaged connector/component casing exposing the item to dirt or moisture
-
Wire insulation that has rubbed through causing a short to ground
-
Some or all of the wiring strands broken inside of the insulation
-
Wiring broken inside of the insulation.
Troubleshooting Tests
