
Compass 2WD L4-2.0L VIN 0 (2007)
9. Rotate crankshaft so that each connecting rod is centered in cylinder bore.
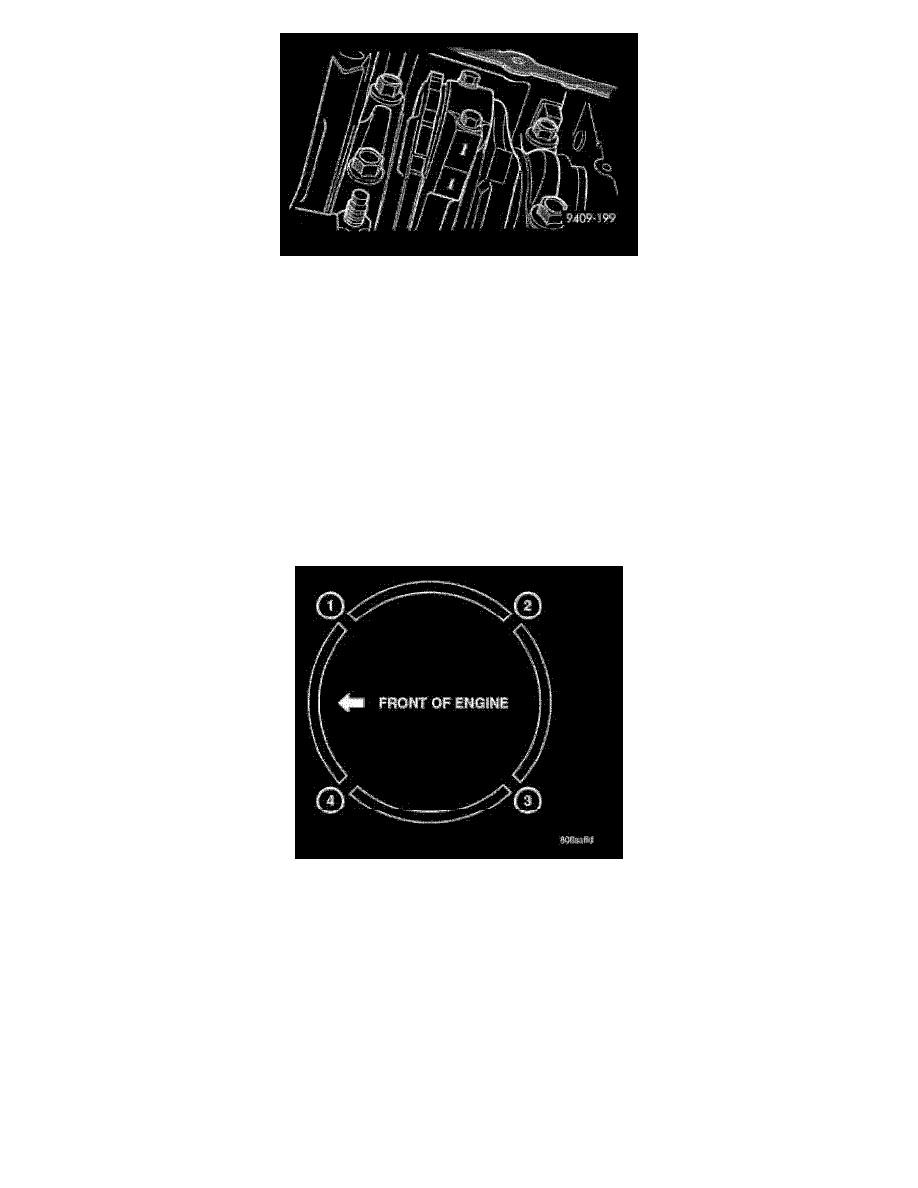
10. Using a permanent ink or paint marker, identify cylinder number on each connecting rod cap.
CAUTION: DO NOT use a number stamp or a punch to mark connecting rods, as damage to connecting rod may occur.
CAUTION: Care must be taken not to damage the fractured rod and cap joint surfaces, as engine damage may occur.
11. Remove connecting rod bolts and cap.
CAUTION: Do not reuse connecting rod bolts. These are one-time-use bolts and reuse could result in engine failure.
12. Carefully push each piston and rod assembly out of cylinder bore. Re-install bearing cap on the mating rod.
13. Repeat procedure for each piston and connecting rod assembly.
Piston and Connecting Rod - Installation
INSTALLATION
1. Install piston rings on piston.
2. Before installing pistons and connecting rod assemblies into the bore, be sure that top compression ring gap (1) and the second compression ring
gap (3) are staggered so that neither is in line with oil ring rail gap.
3. Before installing the ring compressor, make sure the oil ring expander ends are butted (1) and the rail gaps (2,4) are located as shown. As viewed
from the top of the piston.
4. Immerse the piston head and rings in clean engine oil and slide the ring compressor over the piston. Be sure position of rings does not change
during this operation.
5. The directional arrow stamped on the piston should face toward the front of the engine.
6. Rotate crankshaft so that the connecting rod journal is on the center of the cylinder bore. Lubricate connecting rod journal with clean engine oil.
NOTE: There are three different size rod bearings, perform rod bearing selection procedure.
7. The rod bearing sizes are indicated on the nose of the crankshaft.
8. Install connecting rod upper bearing half into connecting rod.
9. Tap the piston down in cylinder bore, using a hammer handle. At the same time, guide connecting rod into position on connecting rod journal.