
Compass 2WD L4-2.4L (2008)
Power Distribution Module: Service and Repair
Totally Integrated Power Module
Removal
REMOVAL
1. Open hood.
2. Disconnect and isolate the battery negative cable.
3. Disconnect each of the Totally Integrated Power Module (TIPM) wire harness connectors.
4. Remove the TIPM positive cable retaining nut and remove the cable from the stud.
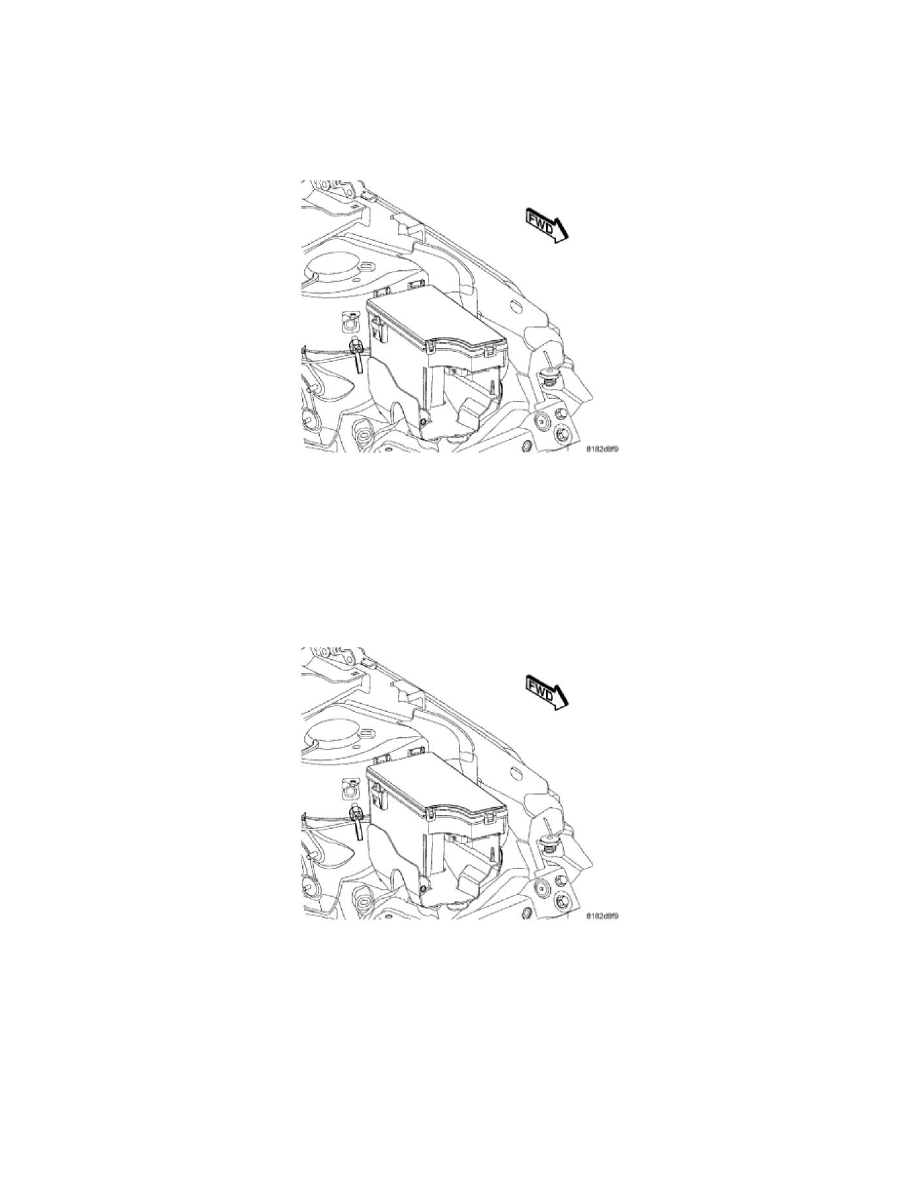
5. Depress the three mounting clips to disengage and remove the TIPM housing from its mounting bracket.
6. Remove the TIPM from the vehicle.
Installation
INSTALLATION
CAUTION: The original Cab Compartment Node (CCN) and Powertrain Control Module (PCM) must be installed and functioning properly
prior to powering up the new Totally Integrated Power Module (TIPM). The TIPM receives vehicle configuration data from the CCN and
Vehicle Identification Number information from the PCM. If configuration information becomes lost or corrupted, the data can be obtained
from DealerCONNECT
1. Position the TIPM onto the mounting bracket and push down until the mounting clips are fully seated.
2. Position the TIPM positive cable onto the mounting stud and install the retaining nut. Torque nut 9 - 11 Nm (80 - 100 in. lbs.).
3. Connect each of the TIPM wire harness connectors.
4. Remove TIPM cover and fully seat the Airbag fuse holder (two fuses in one yellow carrier). Fully seat the Ignition Off Draw (IOD) fuses (two
fuses in a white/natural carrier).
5. Connect the battery negative cable.
6. Close hood.