
Grand Cherokee 2WD V6-3.7L (2008)
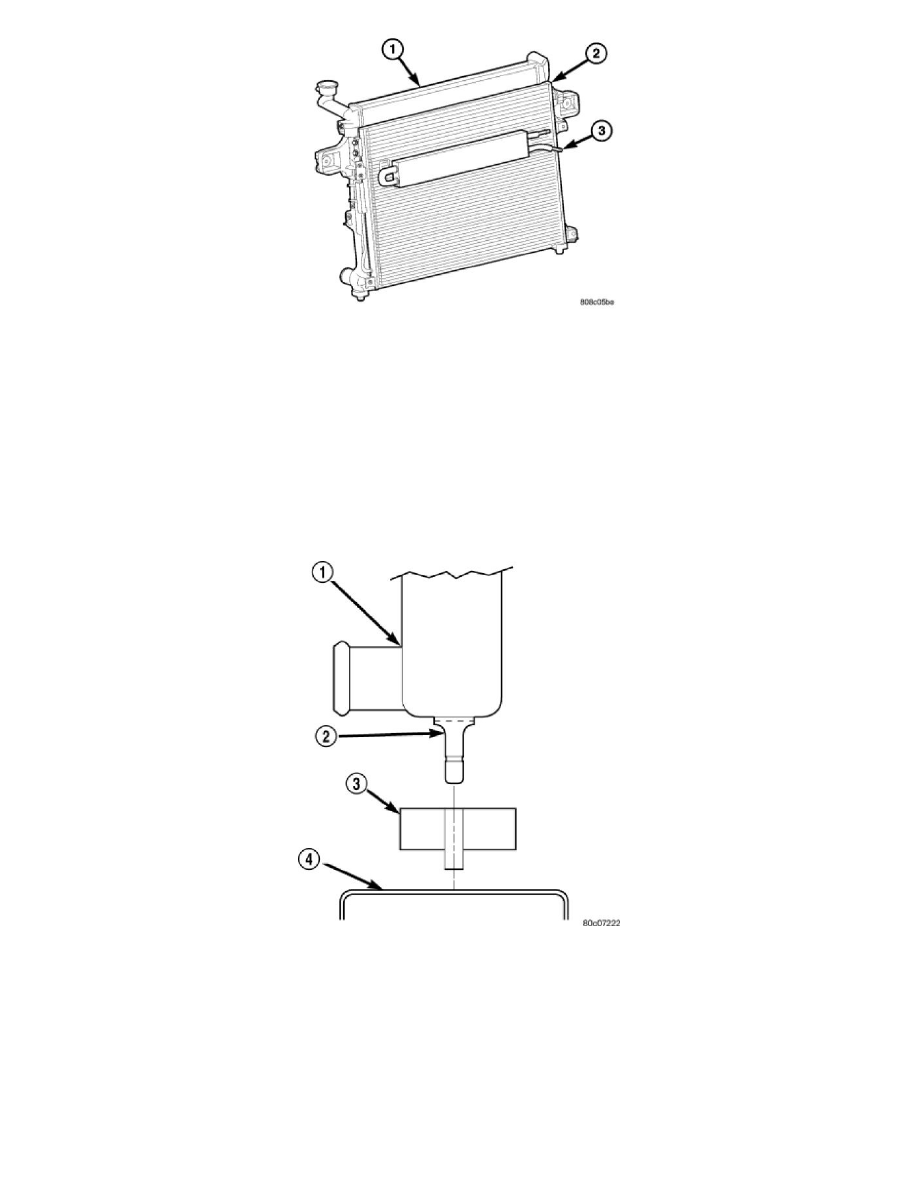
CAUTION: When removing the radiator or A/C condenser for any reason, note the location of all radiator-to-body and radiator-to-A/C
condenser rubber air seals. These are used at the top, bottom and sides of the radiator and A/C condenser. To prevent overheating, these seals
must be installed to their original positions.
1. Disconnect the negative battery cable at battery.
2. Drain coolant from radiator See: Service and Repair.
3. Remove the front grille See: Body and Frame/Grille/Service and Repair/Grille - Removal.
4. Remove two radiator mounting bolts.
5. Disconnect both transmission cooler lines from radiator.
6. Disconnect the power steering cooler line from cooler and filter.
7. Disconnect the radiator upper and lower hoses.
8. Disconnect the overflow hose from radiator.
9. Remove the air inlet duct at the grille.
10. Disconnect radiator fan electrical connector.
11. The lower part of radiator is equipped with two alignment dowel pins. They are located on the bottom of radiator tank and fit into rubber
grommets. These rubber grommets are pressed into the radiator lower crossmember.
WARNING: The air conditioning system (if equipped) is under a constant pressure even with the engine off. Refer to refrigerant
warnings in, heating and air conditioning before handling any air conditioning component.
NOTE: The radiator and radiator cooling fan can be removed as an assembly. It is not necessary to remove the cooling fan before removing or
installing the radiator.
12. Gently lift up and remove radiator from vehicle. Be careful not to scrape the radiator fins against any other component. Also be careful not to
disturb the air conditioning condenser (if equipped).