
Grand Cherokee 2WD V6-3.7L (2008)
-
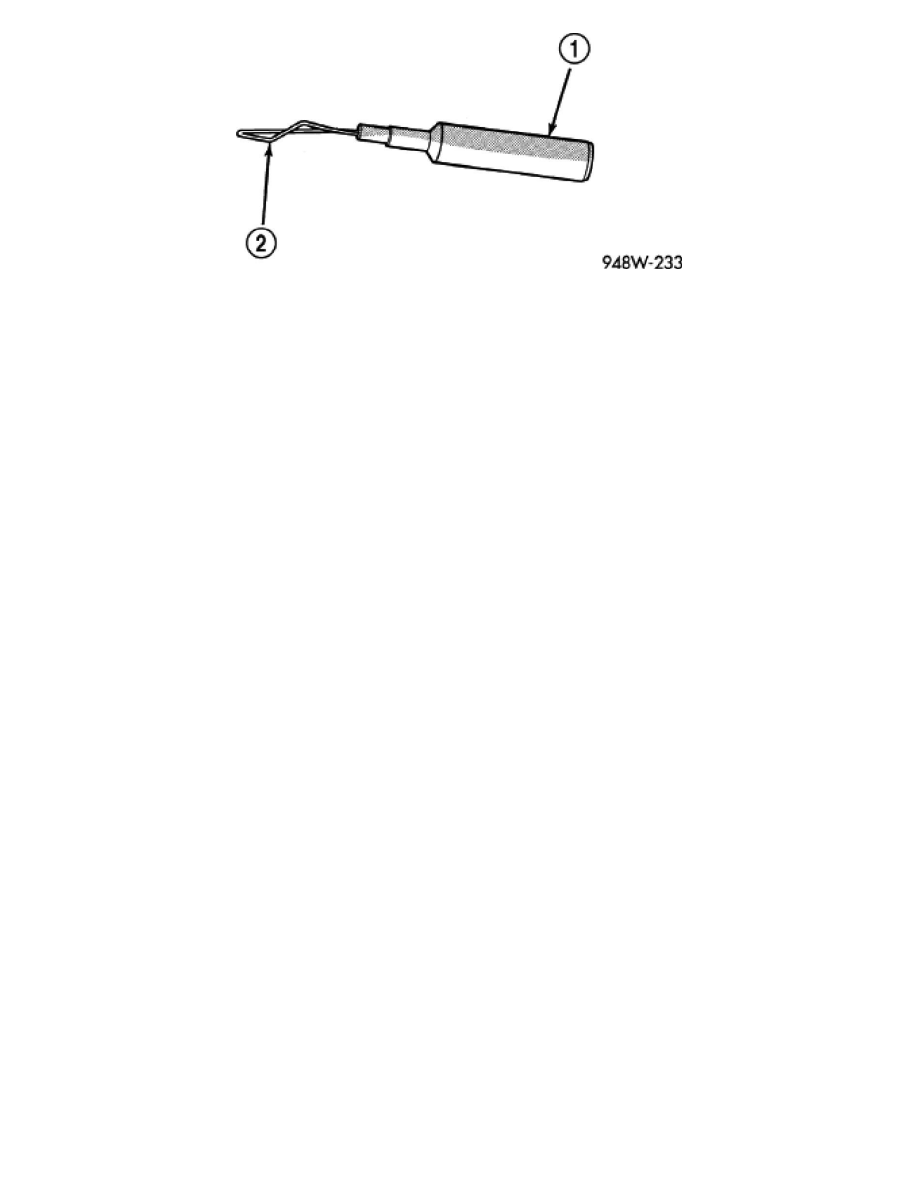
Probing Tools - These tools are used for probing terminals in connectors. Select the proper size tool from Special Tool Package 6807, and insert
the probing end (2) into the terminal being tested. Use the other end of the tool (1) to insert the meter probe.
INTERMITTENT AND POOR CONNECTIONS
Most intermittent electrical problems are caused by faulty electrical connections or wiring. It is also possible for a sticking component or relay to cause a
problem. Before condemning a component or wiring assembly, check the following items.
-
Connectors are fully seated
-
Spread terminals, or terminal push out
-
Terminals in the wiring assembly are fully seated into the connector/component and locked into position
-
Dirt or corrosion on the terminals. Any amount of corrosion or dirt could cause an intermittent problem
-
Damaged connector/component casing exposing the item to dirt or moisture
-
Wire insulation that has rubbed through causing a short to ground
-
Some or all of the wiring strands broken inside of the insulation
-
Wiring broken inside of the insulation
TROUBLESHOOTING WIRING PROBLEMS
When troubleshooting wiring problems there are six steps which can aid in the procedure. The steps are listed and explained below. Always check for
non-factory items added to the vehicle before doing any diagnosis. If the vehicle is equipped with these items, disconnect them to verify these add-on
items are not the cause of the problem.
1. Verify the problem.
2. Verify any related symptoms. Do this by performing operational checks on components that are in the same circuit. Refer to the wiring diagrams.
3. Analyze the symptoms. Use the wiring diagrams to determine what the circuit is doing, where the problem most likely is occurring and where the
diagnosis will continue.
4. Isolate the problem area.
5. Repair the problem area.
6. Verify the proper operation. For this step, check for proper operation of all items on the repaired circuit. Refer to the wiring diagrams.