
Grand Cherokee 2WD V6-3.7L (2008)
Seat Heater Switch: Service and Repair
Heated Seat Switch - Installation
Lower - Front Seats
LOWER
WARNING: To avoid serious or fatal injury on vehicles equipped with airbags, disable the Supplemental Restraint System (SRS) before
attempting any steering wheel, steering column, airbag, seat belt tensioner, impact sensor, or instrument panel component diagnosis or service.
Disconnect and isolate the battery negative (ground) cable, then wait two minutes for the system capacitor to discharge before performing
further diagnosis or service. This is the only sure way to disable the SRS. Failure to take the proper precautions could result in accidental
airbag deployment.
NOTE: There may be several different instrument panel lower switch pods available, depending upon the optional equipment content of the
vehicle. Be certain that a replacement lower switch pod matches the optional equipment of the vehicle into which it is being installed.
1. Position the lower instrument panel switch pod (1) to the back of the center bezel (3).
2. Install and tighten the four screws (2) that secure the lower switch pod to the center bezel. Tighten the screws securely.
3. Reconnect the wire harness connector to the back of the lower switch pod.
4. Reinstall the center bezel onto the instrument panel. See: Body and Frame/Interior Moulding / Trim/Dashboard / Instrument Panel/Service and
Repair/Instrument Panel Center Bezel - Installation.
5. Reconnect the battery negative cable.
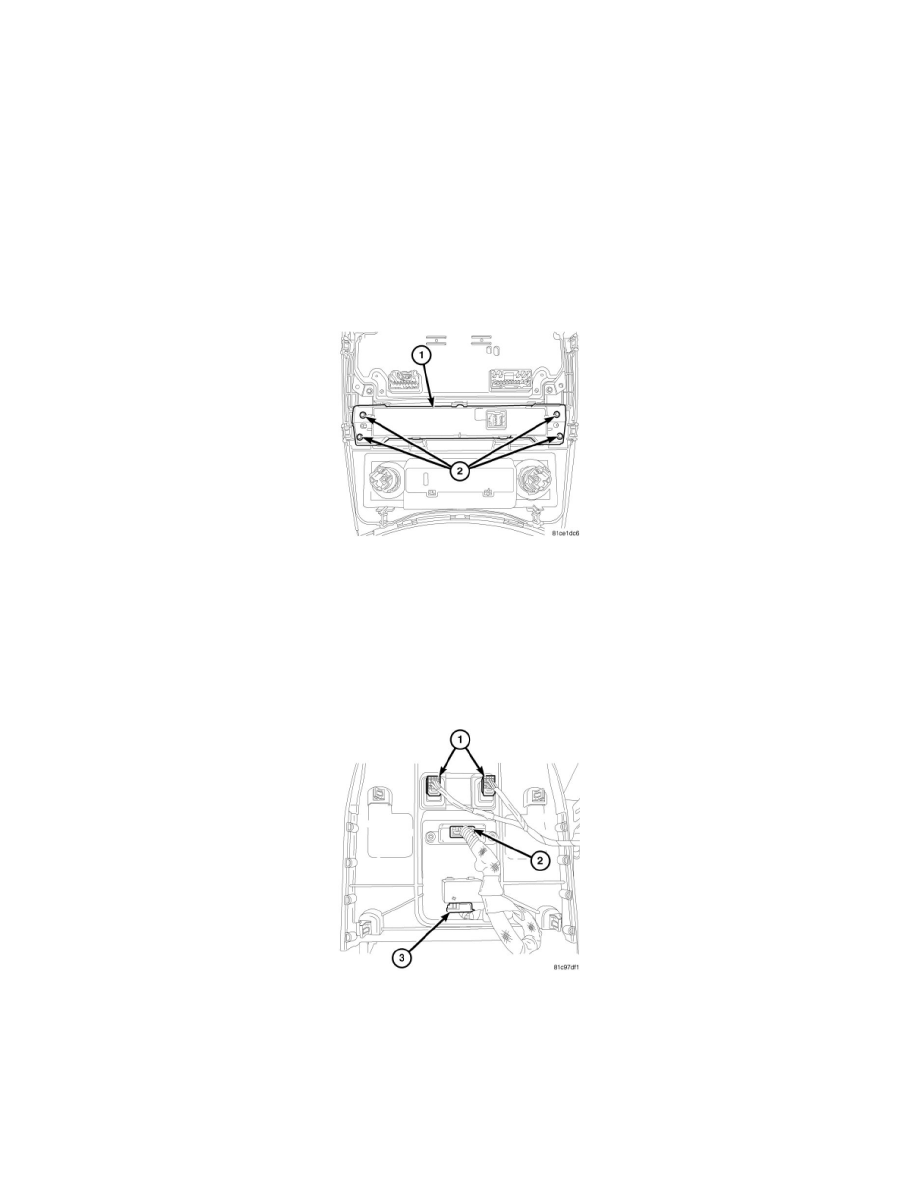
2nd Row
INSTALLATION
1. Install the 2nd row heated seat switch assembly into the floor console rear trim panel. Push the switch firmly into the trim panel until the retaining
tabs are fully seated.
2. If equipped, connect the 2nd row heated seat switches (1), 115 Volt power outlet (3) and the auxiliary audio jacks (2) electrical connectors to the
floor console rear trim panel.