
Grand Cherokee 2WD V8-318 5.2L VIN Y MFI (1994)
models will have the new plastic check balls.
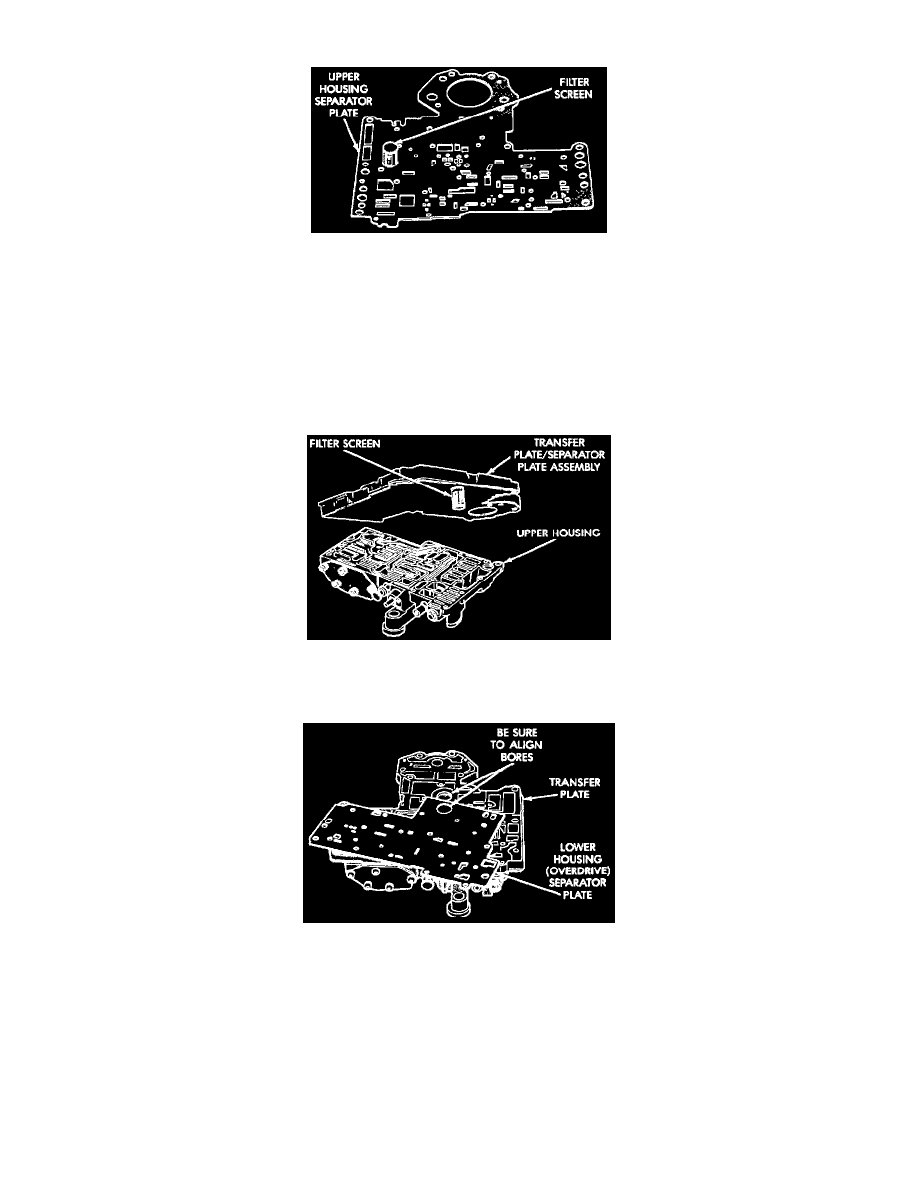
Fig. 129 Separator Plate Filter Screen Installation
(2) Install filter screen in upper housing separator plate (Fig. 129).
(3) Align and position upper housing separator plate on transfer plate (Fig. 116).
(4) Install brace plate (Fig. 116). Tighten brace attaching screws to 4 N.m (35 in. lbs.) torque.
(5) Install remaining separator plate attaching screws. Tighten screws to 4 N.m (35 in. lbs.) torque.
Assembling Upper And Lower Housings
1) Position upper housing so internal passages and check ball seats are facing upward. Then install check balls in housing (Fig. 119). Seven check
balls are used. The single large check ball is approximately 8.7 mm (11/32 in. diameter. The remaining6 check balls are approximately 6.3 mm
(1/4 in.) in diameter. Some early production valve bodies will have steel check balls while later models will have the new plastic check balls.
Fig 130 Installing Transfer Plate On Upper Housing
(2) Position assembled transfer plate and upper housing separator plate on upper housing (Fig. 130). Be sure filter screen is seated in proper
housing recess.
Fig. 131 Lower Housing Separator Plate Installation
(3) Position lower housing separator plate on transfer plate (Fig. 131).