
Grand Cherokee 2WD V8-4.7L Flex Fuel (2008)
1. Be certain that the rubber gasket is installed around the base of the rear washer nozzle and that it is in good condition.
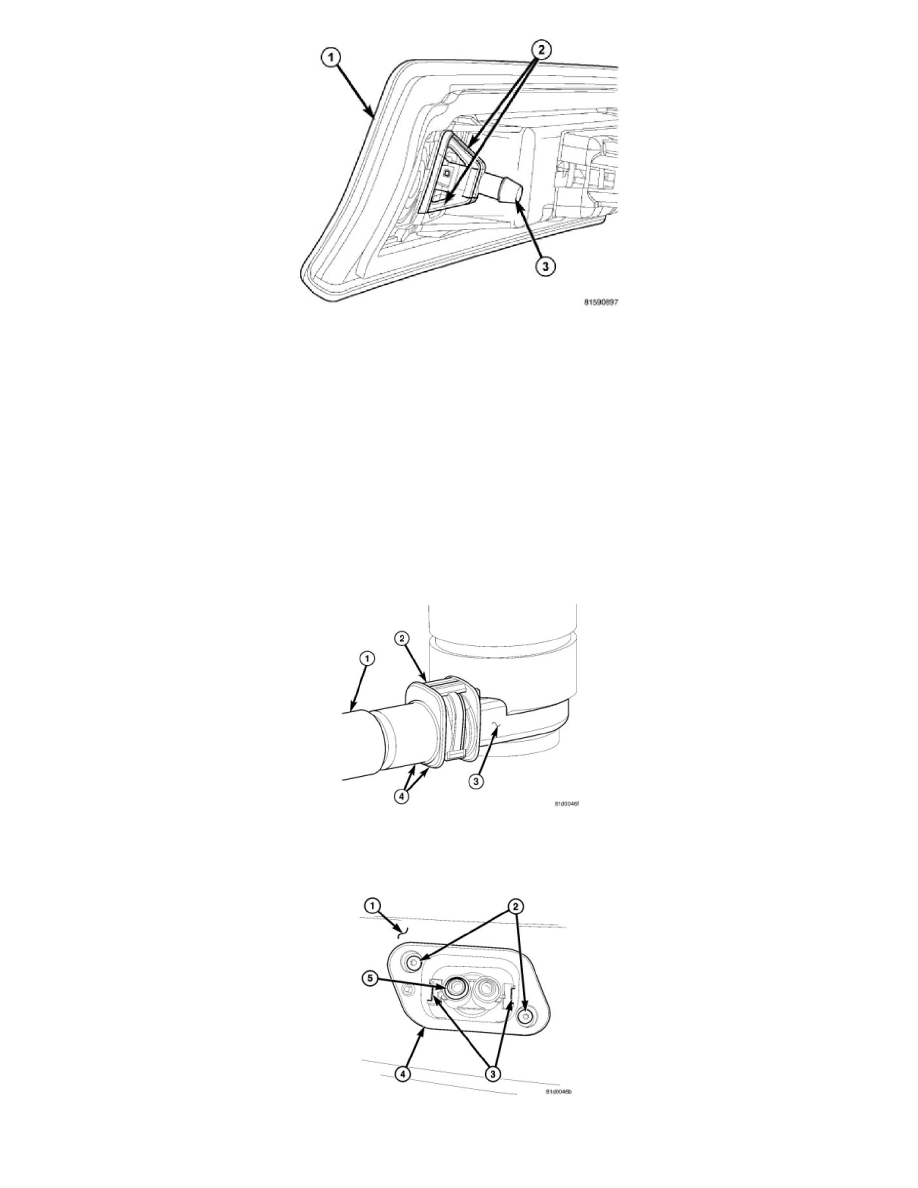
2. Insert the nozzle nipple (3) through the mounting hole from the face of the Center High-Mounted Stop Lamp (CHMSL) (1) with the nozzle orifice
oriented downward.
3. Using hand pressure, press the nozzle firmly and evenly into the mounting hole until both integral latch features (2) are fully engaged on the back
of the CHMSL housing.
4. Reconnect the rear washer supply hose to the barbed nipple of the nozzle.
5. Reinstall the CHMSL onto the liftgate outer panel. See: Lighting and Horns/Center Mounted Brake Lamp/Service and Repair/Center High
Mounted Stop Lamp - Installation.
6. Reconnect the battery negative cable.
Headlamp
HEADLAMP
CAUTION: Take proper precautions to ensure there is no cosmetic damage done to the paint finish of the headlamp washer nozzle cover or the
front fascia during the following procedure.
1. Reach up behind the front fascia to access the washer nozzle supply hose (1) quick connect fitting (4) and seat the molded plastic lock (2) onto the
fitting.
2. Push the quick connect fitting onto the headlamp washer nozzle nipple (3) until it snaps into place with an audible click.
3. Position the headlamp washer nozzle mounting cup (4) to the mounting hole in the front fascia (1).
4. While holding the mounting cup in place with one hand reach up behind the front fascia to engage the washer nozzle (5) with the mounting cup,