
Grand Cherokee 2WD V8-4.7L VIN N (2000)
14. While holding the left camshaft steel tube with adjustable pliers, (Fig. 75) remove the left camshaft sprocket. Slowly rotate the camshaft
approximately 15 degrees clockwise to a neutral position.
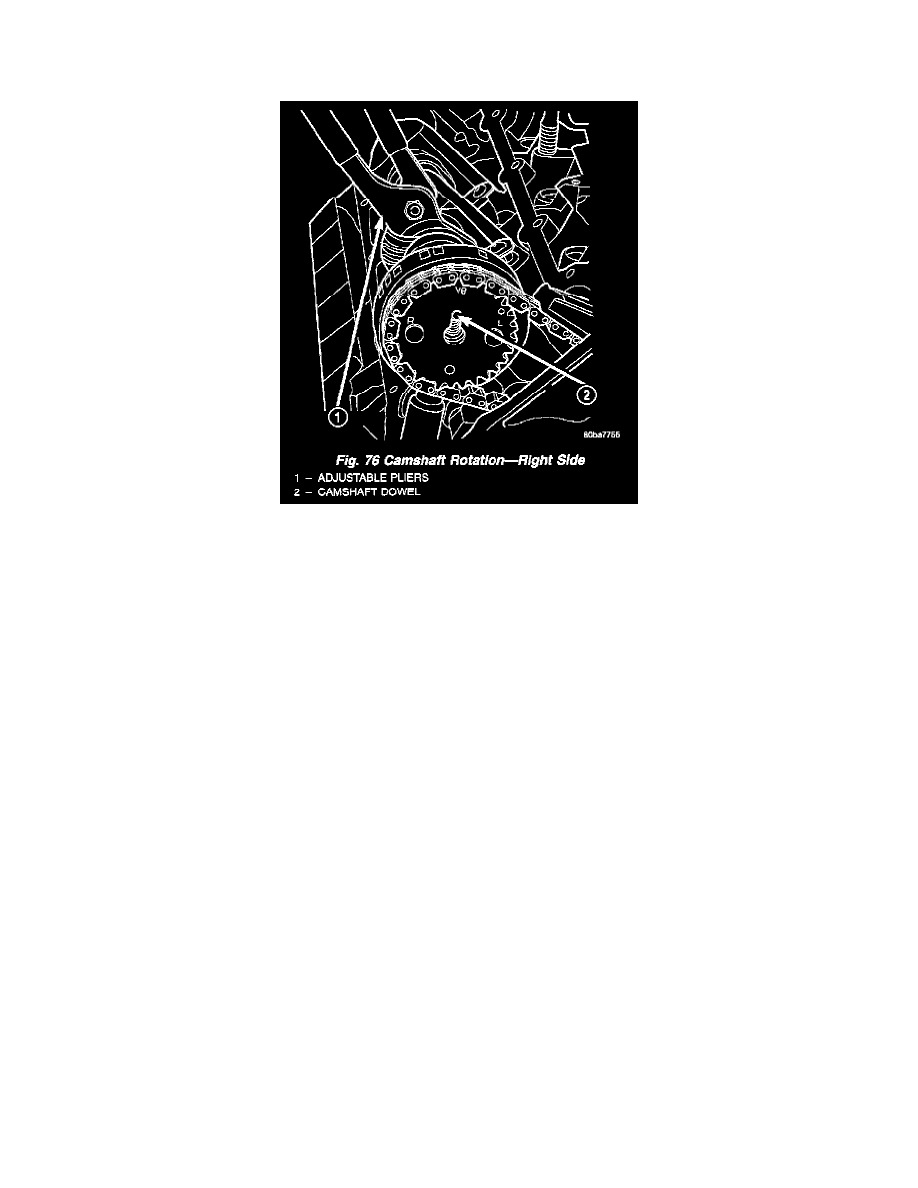
Fig. 76
15. While holding the right camshaft steel tube with adjustable pliers, (Fig. 76) remove the right camshaft sprocket. Slowly rotate the camshaft
approximately 45 degrees counterclockwise to a neutral position.
16. Remove idler sprocket assembly bolt.
17. Slide the idler sprocket assembly and crank sprocket forward simultaneously to remove the primary and secondary chains.
18. Remove both pivoting tensioner arms and chain guides.
19. Remove chain tensioner.
INSPECTION OF COMPONENTS
Inspect the following components:
-
Sprockets for excessive tooth wear. Some tooth markings are normal and not a cause for sprocket replacement.
-
Idler sprocket assembly bushing and shaft for excessive wear.
-
Idler sprocket assembly spline joint. The joint should be tight with no backlash or axial movement.
-
Chain guides and tensioner arms. Replace these parts if grooving in plastic face is more than 1 mm (0.039 inch) deep. If plastic face is severely
grooved or melted, the tensioner lube jet may be clogged. The tensioner should be replaced.
-
secondary chain tensioner piston and ratcheting device. Inspect for evidence of heavy contact between tensioner piston and tensioner arm. If this
condition exist the tensioner tensioner arm and chain should be replaced.
-
Primary chain tensioner plastic faces. Replace as required.
INSTALLATION