Grand Cherokee 2WD V8-4.7L VIN N (2000)

Control Arm: Service and Repair
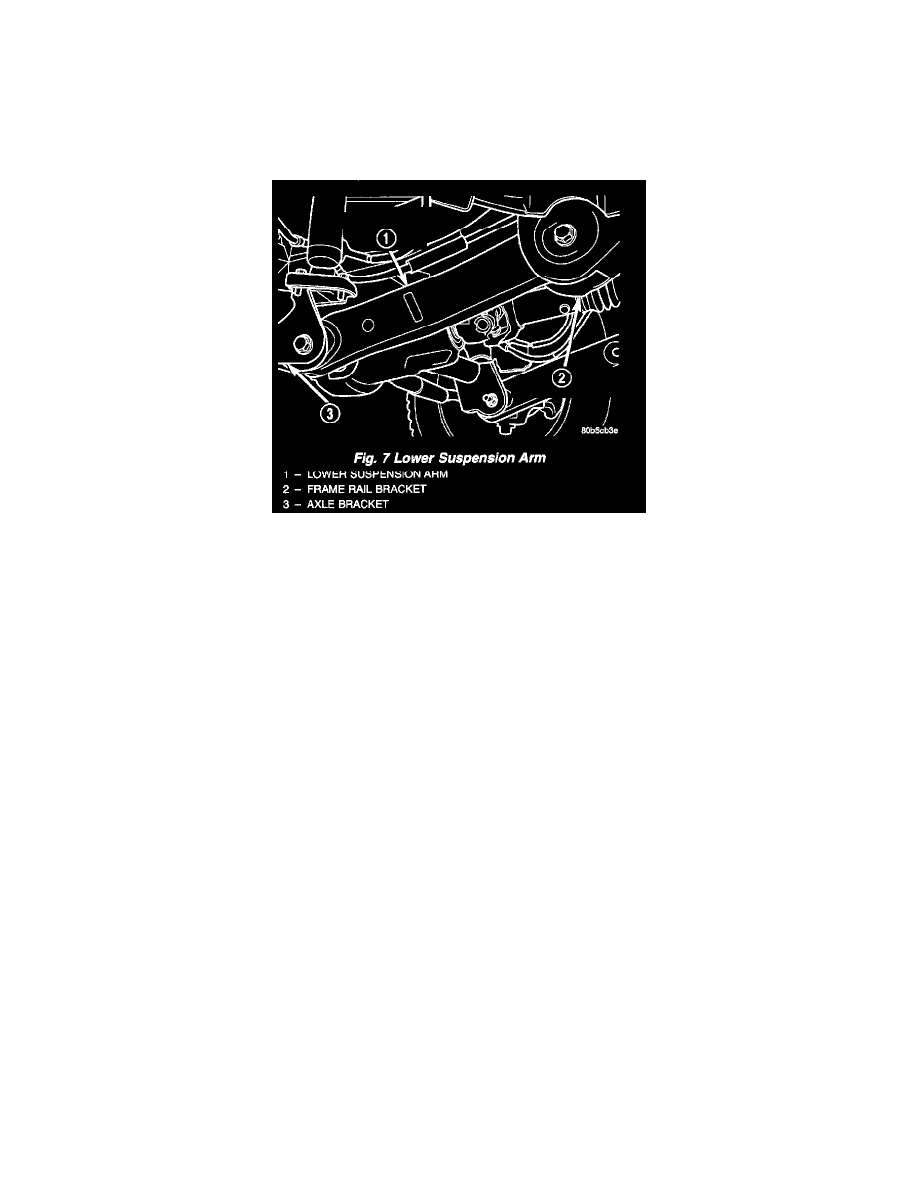
Front Suspension
Lower Control Arm
REMOVAL
1. Raise the vehicle and support the front axle.
2. Remove the lower suspension arm nut and bolt from the axle bracket.
3. Remove the nut and bolt from the frame rail bracket and remove the lower suspension arm.
INSTALLATION
1. Position the lower suspension arm in the axle bracket and frame rail bracket.
Note: The end of the arm with the oval bushing attaches to the axle bracket.
2. Install the axle bracket bolt and nut finger tight.
3. Install the frame rail bracket bolt and nut finger tight.
4. Remove support and lower the vehicle.
5. With the vehicle on the ground tighten the frame bracket bolt to 156 Nm (115 ft. lbs.). Tighten the axle bracket nut to 163 Nm (120 ft. lbs.).
6. Check the alignment if new parts were installed.
Upper Control Arm
REMOVAL
1. Raise vehicle and support the axle.
2. Remove the upper suspension arm mounting nut and bolt from the axle bracket.
