
Grand Cherokee 2WD V8-5.2L VIN Y (1998)
Air Duct: Service and Repair
REMOVAL
Defroster Duct
1. Remove the instrument panel assembly from the vehicle. See Instrument Panel Assembly in Instrument Panel, Gauges and Warning
Indicators/Instrument Panel Systems for the procedures.
2. Remove the three screws that secure the defroster duct to the instrument panel armature.
3. Remove the defroster duct from the instrument panel.
4. Reverse the removal procedures to install. Tighten the mounting screws to 2.2 N.m (20 in. lbs.).
Demister Duct
1. Remove the defroster duct from the instrument panel. See Defroster Duct for the procedures.
2. Remove the screws that secure the demister duct to the instrument panel armature.
3. Remove the demister duct from the instrument panel.
4. Reverse the removal procedures to install. Tighten the mounting screws to 2.2 N.m (20 in. lbs.).
Panel Duct
1. Remove the demister duct from the instrument panel. See Demister Duct for the procedures.
2. Remove the screws that secure the panel duct to the instrument panel armature.
3. Remove the panel duct from the instrument panel.
4. Reverse the removal procedures to install. Tighten the mounting screws to 2.2 N.m (20 in. lbs.).
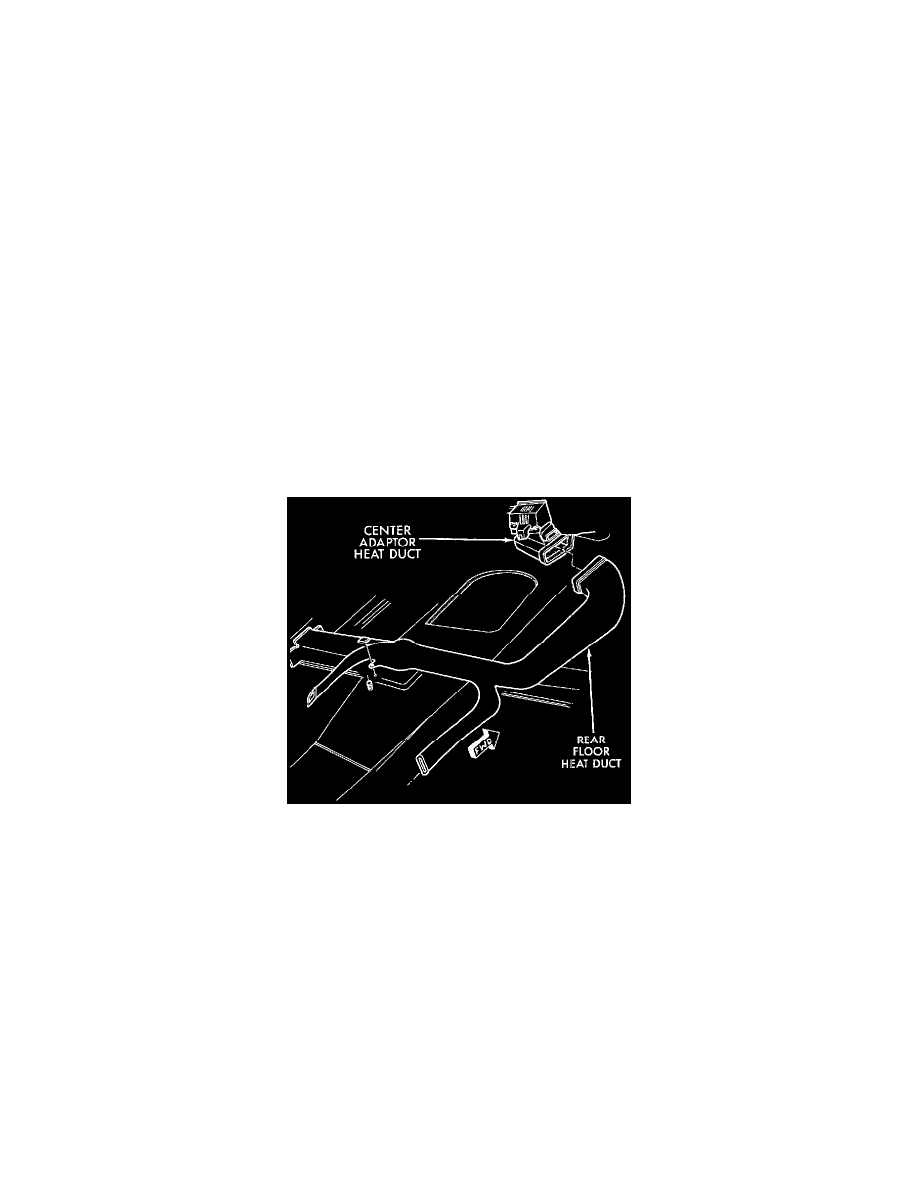
Floor Duct
1. Remove the center floor console from the vehicle.
2. Remove the right front seat from the vehicle.
3. Remove the right side front door opening trim from the vehicle.
4. Roll back the floor carpeting.
Floor Duct Remove/Install
5. Remove the nut that secures the floor duct to the stud on the floor panel transmission tunnel.
6. Disconnect the floor duct from the center floor heat duct adapter.
7. Remove the floor duct from the vehicle.
8. Reverse the removal procedures to install.
Demister Outlets
1. Using a trim stick or another suitable wide flat-bladed tool, gently pry the edge of the outlet away from the instrument panel top pad.
2. To install, push the outlet firmly into the hole in the instrument panel top pad.
Panel Outlets
The driver side and center panel outlets are only serviced as part of the instrument cluster bezel unit. The passenger side panel outlets are available for
service.
1. Remove the instrument panel top pad from the instrument panel. Refer to Instrument Panel Top Pad in Instrument Panel, Gauges and Warning
Indicators/Instrument Panel Systems for the procedures.
2. Remove the two screws that secure each outlet to the instrument panel side of the top pad.
3. Remove the outlet from the top pad.
4. Reverse the removal procedures to install. Tighten the mounting screws to 2.2 N.m (20 in. lbs.).