
Grand Cherokee 2WD V8-5.7L VIN 2 (2005)
Intake Manifold: Service and Repair
INTAKE MANIFOLD
REMOVAL
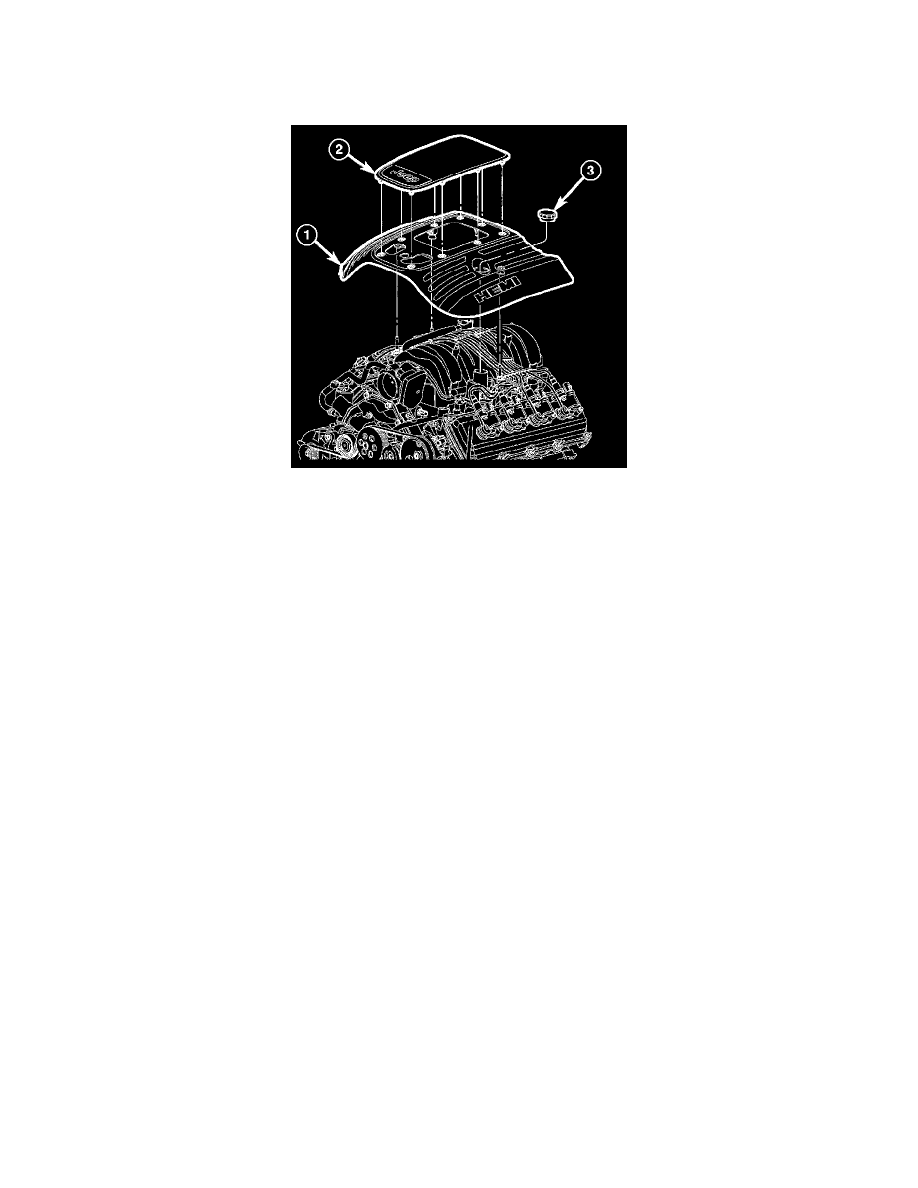
1. Remove engine cover (1).
2. Bleed fuel system.
3. Disconnect negative cable from battery.
4. Remove air inlet hose.
5. Remove ignition wires from on top of intake manifold.
6. Disconnect electrical connectors for the following components:
^
Manifold Absolute Pressure (MAP) Sensor
^
Fuel Injectors
^
ETC (Electric Throttle Control)
7. Remove wire harness from intake manifold.
8. Disconnect brake booster hose, purge hose, and MUA hose (Make Up Air Hose).
9. Remove EGR tube from intake manifold.
10. Remove intake manifold retaining fasteners in a crisscross pattern starting from the outside bolts and ending at the middle bolts.
11. Remove intake manifold as an assembly.
CLEANING
NOTE: There is NO approved repair procedure for the intake manifold. If severe damage is found during inspection, the intake manifold must be
replaced.
Before installing the intake manifold thoroughly clean the mating surfaces. Use a suitable cleaning solvent, then air dry.
INSPECTION
1. Inspect the intake sealing surface for cracks, nicks and distortion.
2. Inspect the intake manifold vacuum hose fittings for looseness or blockage.
INSTALLATION
1. Position intake manifold.
2. Install intake manifold retaining bolts, and tighten in sequence from the middle bolts towards the outside in a crisscross pattern. Torque fasteners
to 12 Nm (105 inch lbs.).
3. Install EGR tube.
4. Install wire harness on intake manifold.
5. Connect electrical connectors for the following components:
^
Manifold Absolute Pressure (MAP) Sensor
^
Fuel Injectors
^
ETC (Electronic Throttle Control)
6. Install ignition wires.