
Grand Cherokee 4WD L6-242 4.0L VIN S MFI (1993)
4.
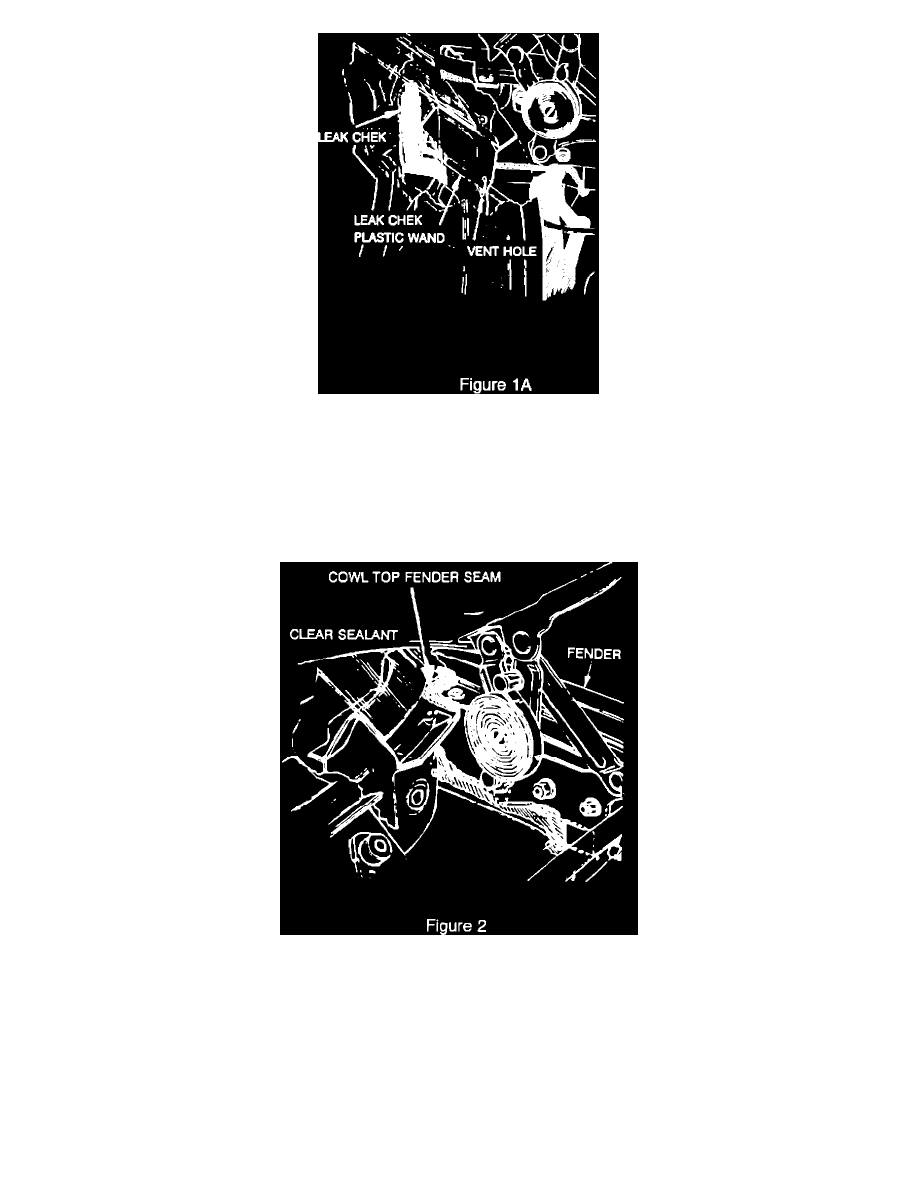
Insert the Leak Chek plastic wand through the vent hole and work the wand into the top rear outer corner of the plenum. Apply the Leak Chek
Sealer moving the wand from the top of the plenum downward as it is slowly removed from the plenum out the vent hole (Fig. 1 A).
NOTE:
LEAK CHEK MAY RUN OUT OF THE COWL VENT LOCATED JUST BELOW THE VENT HOLE. THIS IS NOT A PROBLEM; HOWEVER,
DO NOT ALLOW THE SEALER TO DRY AND CLOSE OFF THE VENT.
5.
Seal the plenum-to-left cowl side seam using Kent Clear Sealer as shown.
B.
Left Cowl Top-To-Fender Top
1 .
Park the windshield wipers in a vertical positon on the windshield, if not done in Step A.
2.
Remove the cowl cover, if not done in Step A.
3.
Locate the cowl top-to-fender seam (Fig. 2).
4.
Apply Kent Clear Sealer to the left cowl top-to-fender seam.