
Grand Cherokee 4WD V8-5.2L VIN Y (1998)
Console: Service and Repair
Overhead Console Replacement
REMOVAL
Long-Type
1. Disconnect and isolate the battery negative cable.
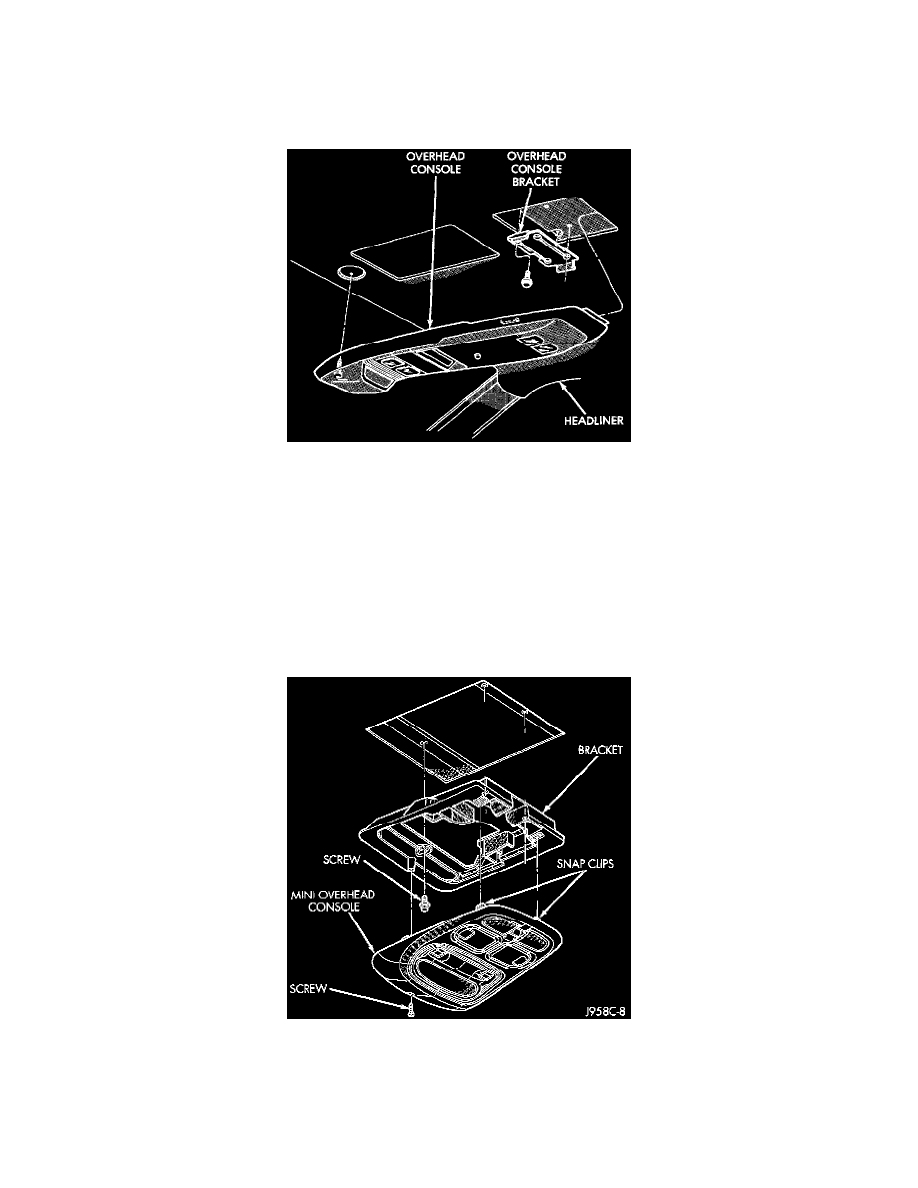
Overhead Console Remove/Install - Long-Type
2. Remove the single screw located forward of the display module that secures the overhead console to the upper windshield opening reinforcement.
3. To release the overhead console from the rear mounting bracket, slide the console forward until the rear of the console separates from the bracket.
4. Lower the overhead console far enough to access the two wire harness connectors.
5. Unplug one wire harness connector near the push button module towards the front of the over-head console.
6. Unplug one wire harness connector from the reading and courtesy lamp module near the rear of the overhead console.
7. Remove the overhead console from the vehicle.
8. Reverse the removal procedures to install. Tighten the overhead console mounting screw to 2.2 N.m (20 in. lbs.).
Short-Type
1. Disconnect and isolate the battery negative cable.
Overhead Control Remove/Install - Short-Type
2. Remove the single screw located forward of the display module that secures the overhead console to the upper windshield opening reinforcement.
3. Using a trim stick or another suitable wide flat-bladed tool, gently pry downwards at the rear edge of the overhead console housing to release the
two snap clip retainers that secure the console to the mounting bracket.
4. Lower the overhead console far enough to access the two wire harness connectors.