
Grand Cherokee 4WD V8-5.7L (2008)
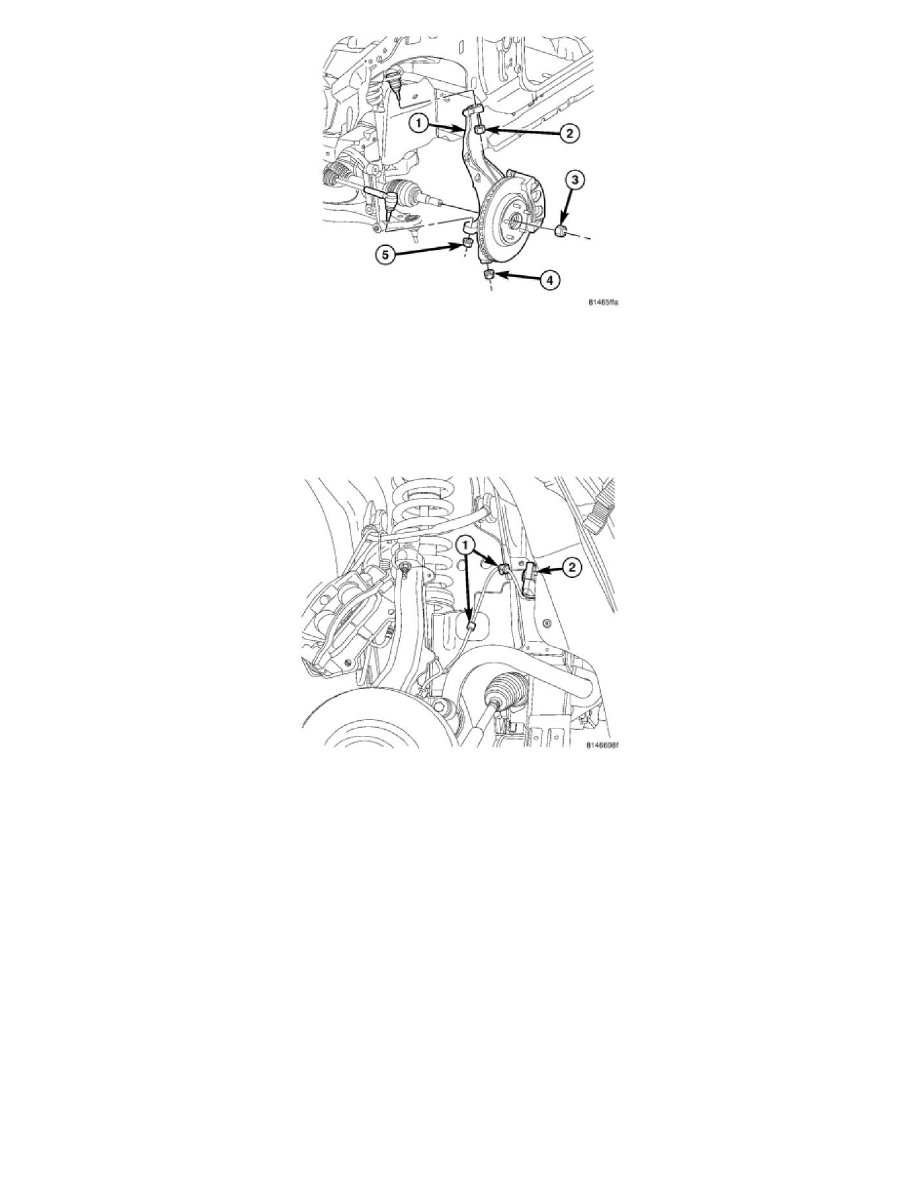
9. Install the knuckles (1) and install the halfshaft nut (3). (if equipped)
10. Tighten the halfshaft nut (3) to 251 Nm (185 ft. lbs.). (if equipped)
11. Install the lower ball joint into the knuckle.
12. Install the lower ball joint nut (4) and tighten the nut to 81 Nm (60 ft. lbs.).
13. Install the upper ball joint into the knuckle.
14. Install the upper ball joint nut (2). Tighten the nut to 81 Nm (60 ft. lbs.).
15. Install the outer tie rod end into the steering knuckle.
16. Tighten the ball stud nut (5) on the ball stud to 75 Nm (55 ft. lbs.).
17. Connect the speed sensor electrical connectors (2) and fasten the harness support clips (1) fully.
18. Install the rotors. See: Brakes and Traction Control/Disc Brake System/Brake Rotor/Disc/Service and Repair/Removal and Replacement/Brake
Rotor - Installation
19. Check and fill the front differential as necessary. See: Engine, Cooling and Exhaust/Engine/Engine Lubrication/Engine Oil/Specifications
20. Install the front skid plates. See: Skid Plate/Service and Repair/Front Skid Plate - Installation
21. Check and adjust front wheel alignment as necessary. See: Maintenance/Alignment/Service and Repair