
Grand Cherokee 4WD V8-5.7L VIN 2 (2007)
Marker Lamp Bulb: Service and Repair
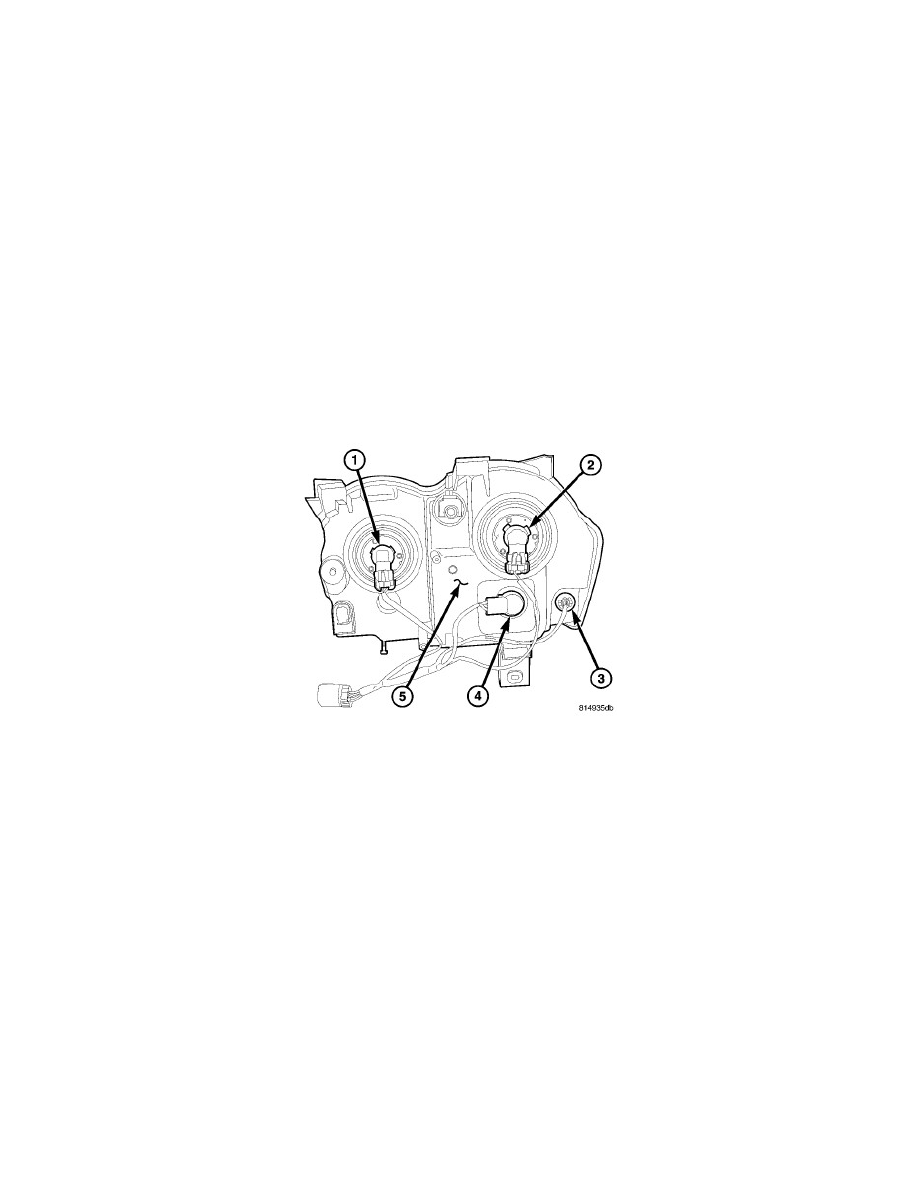
Front Side Marker Bulb - Installation
BULB - SIDE MARKER
WARNING: To avoid serious or fatal injury when working on the High Intensity Discharge (HID) headlamp system, be certain to take the
proper precautions. The headlamp switch must be in the OFF position. Disconnect and isolate the battery negative cable. There is
a risk of death caused by contact with high voltage used in the HID headlamps. There is a risk of explosion or fire caused by highly
flammable materials in the vicinity of damaged HID lighting elements. There is a risk of injury caused by exposure to Ultra Violet
(UV) light, a risk of burns caused by high component operating temperatures, a risk of mercury poisoning through glass splinters
produced by bursting HID lighting elements. There is also a risk of poisoning caused by inhalation of mercury vapors and by toxic
salts and mercury compounds being ingested or coming into contact with the skin. Do not come into contact with parts that are
under high voltage. Persons with active electronic implants (e.g. heart pacemakers) must never work on HID headlamps. Wear
insulated safety shoes, safety glasses and protective gloves. Remove flammable materials and ensure sufficient ventilation in the
working area.
CAUTION: Always use the correct bulb size and type for replacement. An incorrect bulb size or type may overheat and cause damage to the
lamp, the socket or the lamp wiring.
NOTE: The following procedure applies only to vehicles manufactured for the North American market. Vehicles manufactured for export
markets do not have a bulb, socket or wiring provided to illuminate the front side marker compartment of the front lamp unit. The
front side marker lens is present, but serves only as a reflector on export market vehicles.
1. Reach through the wheel house splash shield access panel opening to access the rear outboard area of the front lamp unit housing (5).
2. Align the base of the bulb with the front side market bulb socket (3).
3. Push the bulb straight into the socket until the base is firmly seated.
4. Align the socket and bulb with the keyed opening on the back of the front lamp unit housing.
5. Insert the socket and bulb into the housing until the socket is firmly seated.
6. Rotate the socket clockwise about 30 degrees to lock it into place.