
Grand Cherokee 4WD Laredo V8-4.7L (2002)
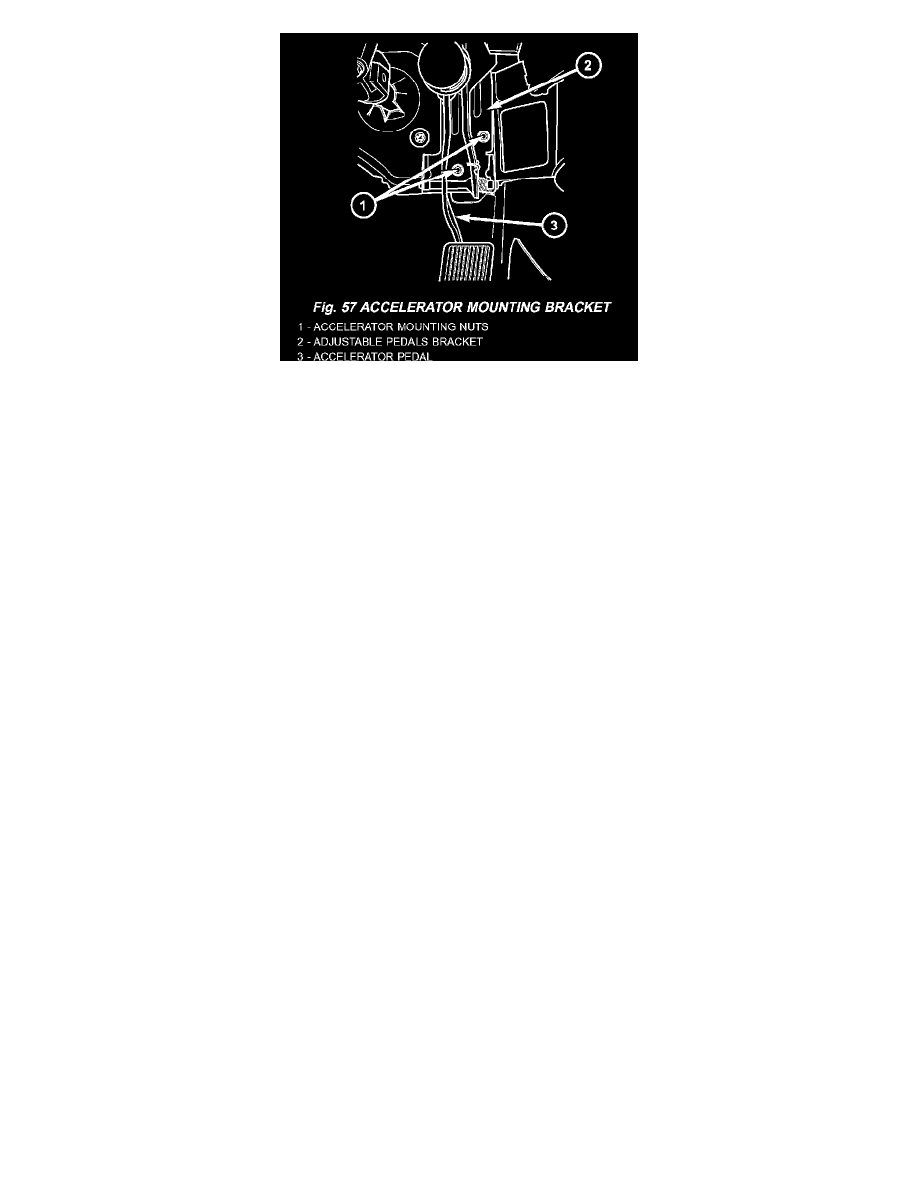
13. Remove the accelerator pedal nuts.
14. Remove the ICU mounting bracket nuts and bolts and move the ICU and booster forward this will allow enough clearance to remove the
adjustable pedal bracket from over the booster push rod.
15. Remove the pedal from the vehicle.
16. Transfer the module if needed.
INSTALLATION - NON-ADJUSTABLE PEDAL
1. Lubricate bushings, pedal shaft and pedal pin with Mopar multi-mileage grease.
2. Install bushings into pedal.
3. Position pedal in bracket and install pedal shaft in support and through pedal.
4. Install new nut on pedal shaft and tighten to 27 Nm (20 ft. lbs.).
NOTE: Pedal shaft nut should not be reused.
5. Install booster push rod on pedal pin and install retainer clip on pedal pin.
6. Check and adjust stop lamp switch if necessary.
INSTALLATION - ADJUSTABLE PEDALS
1. Install the pedal to the vehicle.
2. Reposition the ICU and booster, Install the ICU mounting bracket nuts and bolts.
3. Install the brake booster nuts. Tighten to 28 Nm ( 21 ft. lbs.)..
4. Install the pedal bracket upper nuts. Tighten to 12 Nm ( 9 ft. lbs.)..
5. Install the accelerator pedal nuts. Tighten to 28 Nm ( 21 ft. lbs.)..
6. Install the lower steering shaft coupler over the shaft.
7. Install the lower steering shaft pinch bolt.
8. Unlock the steering wheel.
9. Reconnect the accelerator cable to the pedal.
10. Reconnect the booster rod clip.
11. Install the brake light switch.
12. Reconnect the module electrical connector.
13. Install the steering column opening cover.
14. Install the cluster bezel.
15. Reconnect the negative battery cable.