
Grand Cherokee 4WD Laredo V8-4.7L (2002)
Valve: Service and Repair
Removal and Installation
INTAKE/EXHAUST VALVES & SEATS
REMOVAL
NOTE: The cylinder heads must be removed in order to perform this procedure.
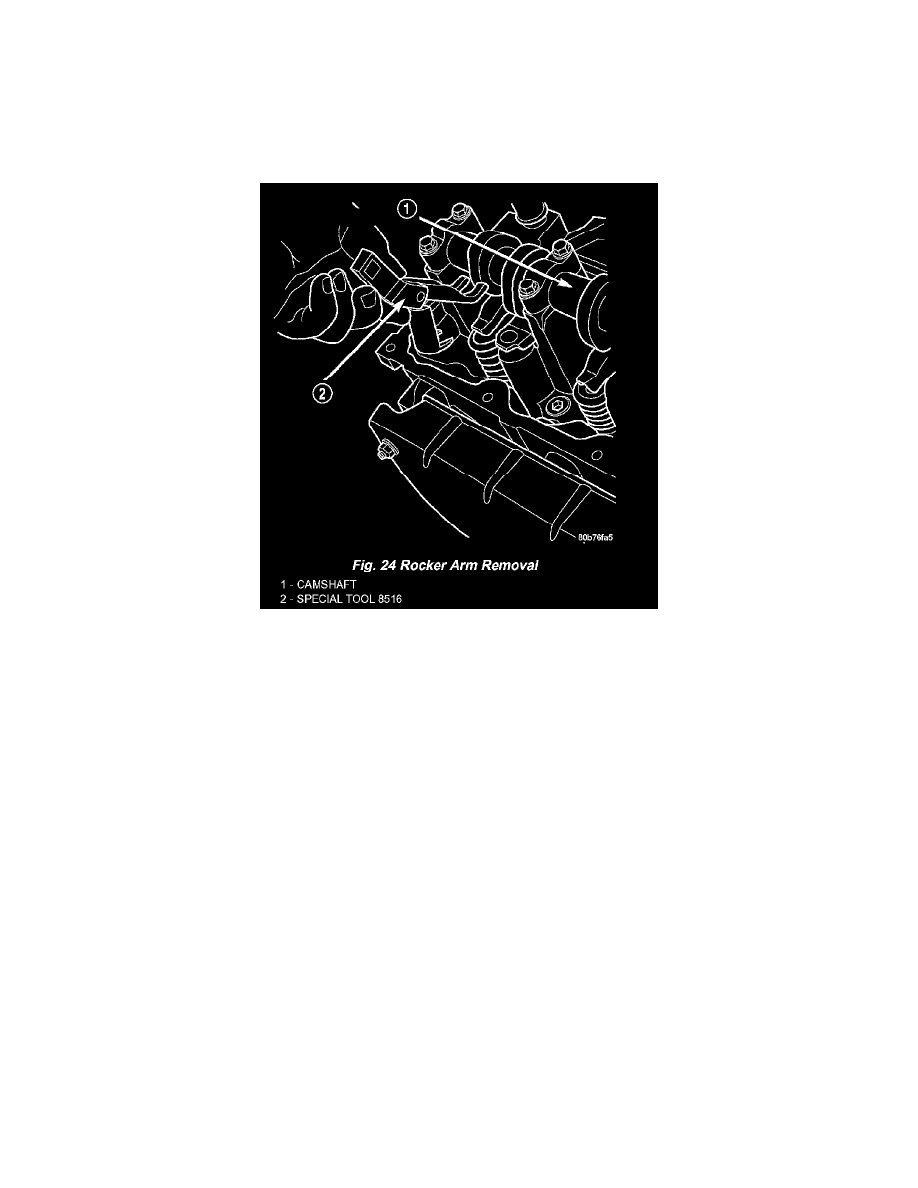
1. Remove rocker arms and lash adjusters. (Fig. 24).
2. Remove the camshaft bearing caps and the camshaft.
NOTE: All eight valve springs and valves are removed in the same manner; this procedure only covers one valve and valve spring.
3. Using Special Tool C-3422-B or C-3422-C Valve Spring Compressor and Special tool 8519 Adapter, compress the valve spring.
NOTE: It may be necessary to tap the top of the valve spring to loosen the spring retainers locks enough to be removed.
4. Remove the two spring retainer lock halves.
NOTE: the valve spring is under tension use care when releasing the valve spring compressor.
5. Remove the valve spring compressor.
6. Remove the spring retainer, and the spring.
NOTE: Check for sharp edges on the keeper grooves. Remove any burrs from the valve stem before removing the valve from the cylinder head.
7. Remove the valve from the cylinder head.
NOTE: The valve stem seals are common between intake and exhaust.
8. Remove the valve stem seal. Mark the valve for proper installation.
INSTALLATION
1. Coat the valve stem with clean engine oil and insert it into the cylinder head.
2. Install the valve stem seal. Make sure the seal is fully seated and that the garter spring at the top of the seal is intact.