
Liberty 4WD V6-3.7L (2009)
3. Separate the seat back cover (1, 2) from the seat back frame.
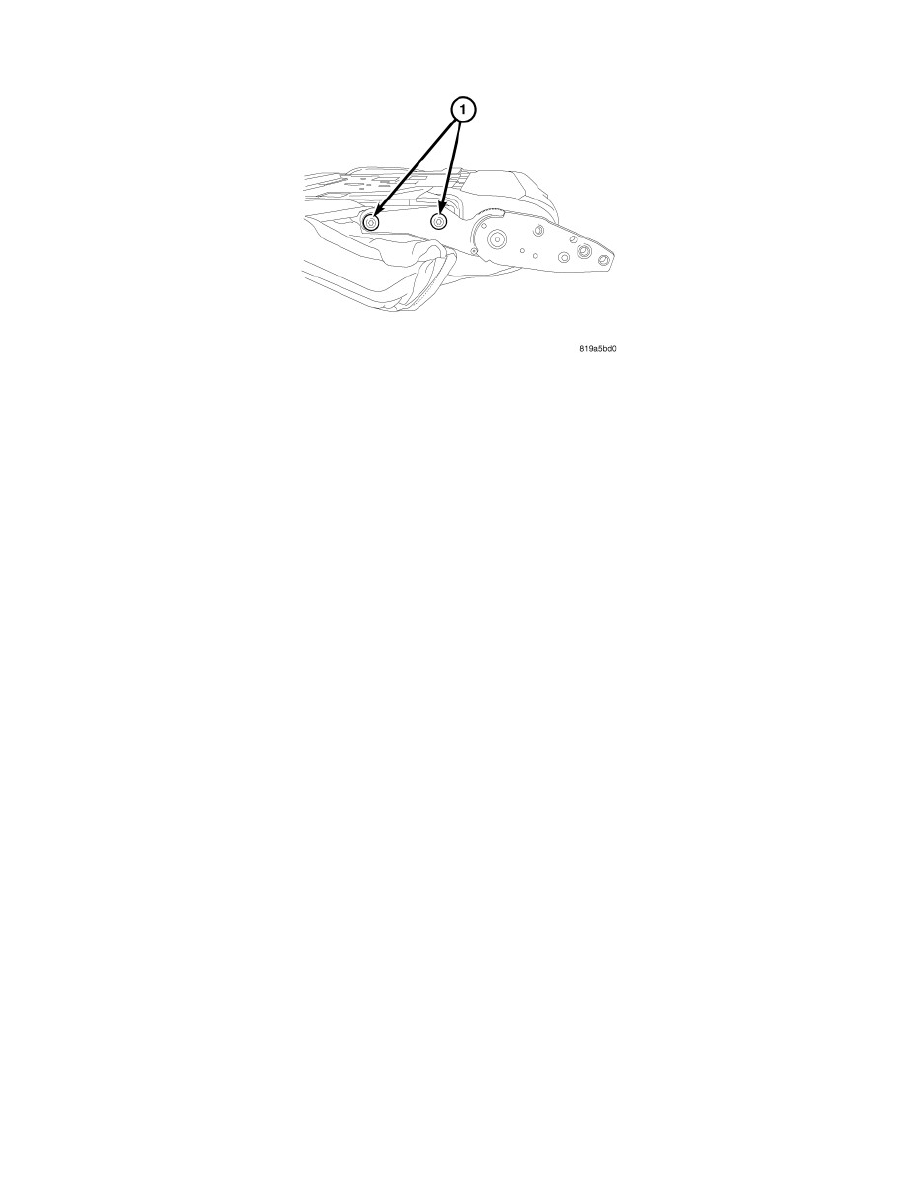
4. Remove the seat back hinge bolts (1) from the seat back hinges and remove the seat back assembly.
Front
INSTALLATION
Driver Seat 6 Way
WARNING: Before proceeding with the following repair procedure, review all warnings and cautions See: Service Precautions .
1. For the drivers seat illustration, See: Description and Operation/Seat, Front.
2. Install the left side bolts (21) and the right side bolts (11) and tighten to 47.5 Nm (35 ft. lbs.).
3. Install the inner shield (12) and screws (13).
4. Install the outer shield (9).
5. Install the inner shield (25).
6. Install the outer shield (25) and screws (26).
7. Install the side shield (27) and screws (28).
8. Install the power seat switch cover (30).
9. Install the front seat to the vehicle, See: Service and Repair/Seat, Front/Seat - Installation.
Driver Seat 2 Way
WARNING: Before proceeding with the following repair procedure, review all warnings and cautions See: Service Precautions .
1. For the drivers seat illustration, See: Description and Operation/Seat, Front.
2. Install the left side bolts (19) and the right side bolts (13) and tighten to 47.5 Nm (35 ft. lbs.).
3. Install the inner shield (11) and screws (10).
4. Install the outer shield (9).
5. Install the inner shield (25).
6. Install the outer shield (25) and screws (21).
7. Install the side shield (24) and screws (22).
8. Install the front seat to the vehicle, See: Service and Repair/Seat, Front/Seat - Installation.
Passenger Seat
WARNING: Before proceeding with the following repair procedure, review all warnings and cautions See: Service Precautions .
1. For the passenger seat illustration, See: Description and Operation/Seat, Front.
2. Install the left side bolts (22) and the right side bolts (15) and tighten to 47.5 Nm (35 ft. lbs.).
3. Install the recliner handle (14).
4. Install the shield (13).
5. Install the shield (12) and screws (8).
6. Install the shield to the lower seat cushion frame.
7. Install upper shield (21).
8. Install the shield (23) and screws (27).