
Liberty Sport 2WD L4-2.4L VIN 1 (2002)
Power Seat Switch: Service and Repair
Left Power Seat Switch Replacement
REMOVAL
1. Disconnect and isolate the negative battery cable.
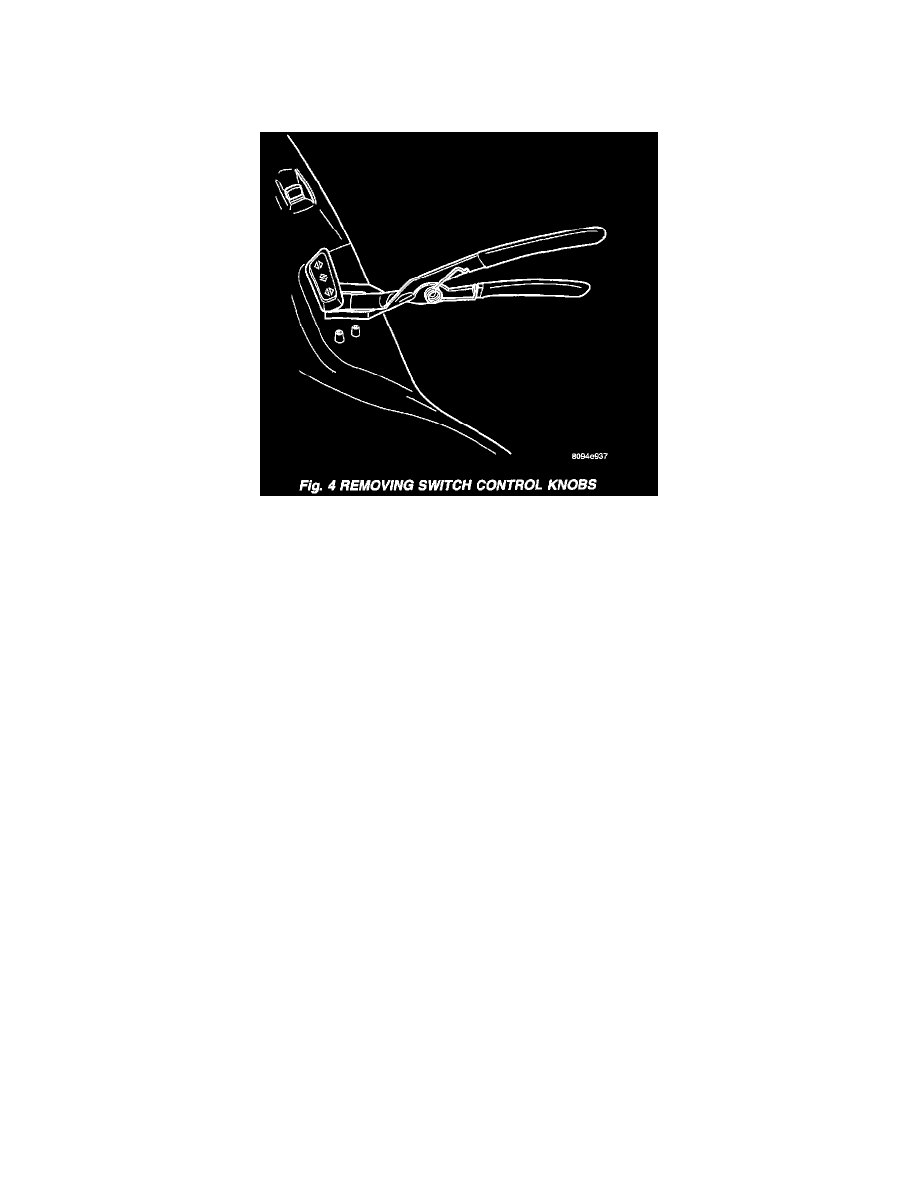
Fig.4 Removing Switch Control Knobs
2. Using a push pin remover or another suitable wide flat-bladed tool, gently pry the power seat switch knob OFF of the switch control levers.
3. Remove the two forward-most screws that secure the outboard seat cushion side shield to the seat cushion frame.
4. Remove the recliner handle retaining screw and remove the recliner handle.
5. Pull the outboard seat cushion side shield away from the seat cushion frame far enough to access the power seat switch wire harness tiestrap and
connector. Cut the tiestrap, if equipped.
6. Disconnect the power seat wire harness connector from the power seat switch connector receptacle. Depress the connector retaining tab and pull
straight apart.
7. Using a very short phillips-headed screwdriver, remove the two screws that secure the power seat switch to the inside of the outboard seat cushion
side shield.
8. Remove the power seat switch from the outboard seat cushion side shield.
INSTALLATION
1. Reconnect the power seat wire harness connector to the power seat switch connector receptacle.
2. Position the power seat switch onto the outboard seat cushion side shield. Make certain the alignment dowel is inserted into the corresponding hole
in the power seat switch.
3. Install and tighten the two screws that secure the power seat switch to the inside of the outboard seat cushion side shield. Tighten the screws to 1.5
Nm (14 in. lbs.).
4. Position the outboard seat cushion side shield onto the seat cushion frame
5. Install and tighten the two screws that secure the outboard seat cushion side shield to the seat cushion frame. Tighten the screws to 1.5 Nm (14 in.
lbs.).
6. Install the recliner handle and retaining screw. Tighten the screws to 1.5 Nm (14 in. lbs.).
7. Position the power seat switch knob onto the switch control levers and push firmly and evenly until it snaps into place.
8. Reconnect the battery negative cable.