
Liberty Sport 2WD L4-2.4L VIN 1 (2002)
Vacuum Brake Booster: Service and Repair
REMOVAL
1. Disconnect the wire to the fluid level switch at the bottom of the reservoir.
2. Remove the master cylinder.
3. Disconnect vacuum hose from booster check valve.
4. Remove the brake lines from the master cylinder and the HCU (ABS vehicles only) or the junction block for clearance.
5. Disconnect the HCU from the mounts and move to the side for Clearance of the booster.
6. Remove knee blocker under the steering column.
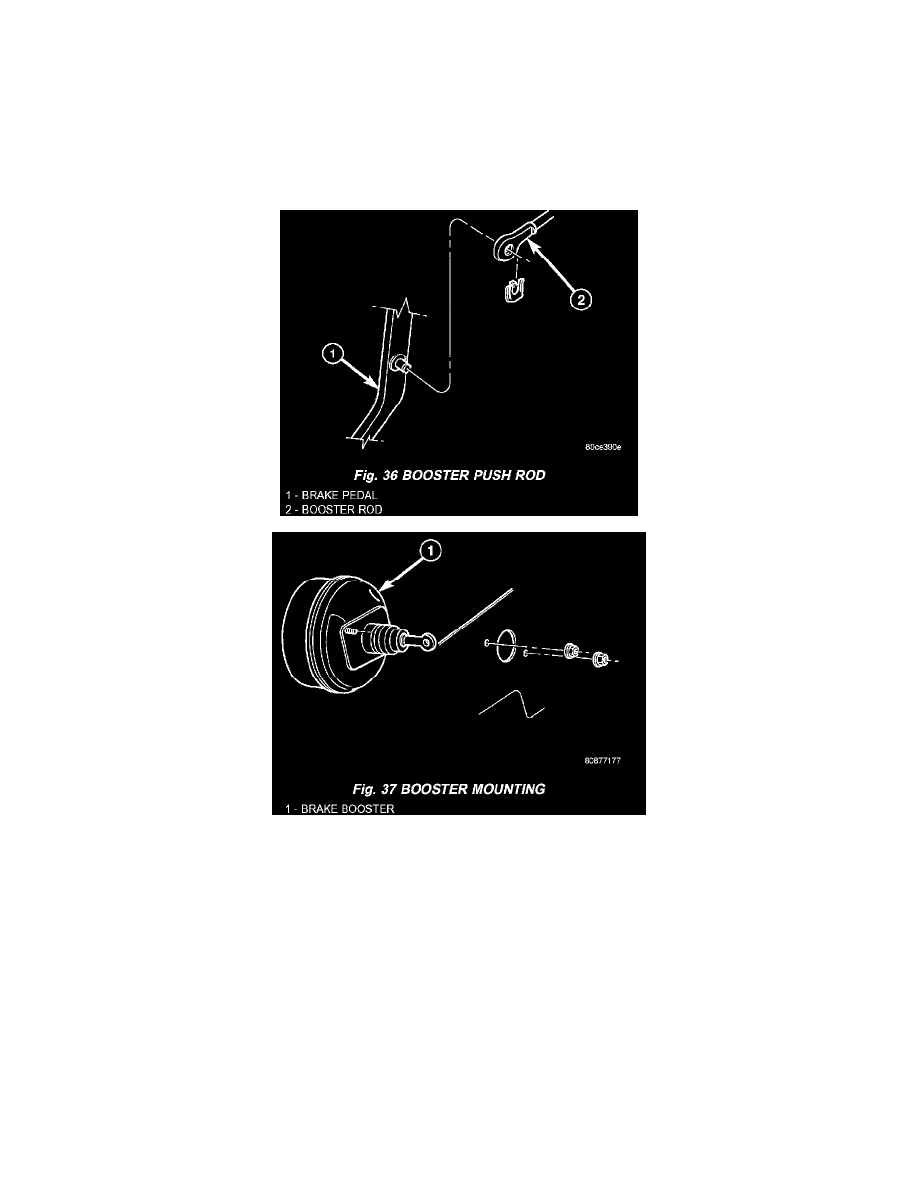
7. Remove retaining clip that secures booster push rod to brake pedal.
8. Remove nuts attaching booster to the dash panel.
9. In engine compartment, slide booster studs out of dash panel, tilt booster upward, and remove booster from engine compartment.
INSTALLATION
1. Align and position booster on the dash panel.
2. Install booster mounting nuts. Tighten nuts just enough to hold booster in place.
3. Slide booster push rod onto the brake pedal. Then secure push rod to pedal pin with retaining clip.
NOTE: Lubricate the pedal pin and bushing with Mopar multi-mileage grease before installation.
4. Tighten booster mounting nuts to 22.6 Nm (200 ft. lbs.).
5. Install the knee blocker.
6. If original master cylinder is being installed, check condition of seal at rear of master cylinder. Replace seal if cut, or torn.
7. Clean cylinder mounting surface of brake booster. Use shop towel wetted with brake cleaner for this purpose. Dirt, grease, or similar materials will
prevent proper cylinder seating and could result in vacuum leak.
8. Align and install master cylinder on the booster studs. Install mounting nuts and tighten to 22.6 Nm (200 inch lbs.).
9. Connect vacuum hose to booster check valve.
10. Remount the HCU. Tighten bracket mounting nuts to 22.6 Nm (200 inch lbs.).