
Liberty Sport 2WD L4-2.4L VIN 1 (2002)
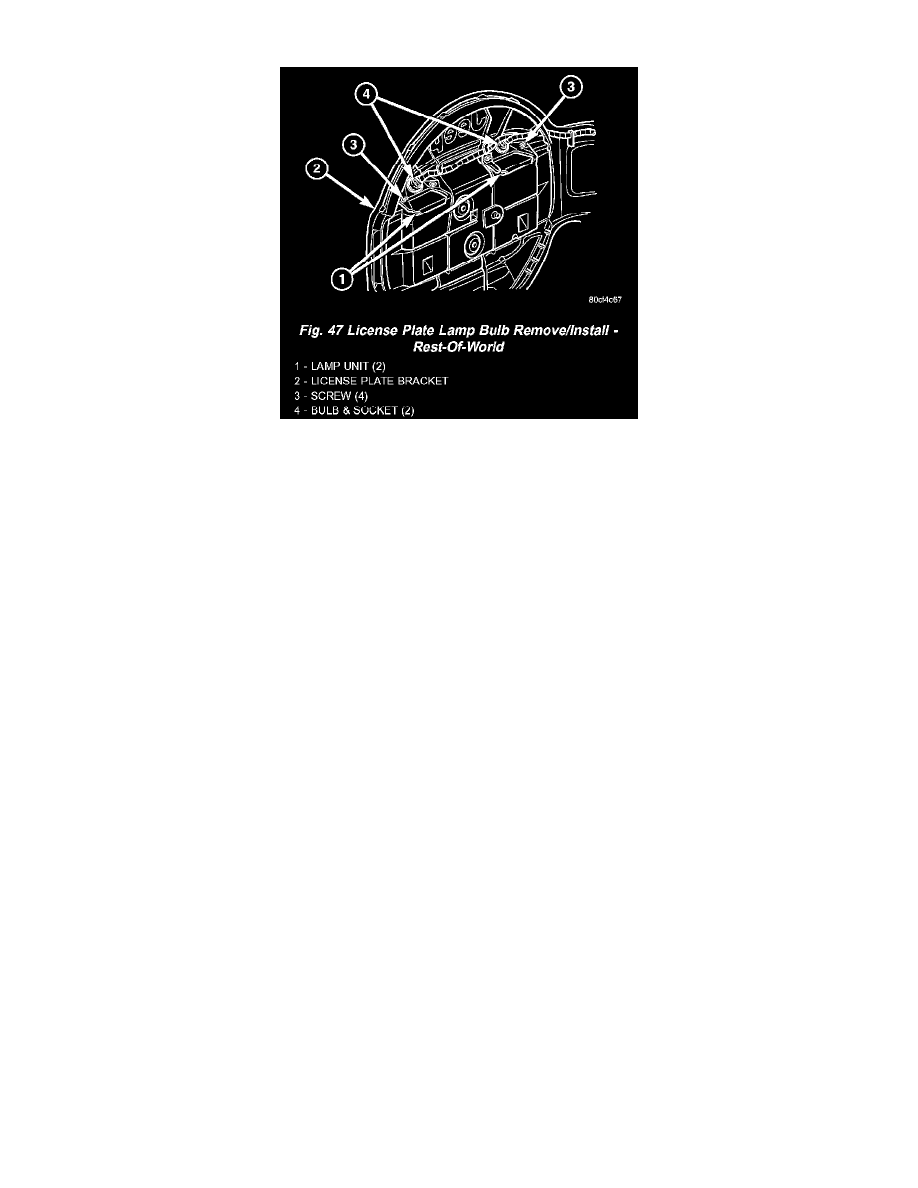
3. Swing the license plate bracket away from the spare tire far enough to access the license plate lamp bulb sockets.
Fig.47 License Plate Lamp Bulb Remove/Install - Rest-Of-World
4. Firmly grasp the socket on the top of the license plate lamp unit housing for the bulb that is being removed (Fig. 47).
5. Rotate the socket on the top of the license plate lamp unit housing counterclockwise about 30 degrees.
6. Pull the socket and bulb straight out of the top of the license plate lamp unit housing.
7. Pull the bulb straight out of the license plate lamp unit socket.
INSTALLATION
CAUTION: Always use the correct bulb size and type for replacement. An incorrect bulb size or type may overheat and cause damage to the lamp,
the socket andlor the lamp wiring.
North America
1. Align the base of the bulb with the receptacle in the license plate lamp unit socket.
2. Push the bulb straight into the license plate lamp unit socket until it is firmly seated.
3. Reach through the opening in the rear bumper fascia between the license plate and the lamp to align the socket and bulb with the socket opening
on the back of the lamp unit housing (Fig. 45).
4. Push the socket and bulb straight into the license plate lamp unit housing until it is firmly seated.
5. Reconnect the battery negative cable.
Rest-Of-World
1. Align the base of the bulb with the receptacle in the license plate lamp unit socket.
2. Push the bulb straight into the license plate lamp unit socket until it is firmly seated.
3. Align the socket and bulb with the socket opening on the top of the license plate lamp unit housing (Fig. 47).
4. Push the socket and bulb straight into the license plate lamp unit housing until it is firmly seated.
5. Rotate the socket on the top of the license plate lamp unit housing clockwise about 30 degrees.
6. Swing the license plate bracket back against the spare tire (Fig. 46).
7. Lift up the bottom of the license mounting plate far enough to install and tighten the two screws that secure the license plate bracket to the special
lug nuts on the spare tire. Tighten the screws to 28 Nm (21 ft. lbs.).
8. Lower the bottom of the license mounting plate and, using hand pressure snap it into place on the license plate bracket
9. Reconnect the battery negative cable.