
Liberty Sport 4WD L4-2.4L VIN 1 (2002)
Relay Box: Service and Repair
Junction Block
LHD
REMOVAL - LHD
The following junction block removal procedure is for Left Hand Drive (LHD) vehicles only
1. Disconnect and isolate the negative battery cable.
2. Remove the left end cap from the instrument panel.
3. Unsnap and remove the left outboard trim bezel from the instrument panel. Located just to the left of the steering column.
4. Remove the steering column opening cover.
5. Remove the left cowl trim panel from the vehicle.
6. Remove the courtesy lamp from under the left side of the instrument panel. This will allow sufficient room to remove the junction block from
under the instrument panel.
7. Working through the steering column opening cover, remove the three bulkhead and two body controller electrical connectors from the junction
block assembly.
8. Detach instrument panel wire harness from the lower channel on the instrument panel. This will allow sufficient room to remove the junction block
from under the instrument panel.
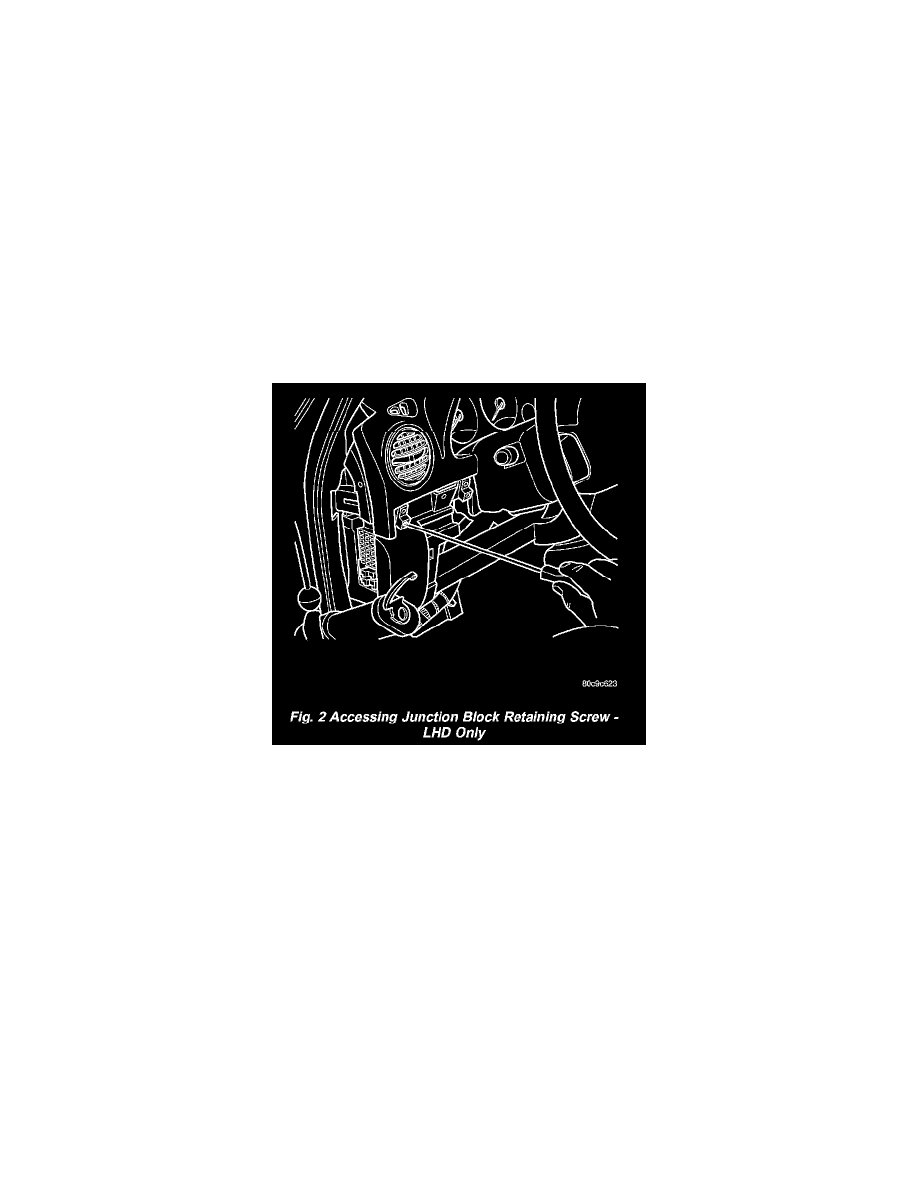
Fig. 2 Accessing Junction Block Retaining Screw - LHD Only
9. Remove the four junction block retaining screws and remove the junction block from under the instrument panel. See for access to the top
outboard retaining screw.
NOTE: On models equipped with a manual transmission, depress the clutch pedal to remove the Junction Block from under the instrument panel.
INSTALLATION - LHD
NOTE: On vehicles equipped with a manual transmission, it will be helpful to depress the clutch pedal when installing the Junction Block under the
instrument panel.
1. Position the junction block and install the four junction block retaining screws.
2. Install instrument panel wire harness on the lower channel of the instrument panel.
3. Working through the steering column opening cover, install the three bulkhead and two body controller electrical connectors on the junction block
assembly.
4. Install the courtesy lamp under the left side of the instrument panel.
5. Install the left cowl trim panel on the vehicle.
6. Install the steering column opening cover.
7. Install the left outboard trim bezel on the instrument panel.
8. Install the left end cap on the instrument panel.
9. Connect the negative battery cable.