
Patriot 2WD L4-2.0L (2008)
10. Clean all foreign matter from the threads of the halfshaft outer C/V joint.
11. Install the washer (4) and hub nut (3) on the end of the halfshaft and snug it.
12. While a helper applies the brakes to keep the hub (1) from rotating, tighten the hub nut (3) to 245 Nm (181 ft. lbs.).
13. Insert the cotter pin (2) through the notches in the nut and the hole in halfshaft. If the notches in the nut do not line up with the hole in the
halfshaft, continue to tighten the nut until they do. Do not loosen the nut.
14. Wrap the cotter pin (2) ends tightly around the lock nut.
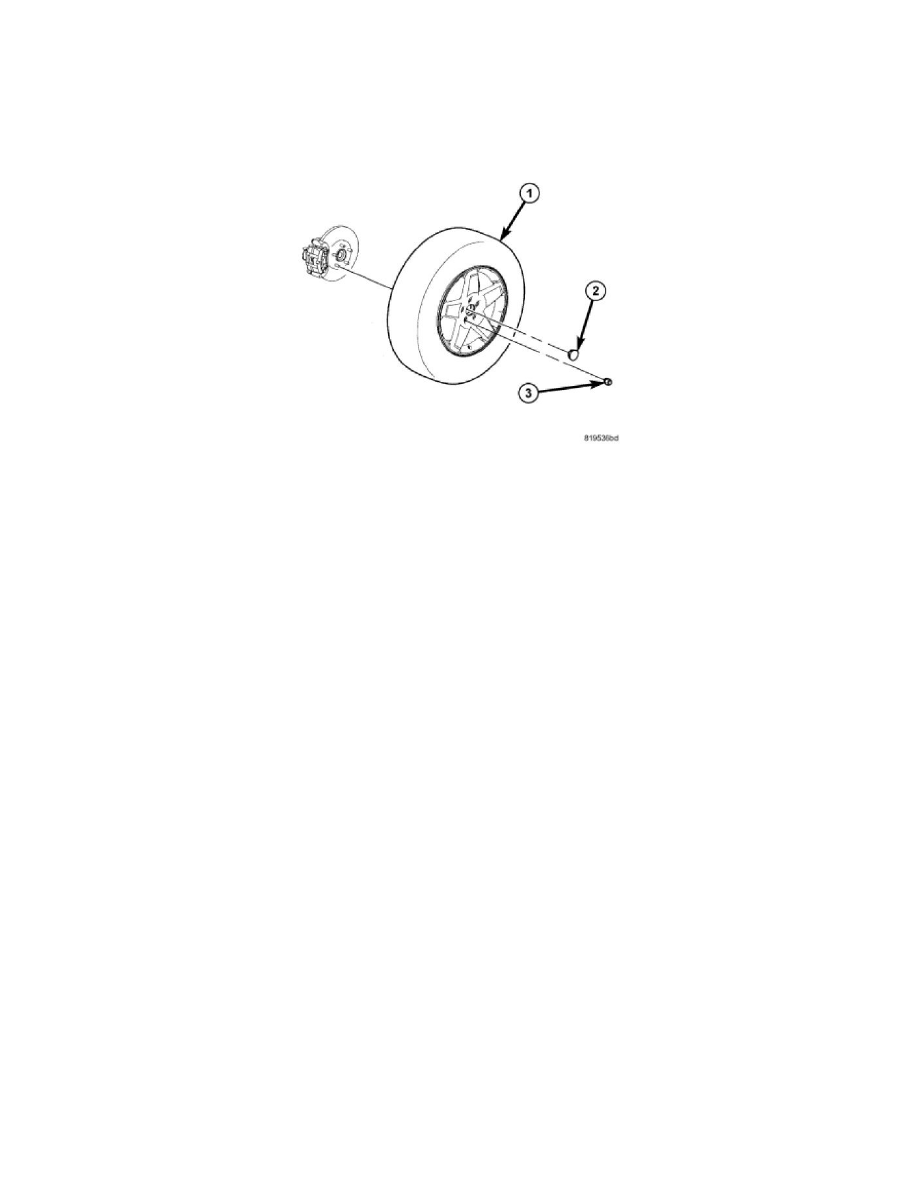
15. Install the tire and wheel assembly (1) See: Wheels and Tires/Service and Repair/Removal and Replacement/Tires and Wheels - Installation.
Install and tighten the wheel mounting nuts (3) to 135 Nm (100 ft. lbs.).
16. Lower the vehicle.
NOTE: If the original knuckle is being reinstalled, wheel alignment may not be necessary due to Net-Build design.
17. Perform wheel alignment as necessary. See: Alignment/Service and Repair