
Wrangler L4-150 2.5L VIN P MFI (1993)
Steering Column: Service and Repair
With Tilt
Removal/Installation
Removal
1. Ensure front wheels are in straight ahead position, then disconnect battery ground cable.
2. Remove steering wheel from steering column.
3. On column shift models, disconnect shift cable grommet by prying it from shift lever.
4. On all models, disconnect steering shaft to steering gear coupler upper bolt.
5. Remove lower part of instrument panel.
6. On column shift models, disconnect shift cable from shift housing.
7. On all models, remove two nuts holding steering column bracket to brake sled.
8. Remove four bolts holding steering column bracket to column.
9. On Comanche and Cherokee, loosen column brace mounting nut at drivers side kick panel. This will allow column to drop.
10. Disconnect all electrical connectors from steering column.
11. Disconnect steering column toe plate from floor pan, then remove steering column from vehicle.
Installation
1. Position column in vehicle.
2. Align column shaft to steering gear coupling. Install and torque bolt to 33 ft. lbs.
3. Connect all electrical connectors to steering column.
4. Install support bracket on column. Torque bolts to 180 inch lbs. on Comanche and Cherokee or 252 inch lbs. on Wrangler.
5. Install column on brake sled studs. Torque nuts to 22 ft. lbs.
6. On column shift models, install shift cable grommet on shift lever.
7. On all models, install and tighten toe plate to floor pan bolts to 66 inch lbs. on Comanche and Cherokee or 192 inch lbs. on Wrangler.
8. On column shift models, install shift cable on shift housing. Check operation of cable.
9. On all models, install lower instrument panel, if necessary.
10. Install steering wheel on column, then connect battery ground cable.
Disassembly
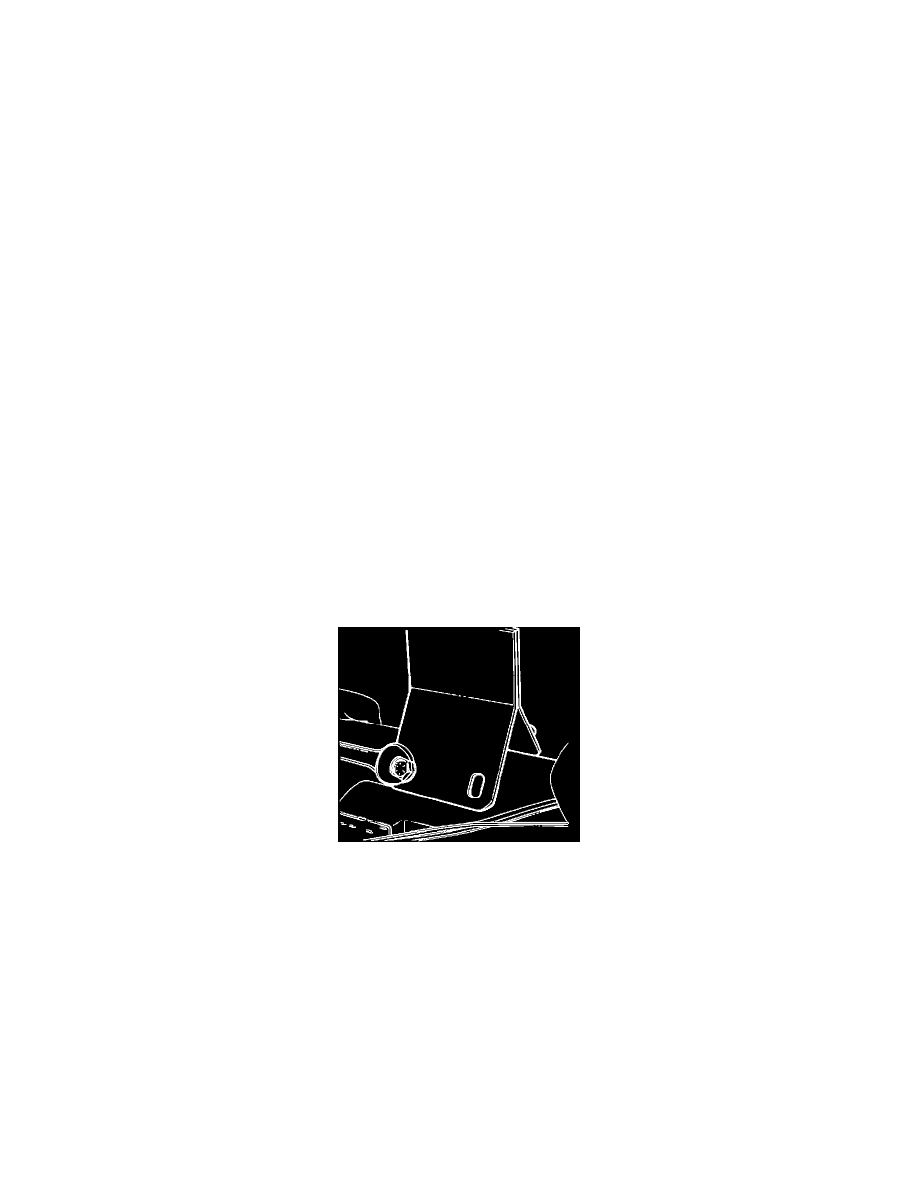
Fig. 31 Steering column support fixture
Tilt steering columns can be disassembled to the jacket when installed in vehicle. It must be removed from vehicle if further disassembly is required. If
column is removed for service, install column support fixture tool.
1.
If necessary, remove steering column from vehicle. Attach column support tool and clamp in vise.
2.
If steering column remains in vehicle, place front wheels in straight-ahead position.
3.
Disconnect battery ground cable, then remove steering wheel.
4.
On column shift models, remove gear selector lever retaining pin and lever from housing.
5.
On all models, remove lockplate cover.
6.
Compress lockplate with compressor tool No. J-23653-B or equivalent, release steering shaft retaining snap ring.
7.
Remove lockplate compressor tool and retaining snap ring.
8.
Remove lockplate, canceling cam, upper bearing preload spring and thrust washer from steering column/shaft.
9.
Remove hazard warning switch knob by pressing knob inward and turning counterclockwise.
10.
On column shift models, remove gear selector indicator cover retaining screws.
11.
On column shift models, remove gear selector indicator lamp bracket retaining screw. Do not remove lamp and bracket at this time.
12.
On all models, remove tilt-release lever.
13.
Disconnect turn signal wire harness connector, then remove plastic protector from wire harness.