Wrangler L6-4.0L VIN S (2000)

Grille: Service and Repair
RADIATOR GRILLE PANEL
REMOVAL
1. Remove the front crossmember cover.
2. Remove the crossmember valence cover.
3. Remove the radiator overflow bottle.
4. Remove the bolts that attach the radiator and shroud from the grille panel.
5. If A/C equipped:
a. Evacuate the system.
b. Disconnect the high and low pressure lines at the quick disconnect couplings.
c. Cover (cap) the lines to prevent contamination.
6. Remove the bolts attaching the radiator support rods to the grille panel.
7. Disconnect the head lamp, turn signal, marker lamp and horn wire harness connectors.
8. Remove the bolts attaching the fenders to the grille panel.
9. Remove the bolt attaching the grille to the frame mount.
10. Separate the grille from the vehicle.
INSTALLATION
Transfer all related components.
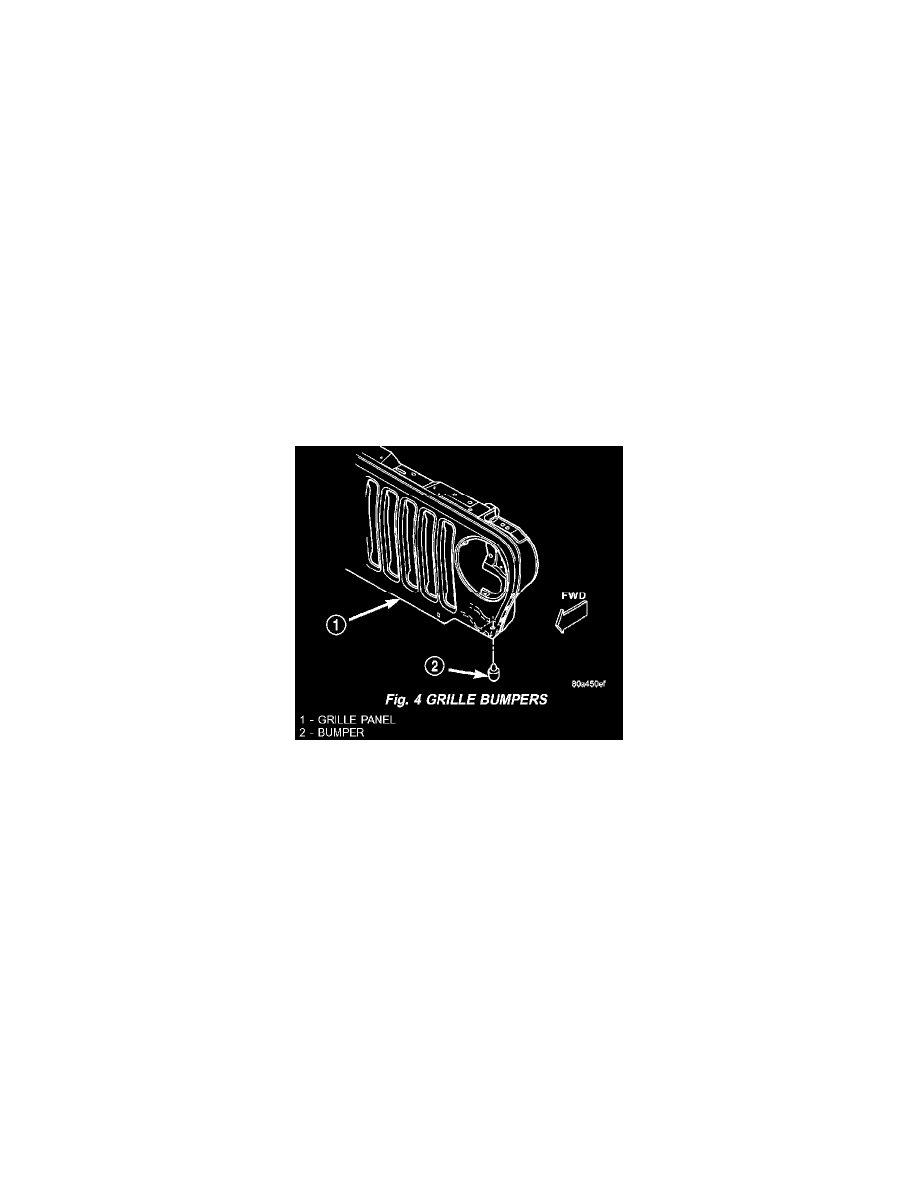
Fig. 4
1. Position the grille panel on the vehicle. Ensure the rubber support bumpers are aligned (Fig. 4).
2. Install the bolt attaching the grille to the frame mount.
3. Install the bolts attaching the fenders to the grille panel.
4. Connect the head lamp, turn signal, marker lamp and horn wire harness connectors.
5. Install the bolts attaching the radiator support rods to the grille panel.
6. If A/C equipped:
a. Connect the high and low pressure lines at the quick disconnect couplings.
b. Evacuate and charge the system.
7. Install the radiator and shroud to the grille panel.
8. Install the radiator overflow bottle.
9. Install the crossmember valence cover.
10. Install the front crossmember cover.
