
Wrangler L6-4.0L VIN S (2000)
Brake Pedal Assy: Service and Repair
REMOVAL
1. Remove negative battery cable.
2. Remove brake lamp switch.
3. Remove ABS controller if equipped.
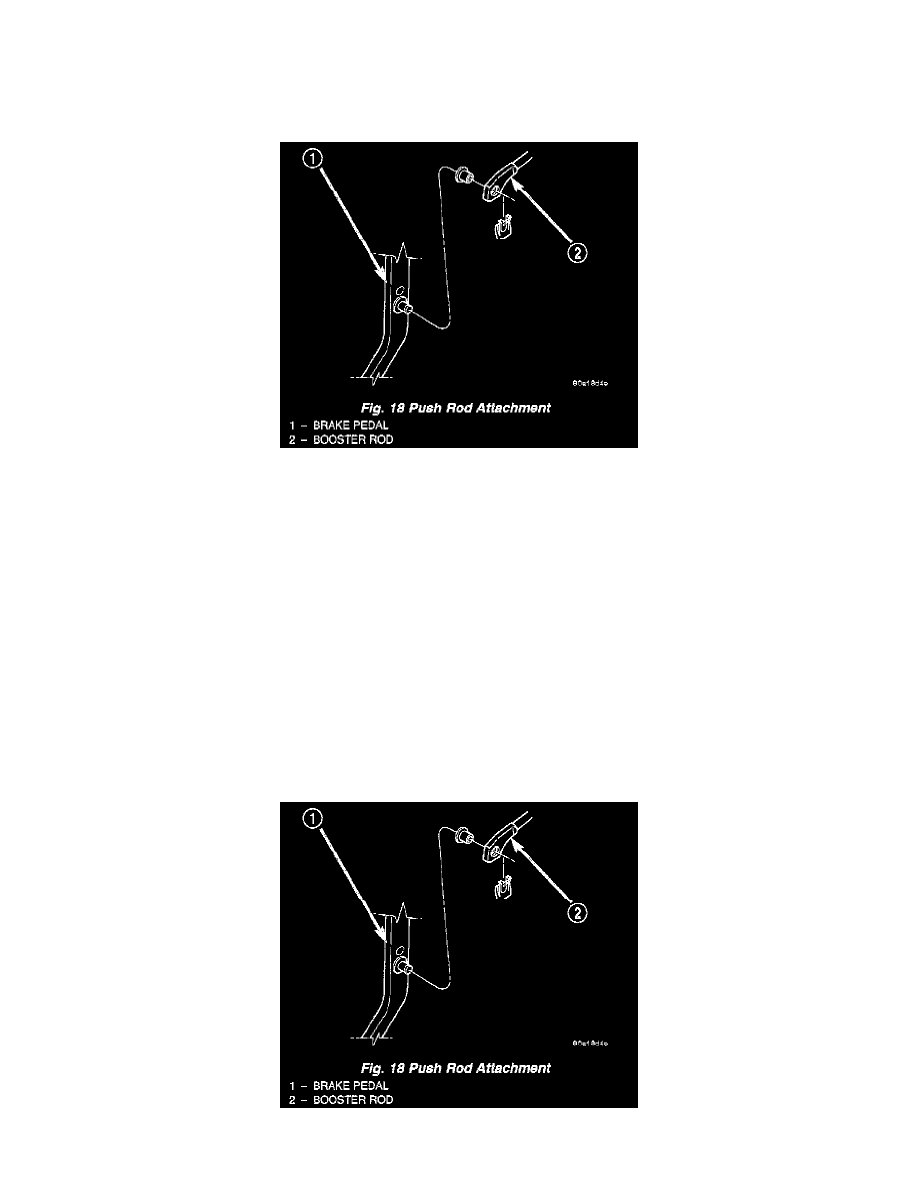
Fig. 18
4. Remove retainer clip securing booster push rod to pedal and clutch rod retainer clip if equipped.
5. Remove bolts from brake pedal support and booster mounting nuts. Remove mounting stud plate nuts or clutch cylinder mounting nuts if
equipped.
6. Slid brake booster/master cylinder assembly forward.
7. Remove mounting stud plate or slid clutch cylinder forward if equipped.
8. Tilt the pedal support down to gain shaft clearance.
9. Remove pedal shaft C-clip from passenger side of the shaft.
10. Slide the pedal shaft toward the drivers side and remove the remaining C-clip.
11. Slid the shaft out of the pedal bracket and remove the pedal.
12. Remove pedal bushings if they are to be replaced.
INSTALLATION
1. Install new bushings in pedal. Lubricate bushings and shaft with multi-purpose grease.
2. Position pedal in bracket and install shaft.
3. Install new pivot pin C-clip.
4. Position pedal support and install support bolts and tighten to 28 Nm (21 ft. lbs.).
5. Slid the booster/master cylinder assembly into place, install mounting nuts and tighten to 39 Nm (29 ft. lbs.).
Fig. 18