
Wrangler 4WD L4-150 2.5L VIN P MFI (1998)
Connecting Rod: Service and Repair
REMOVAL
1. Remove the engine cylinder head cover.
2. Remove the rocker arms, bridges and pivots.
3. Remove the push rods.
4. Remove the engine cylinder head.
5. Position the pistons one at a time near the bottom of the stroke. Use a ridge reamer to remove the ridge from the top end of the cylinder walls. Use
a protective cloth to collect the cuttings.
6. Raise the vehicle.
7. Drain the engine oil.
8. Remove the oil pan and gasket.
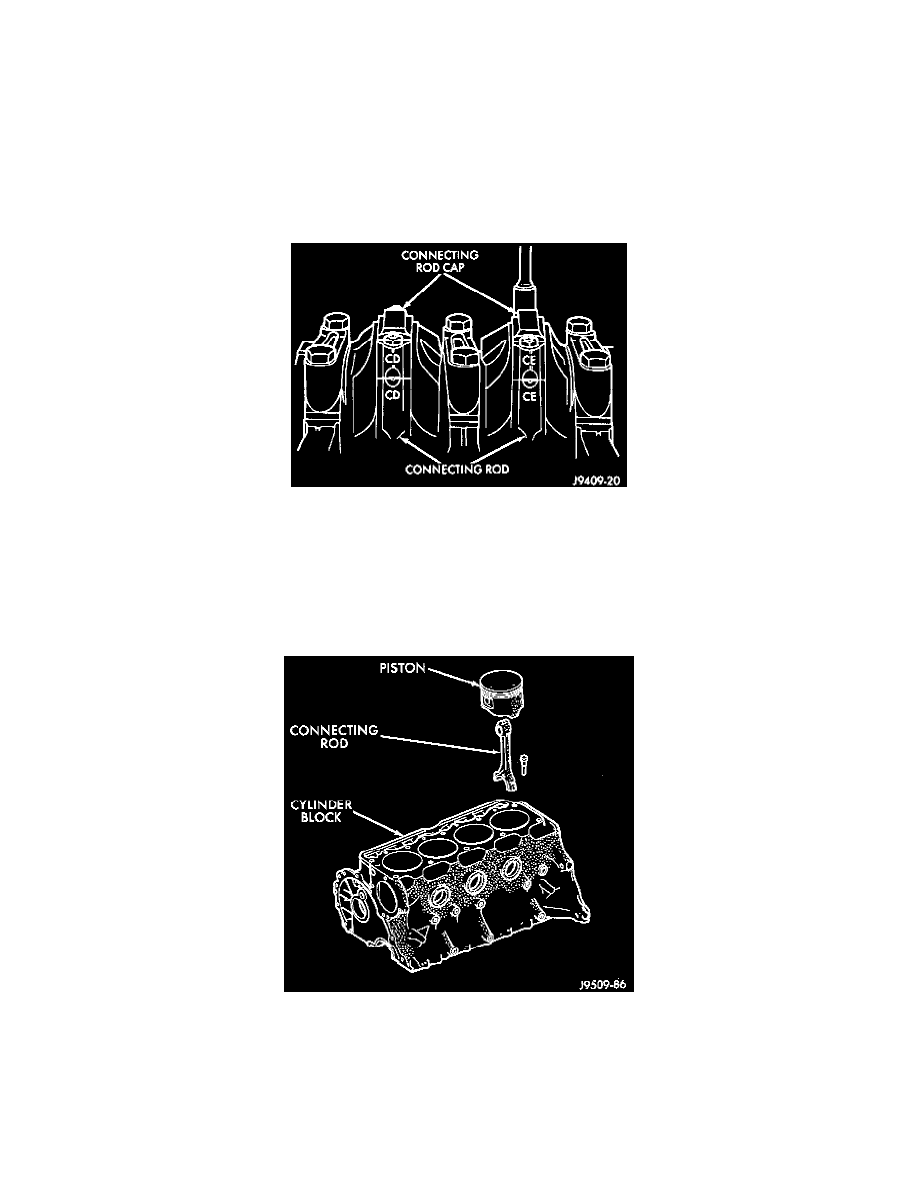
Stamped Connecting Rods And Caps
9. Remove the connecting rod bearing caps and inserts. Mark the caps and rods with the cylinder bore location. The connecting rods and caps are
stamped with a two letter combination.
10. Lower the vehicle until it is about 2 feet from the floor.
CAUTION: Ensure that the connecting rod bolts DO NOT scratch the crankshaft journals or cylinder walls. Short pieces of rubber hose, slipped
over the rod bolts will provide protection during removal.
Removal Of Connecting Rod And Piston Assembly
11. Have an assistant push the piston and connecting rod assemblies up and through the top of the cylinder bores.
INSTALLATION
1. Clean the cylinder bores thoroughly. Apply a light film of clean engine oil to the bores with a clean lint-free cloth.
2. Install the piston rings on the pistons if removed.
3. Lubricate the piston and rings with clean engine oil.