
Forte L4-2.0L (2010)
Notice
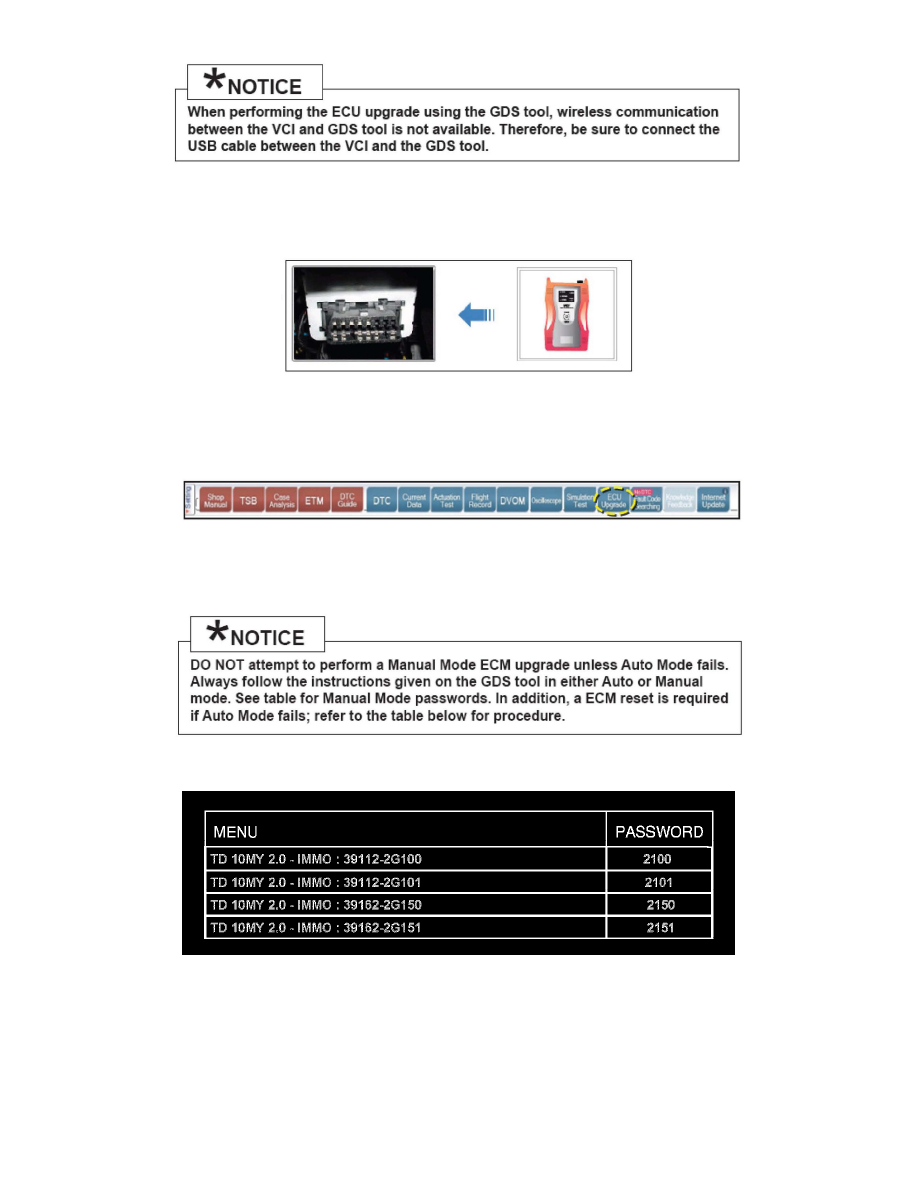
3. Connect the Main 16-pin DLC cable (GHDM - 241000) to the VCI.
4. Connect the Main 16-pin DLC cable (GHDM - 241000) to the OBD-II connector, located under the driver's side of the instrument panel.
5. With the ignition key ON, turn ON the VCI and GDS tool. Access the GDS vehicle identification number (VIN) screen and configure the vehicle
using the VIN AUTO DETECT Function.
6. Once back at the GDS Main Screen, select ECM upgrade from the bottom right-hand corner. Next select Auto Mode, Engine.
Perform the ECM upgrade in accordance with normal tool ECM upgrade procedures.
Notice
MANUAL MODE ECM UPGRADE PASSWORDS:
* Do NOT perform Manual Mode ECU upgrade unless Auto Mode fails.
* Do not force the Calibration into the incorrect P/N PCM. This is subject to warranty chargeback.
7. When the GDS tool reports that the ECM upgrade has been successfully completed, click OK, turn OFF the ignition key, and wait at least 10 seconds
before attempting to start the engine.
8. Check for Diagnostic Trouble Codes using the GDS and erase any DTCs stored in the Engine and Transaxle control modules (EPS, ESC, TPMS).