
Optima L4-2.4L VIN 6 (2006)
4. Remove the transaxle assembly, after removing each bolt which connect the transaxle assembly and engine.
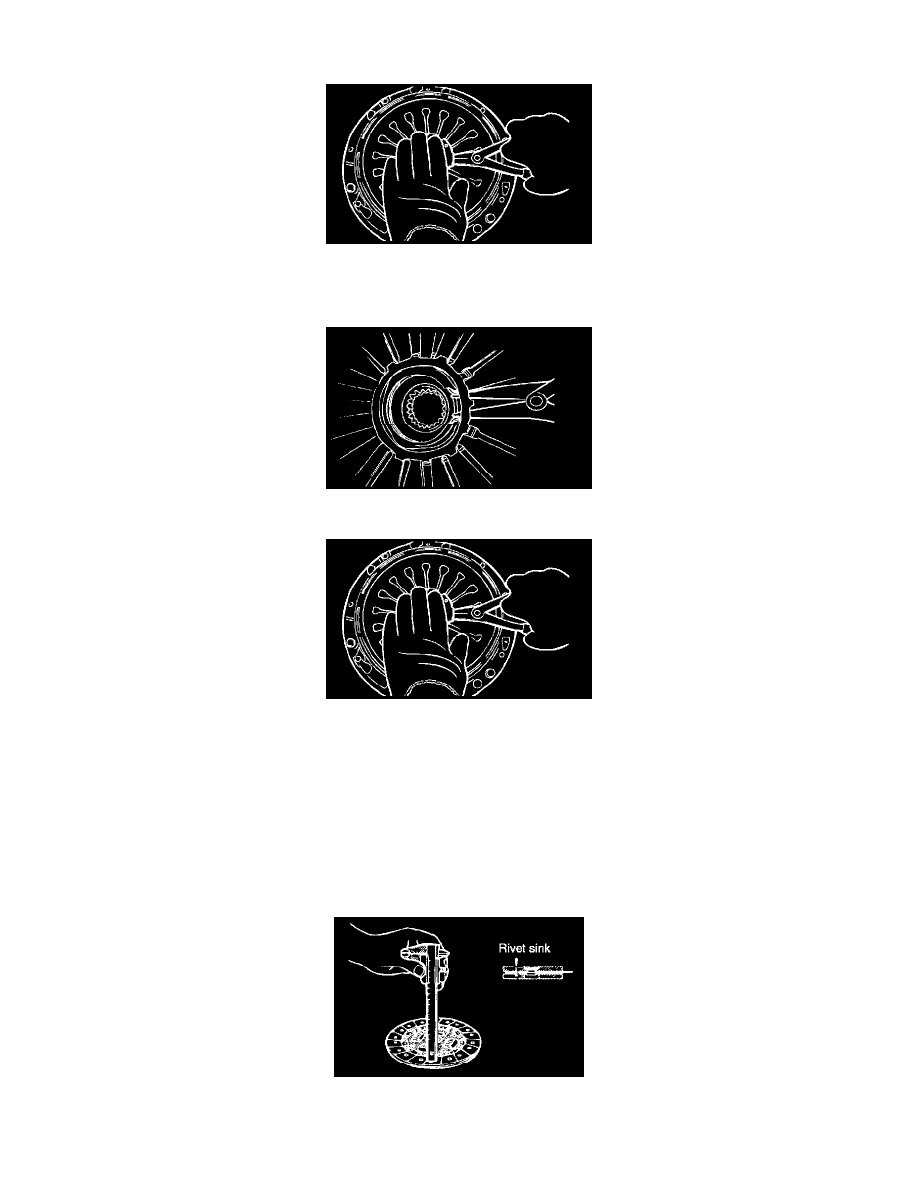
5. In the state that the clutch cover is attached to the flywheel remove the release bearing using appropriate tool as shown.
1) Rotate the release bearing in the easy direction in order to examine the snap ring.
2) Insert the tool under the wave washer as shown in the illustration and locate in the center of snap ring.
3) Widen the space of snap ring by pushing the bearing as shown in the illustration.
4) The snap ring-widen state is like as shown the image.
5) In the snap ring-widen state pull out the release bearing and remove it.
6. Insert the special tool (09411-11000) in the clutch disc to prevent the disc from falling.
7. Loosen the bolts, which attach the clutch cover to the flywheel in a star pattern. Loosen the bolts in succession, one or two turns at a time, to avoid
bending the cover flange.
NOTE: Do not clean the clutch disc or release bearing with cleaning solvent.
8. Remove the release fork shaft and bushing.
INSPECTION
CLUTCH COVER ASSEMBLY
1. Clean the dust on the clutch housing using the vacuum brush or dry floor cloth and ought not to use the compressed air absolutely. Check the oil
leakage in engine rear bearing oil seal and transaxle front oil seal. If leaky, repair them.
2. The friction surface of pressure plate must be equalized to entire disc surface. If any part is excessive wear at the point of contact, the pressure