Optima V6-2.7L VIN 8 (2006)

NOTE: When using the timing belt again, make sure of marking the rotating direction on the belt so as to install correctly.
INSPECTION
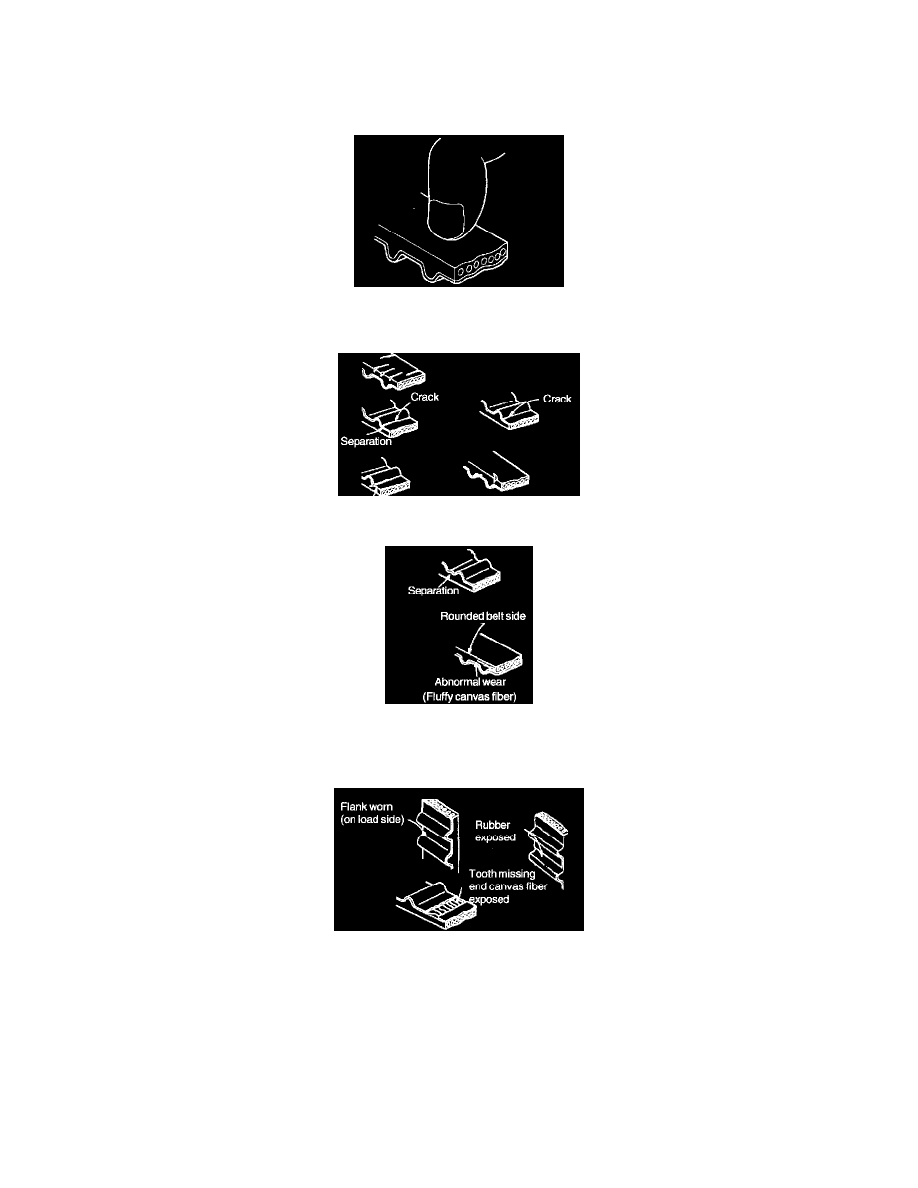
1. Closely inspect the belt. If the following problems are evident, replace the belt with a new one.
1) Hardened back surface rubber
Back surface glossy. Non-elastic and so hard that even if a finger nail is forced into it, no mark is produced.
2) Cracked surface rubber
3) Side of belt badly worn
NOTE: A belt in good condition should have clear-cut sides as if cut with a sharp knife.
4) Teeth badly worn
Initial stage:
Canvas on the load side of the tooth flank worn (fluffy canvas fibers, rubber gone and color changed to white, unclear canvas texture)
Last stage:
Canvas on the load side of the tooth flank worn down and rubber exposed (tooth width reduced)
5) Missing tooth
