Rio L4-1.5L (2001)

Vacuum Brake Booster: Service and Repair
Caution
Take the following steps after the Installation:
1. Add a fluid and bleed the air.
2. Check all parts for the fluid leakage.
3. Adjust and check the brake pedal operation.
4. Make an on-vehicle check of the unit.
Removal
1. Disconnect the fluid level warning connector.
2. Remove the brake pipes.
3. Remove the master cylinder
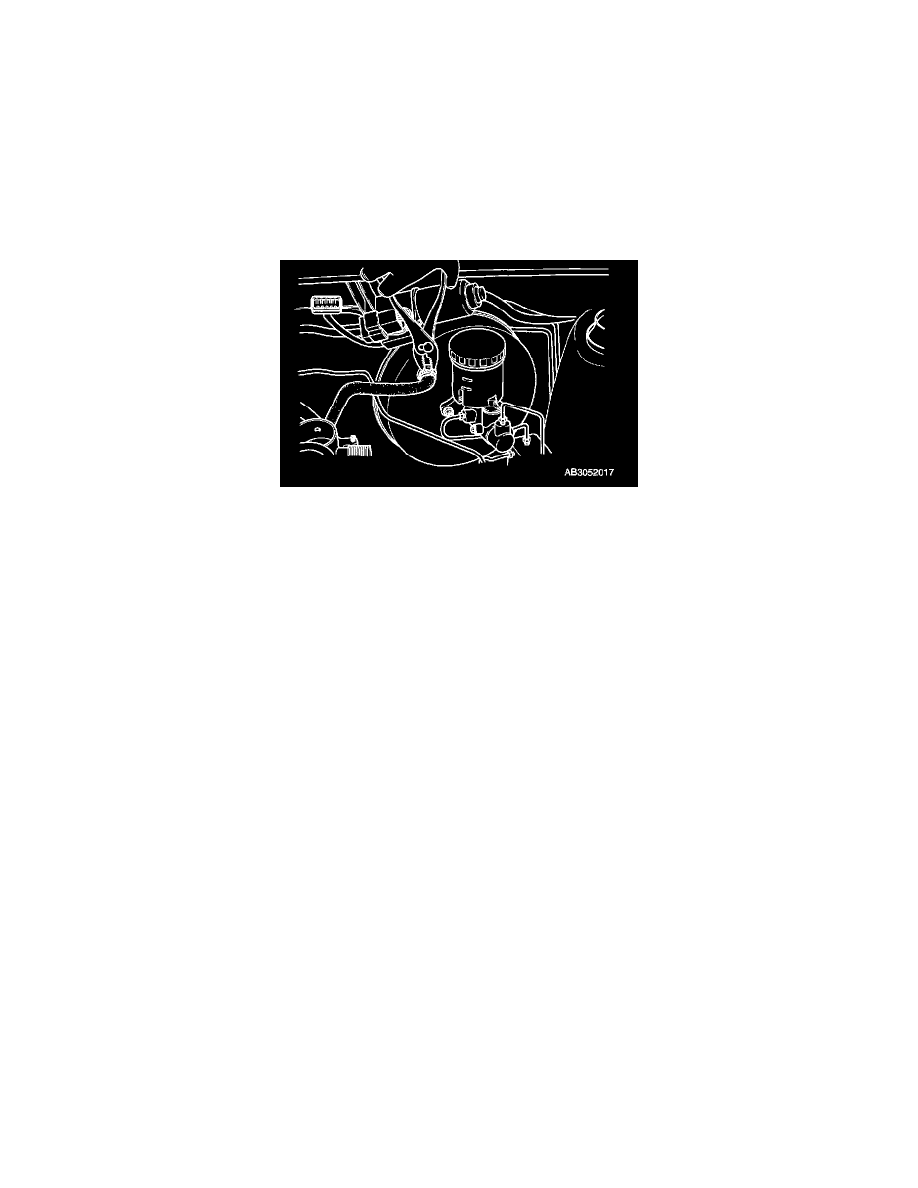
4. Disconnect the vacuum supply hose from the power brake unit.
5. From inside the vehicle, remove the cotter pin securing the clevis pin.
6. Remove the clevis pin from the clevis.
7. Have a second technician support the brake booster in the engine compartment.
8. Remove the four brake booster mounting nuts securing the brake booster to the bulkhead.
9. Remove the brake booster.
10. Remove the gasket between the brake booster and the bulkhead.
Installation
Notice Lubricate the clevis pin with white lithium grease.
To install, reverse the removal procedure. Tighten the four brake booster mounting nuts.
Tightening torque:
18.6 - 25.5 Nm (1.9 - 2.6 kg-m, 13.7 - 18.8 ft. lbs.)
