
Rio L4-1.6L (2004)
10. Disconnect the O/D OFF Connector.
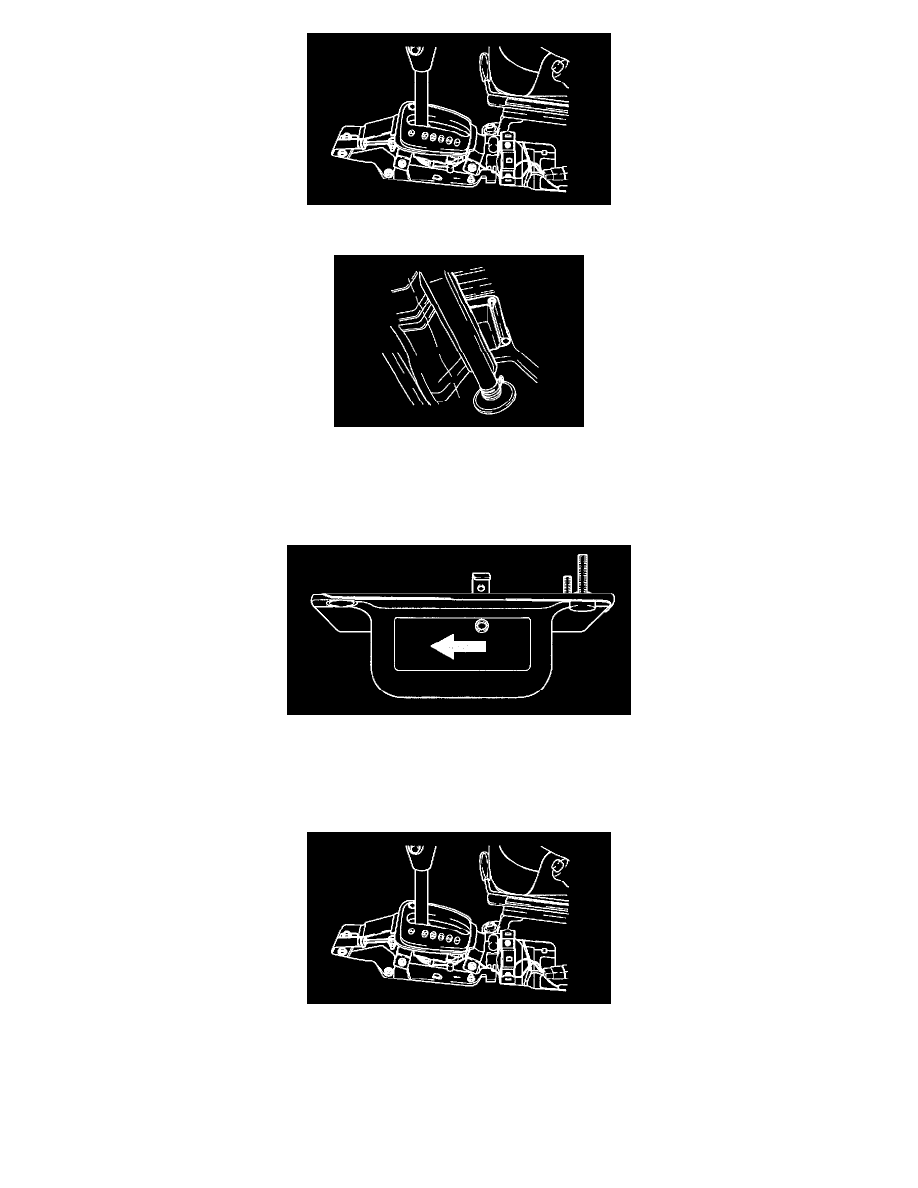
11. Loosen the set plate nut after raising the vehicle then disconnect the selector lever.
REPLACEMENT
1. Install selector lever then tighten selector lever base plate nuts.
Tightening torque: 11.5 - 16.6 ft. lbs. (15.7 - 22.6 Nm, 1.6 - 2.3 kg-m)
NOTE: Install the set plate with the arrow headed to the front as shown in the figure.
2. Install the console bracket.
3. Connect the O/D OFF Connector.
4. Shift selector lever to P range.
5. Tighten selector lever base plate nut.
Tightening torque: 60 - 86 inch lbs. (6.8 - 9.8 Nm, 70 - 100 kg-cm)
6. Tighten selector cable mounting bolt and nut.
Tightening torque: 60 - 86 inch lbs. (6.8 - 9.8 Nm, 70 - 100 kg-cm)
7. Tighten the shift lock cable nut.
Tightening torque: 7 - 10.8 ft. lbs. (9.8 - 14.7 Nm, 1.0 - 1.5 kg-m)
8. Install the front and rear console.